
Cocos Creator ScrollView Performance Optimization
Note: This article is based on Cocos Creator 2.1.2 version
Note: You can reference to this demo project
Introduction and why are there performance problems
The ScrollView component of Cocos Creator is a common component in game development. It is often used in game interfaces, like ranking interface, task list, package system and other modules. However, it can suffer from performance issues. When needing to display many items, performance can be a blocker because Cocos Creator only implements the most basic features of scrolling. Developers to do some optimization depending on their usage situation.
ScrollView can suffer from these performance issues:
- Higher quantities of
DrawCalland lower rendering performance - Too many nodes in a
ScrollView, can cause higher performance overhead when invoking theEnableandDisablefunctions when we hide or show the interface
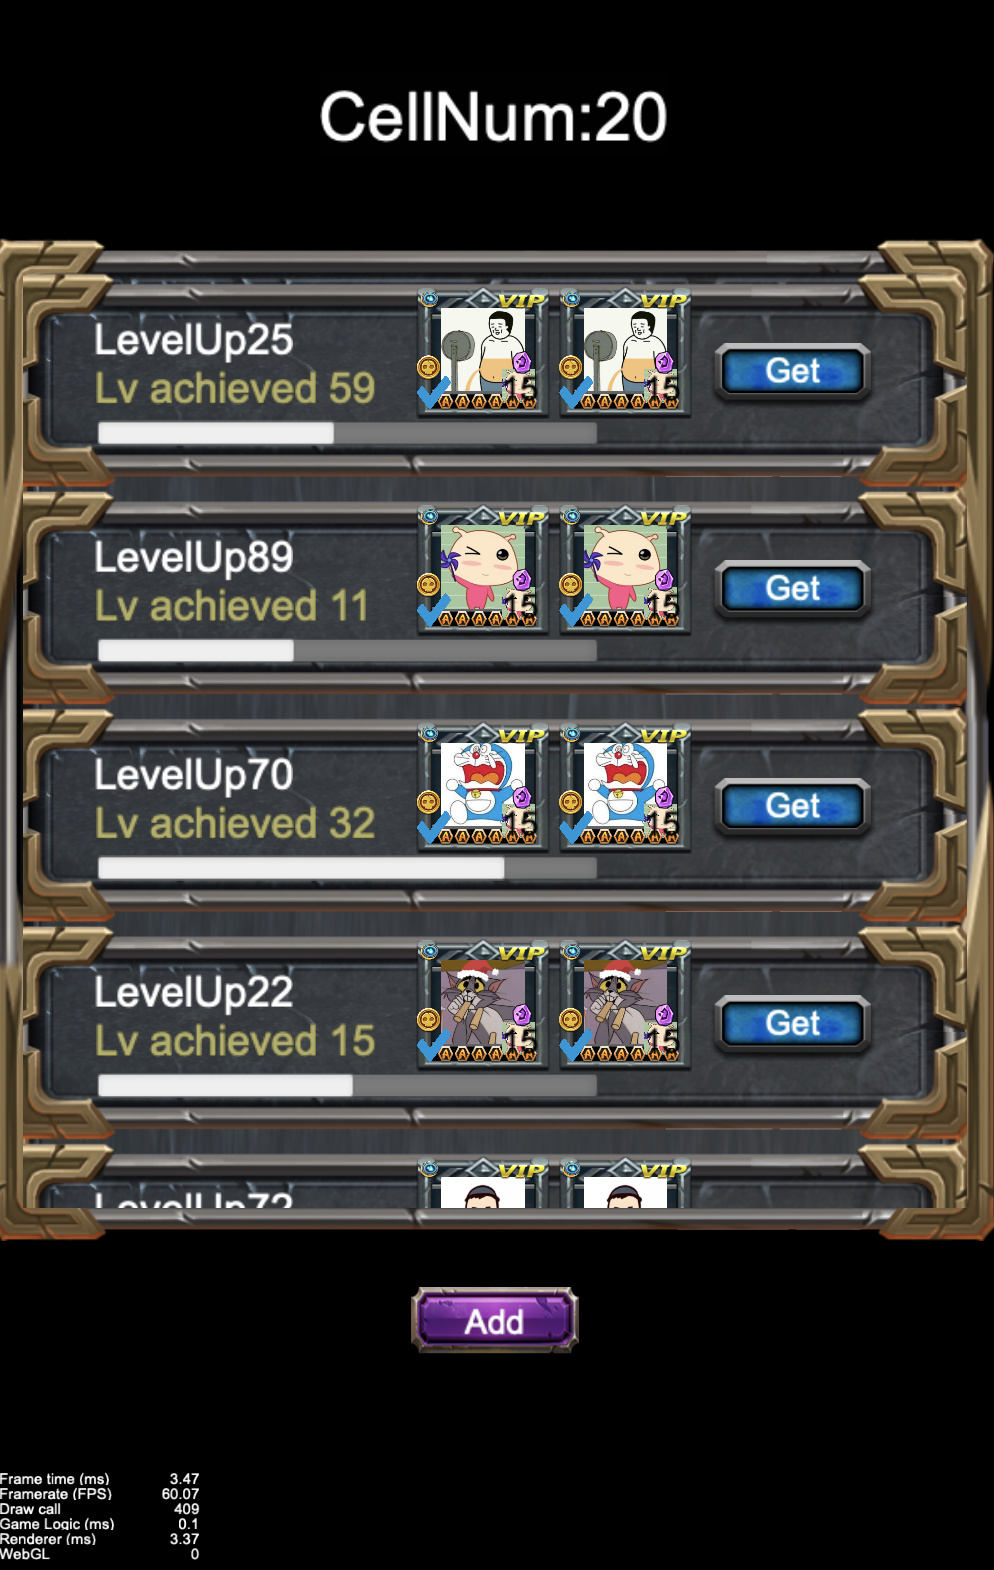
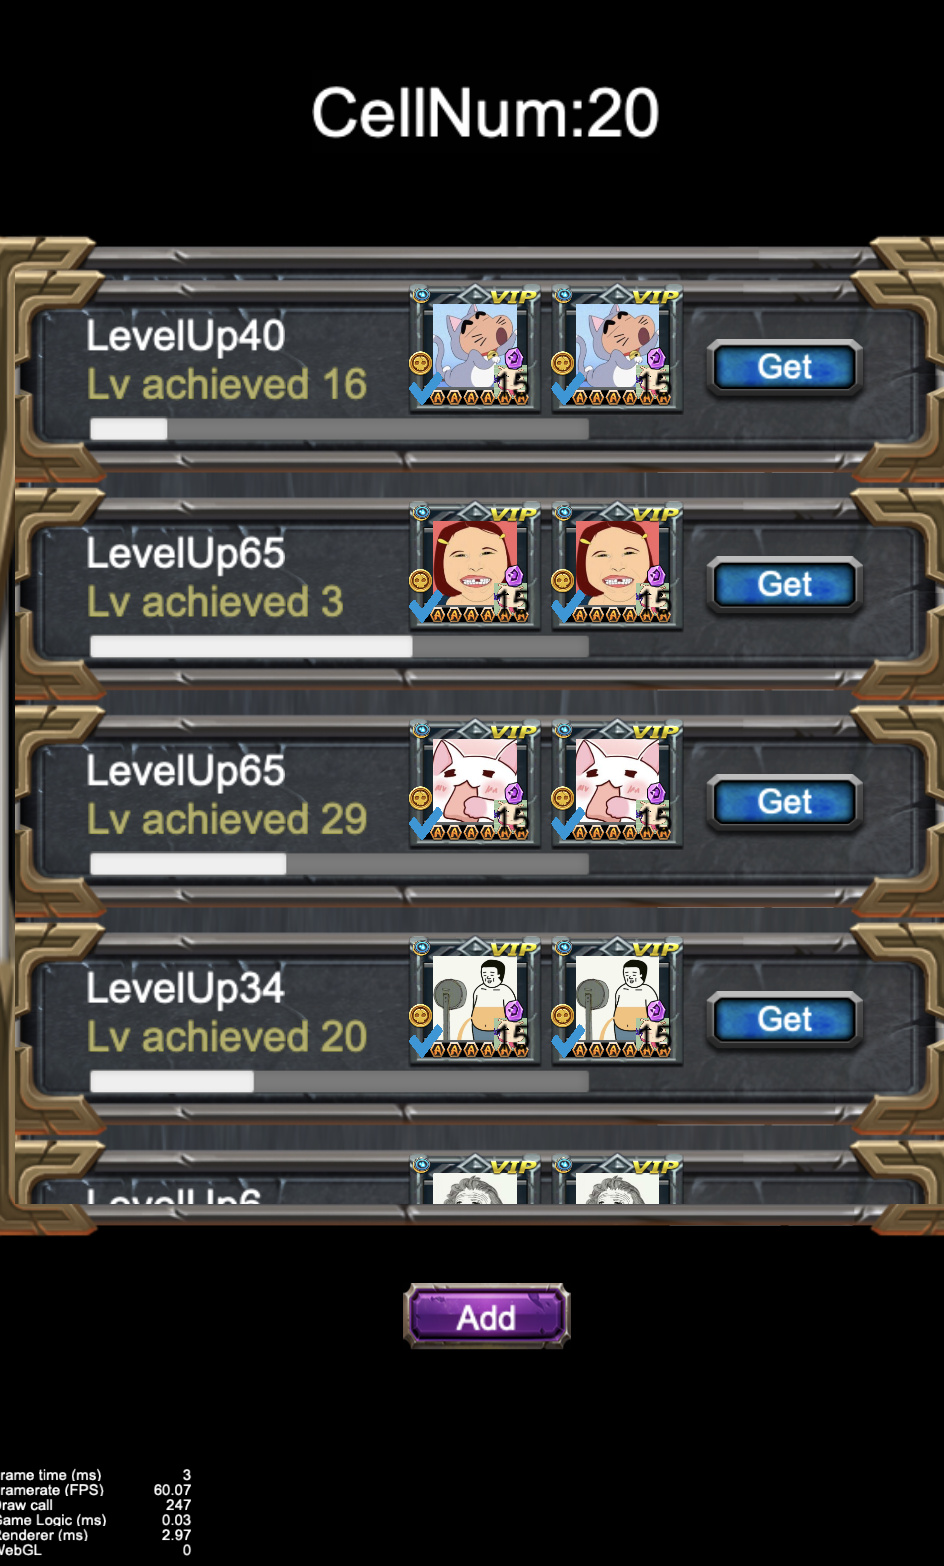
For example, this interface suffers from performance issues:
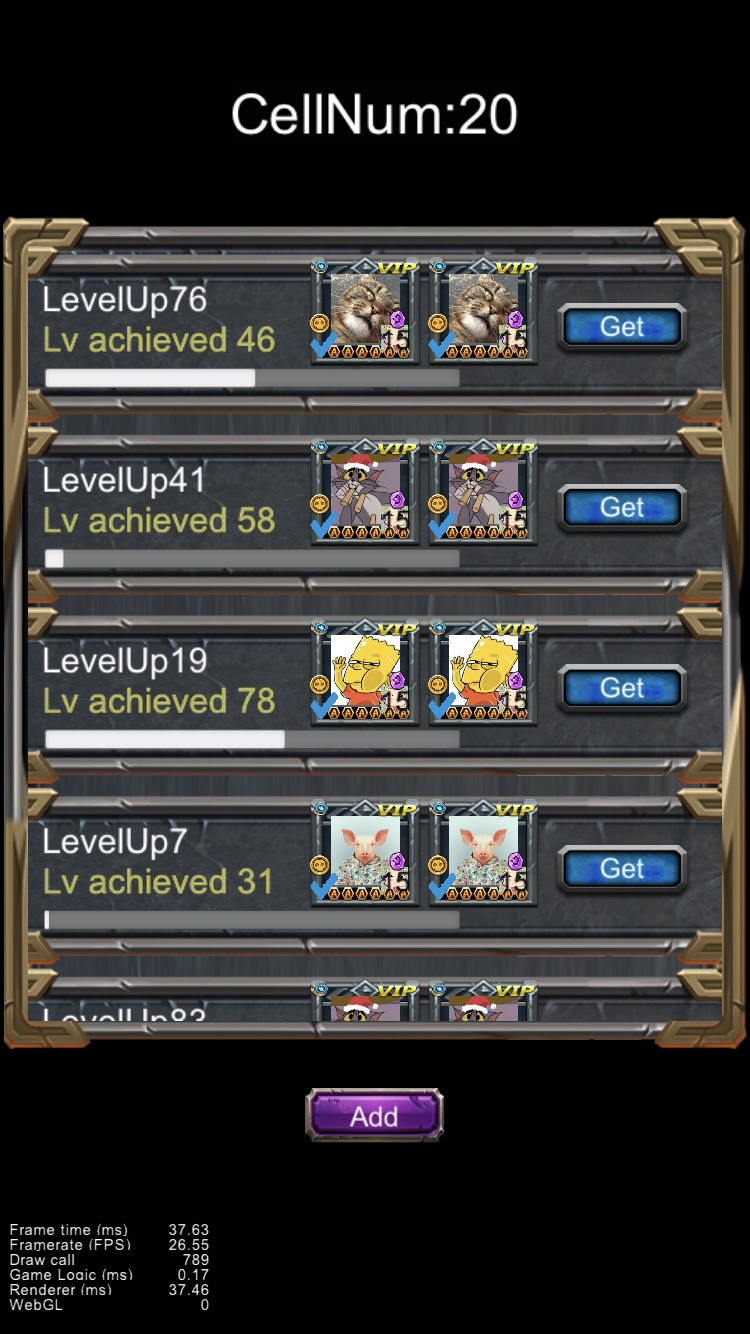
The ScrollView component in this scene has 20 cells,the total DrawCall has reached 790. A single cell has about 50 child-nodes, and in total about 1000 Node objects in this interface. Can you see why performance is an issue?
General optimizations
First, let’s do some general optimizations to help gain some performance.
-
We need to merge the rendering batches to reduce the number of
DrawCalls, so that we can improve the rendering performance, there are two different way to achieve it:-
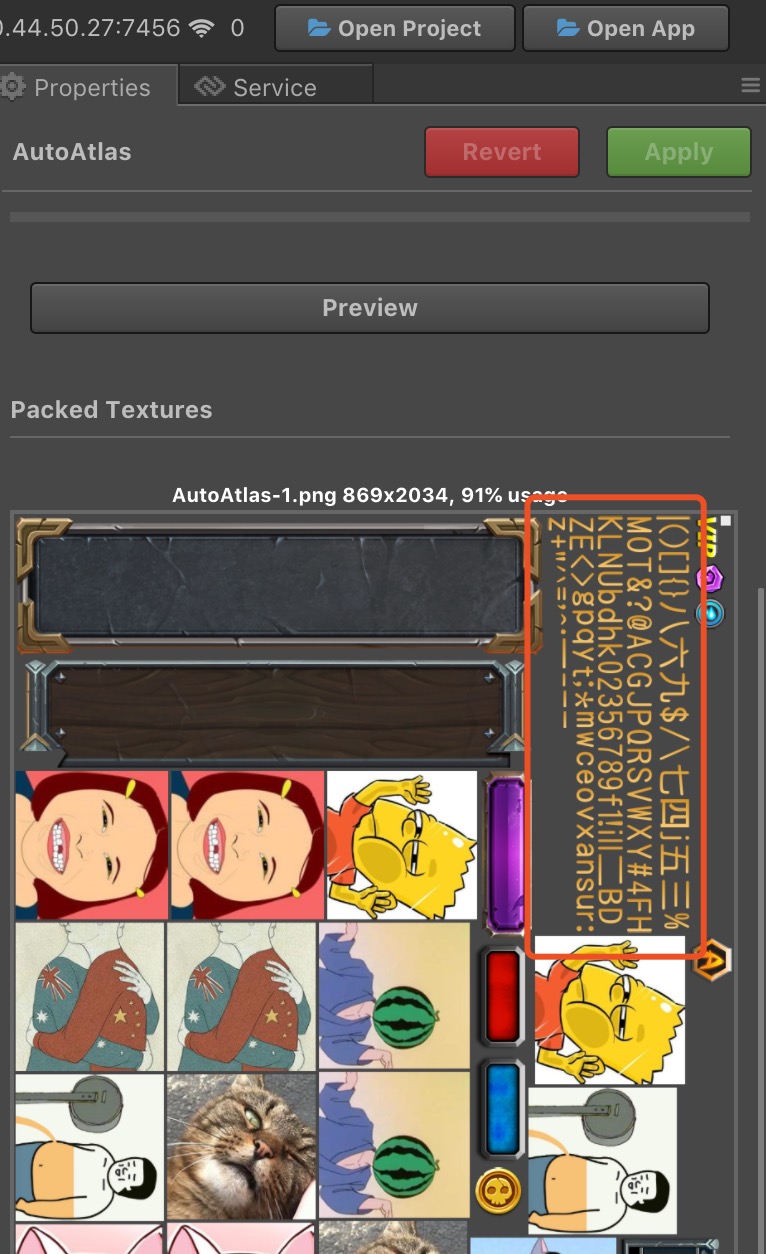
Plan A: Packaging textures in an atlas texture using Auto-atlas or TexturePacker
This allows multiple
Spriteobjects rendered with the same atlas texture, so that we can merge those rendering batches and optimize the number ofDrawCallsand the CPU performance.
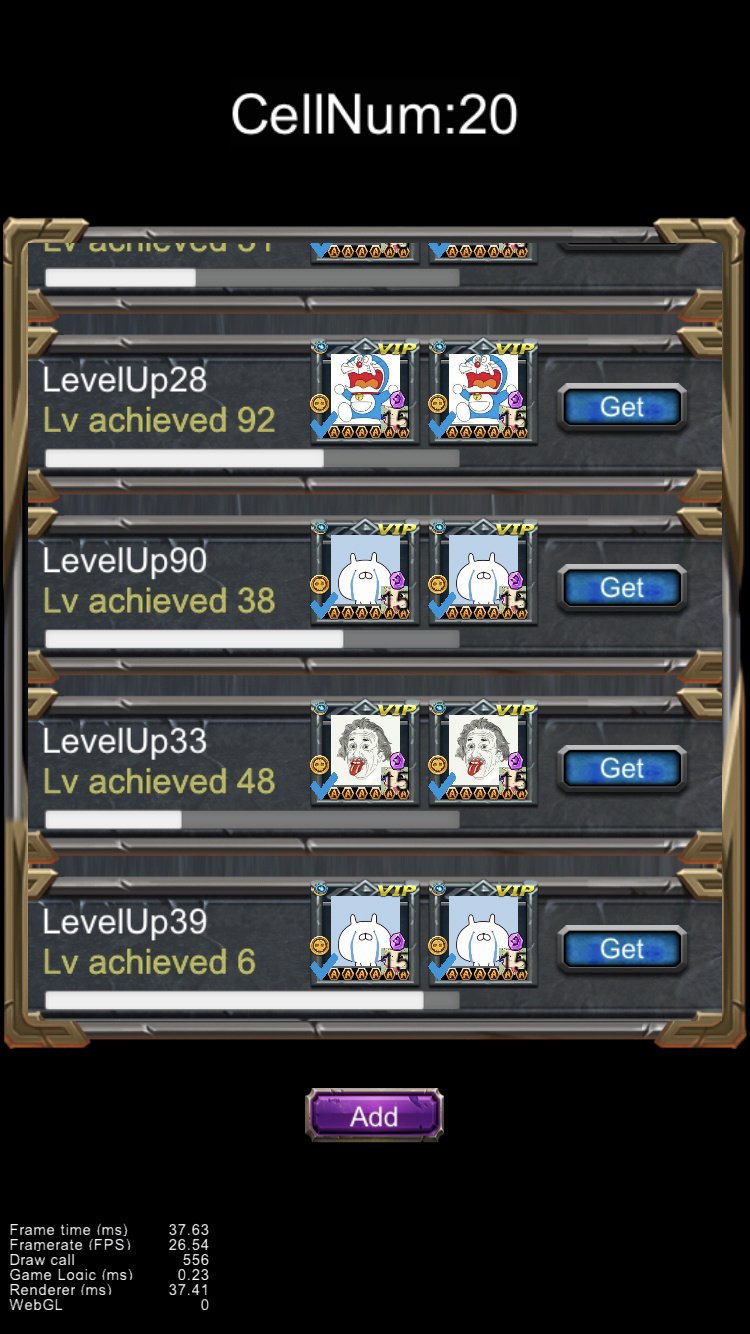
Using Auto-atlas, you can reference this document to get more information on Auto-atlas AssetsLet’s see the result of using Auto-atlas:
Notice the number of
DrawCallshad dropped to 556 which was lower than before, it is also only 20 cells. -
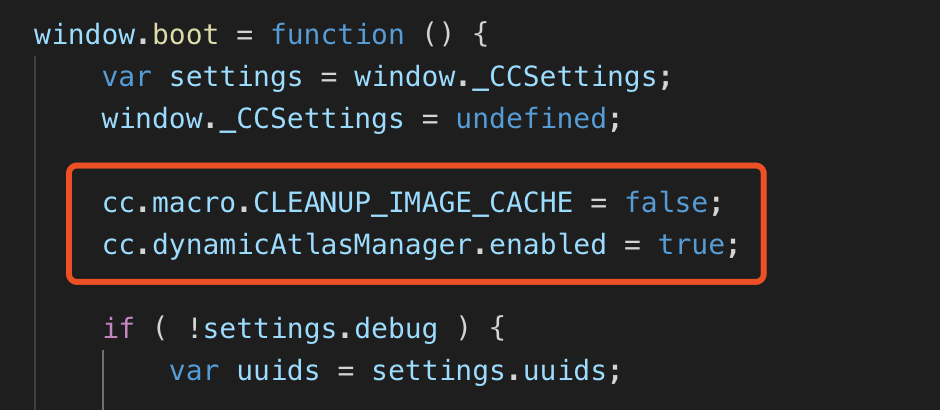
Plan B: using the dynamicAtlas feature, you can add the following code to your
main.jsfile to open this feature:
cc.macro.CLEANUP_IMAGE_CACHE = false; cc.dynamicAtlasManager.enabled = true;After opening, Cocos Creator, will help us merge textures into a atlas texture automatically and dynamically when the project is running. This shows us a result, the number of
DrawCallshad dropped.If you are debugging on Google’s Chrome browser, you can use a plug-in named spector.js to debug the number of
DrawCallsand can see how each DrawCall handles textures. For native development, we can use theGPU analysisinXCode
-
-
Handling the
Labelobjects。-
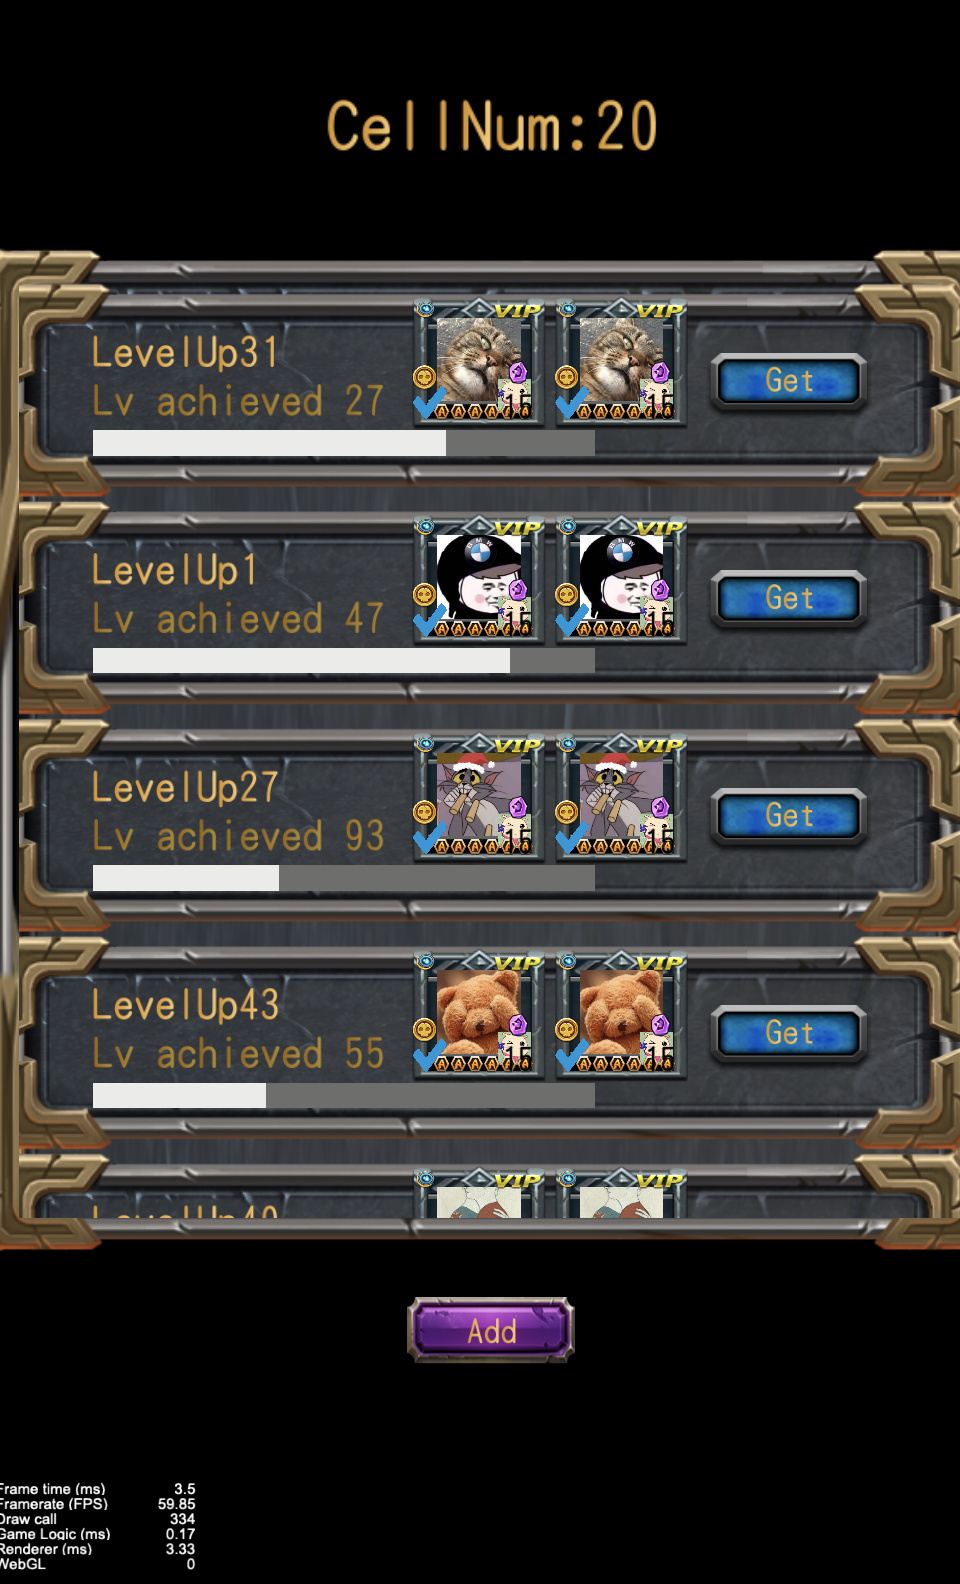
If we use Auto-atlas or TexturePacker to handle textures, we can
BMFontobjects withLabelobjects instead ofSystemFontobjects, so that we can package our font image with other textures into an atlas texture.You can see the
DrawCallshas been further reduced, and is now 330. -
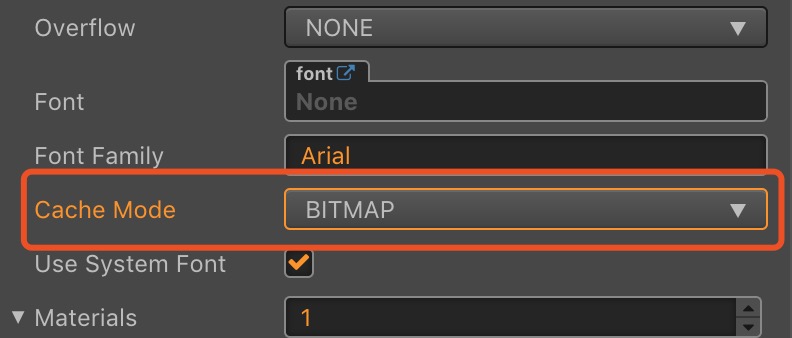
If we used dynamicAtlas feature, then we can use
SystemFontobjects withLabelobjects, and can make sure theLabelobjects CacheModde property has changed toBITMAPmode.In BITMAP mode, the
Labelobject’s texture will be handled as aSpritetexture, and flow into dynamicAtlas. Then the texture betweenLabelandSpritecould be merged. The result:It should be noted that the dynamicAtlas feature will bring more CPU calculations and overhead due to rendering the dynamicAtlas texture.
-
-
Only displaying what we need
- The
Nodeobjects that are off screen (outside what we can see) do not need to be rendered. Through the calculation of the cell’s position, we can know what cell should be visible and what cell should be hidden. We can use this to set theopacityproperty ofNodeobjects that do not need to be displayed to 0, then we can reduce the cost of GPU cycles, and therefore reduce the number ofDrawCalls. This is some example code:
update (dt) { var viewRect = cc.rect(- this.view.width / 2, - this.content.y - this.view.height, this.view.width, this.view.height); for (let i = 0; i < this.content.children.length; i++) { const node = this.content.children[i]; if (viewRect.intersects(node.getBoundingBox())) { node.opacity = 255; } else { node.opacity = 0; } } }-
The logic is in the
updatefunction, you can also put this code in the scrolling callback ofScrollView, then we do not need to calculate every frame, this is then only calculated when we need to reduce the cost of CPU.We can see the number of
DrawCallshas dropped to 68 based on using dynamicAtlas.
- The
-
Try to implement your interface without using
maskcomponents, or usemaskcomponents as minimal as possible.-
Because the
maskcomponent needs to add render commands to change the GL state before and after stencil and content, so themaskcomponent will break the merge and can add additionalDrawCalls. -
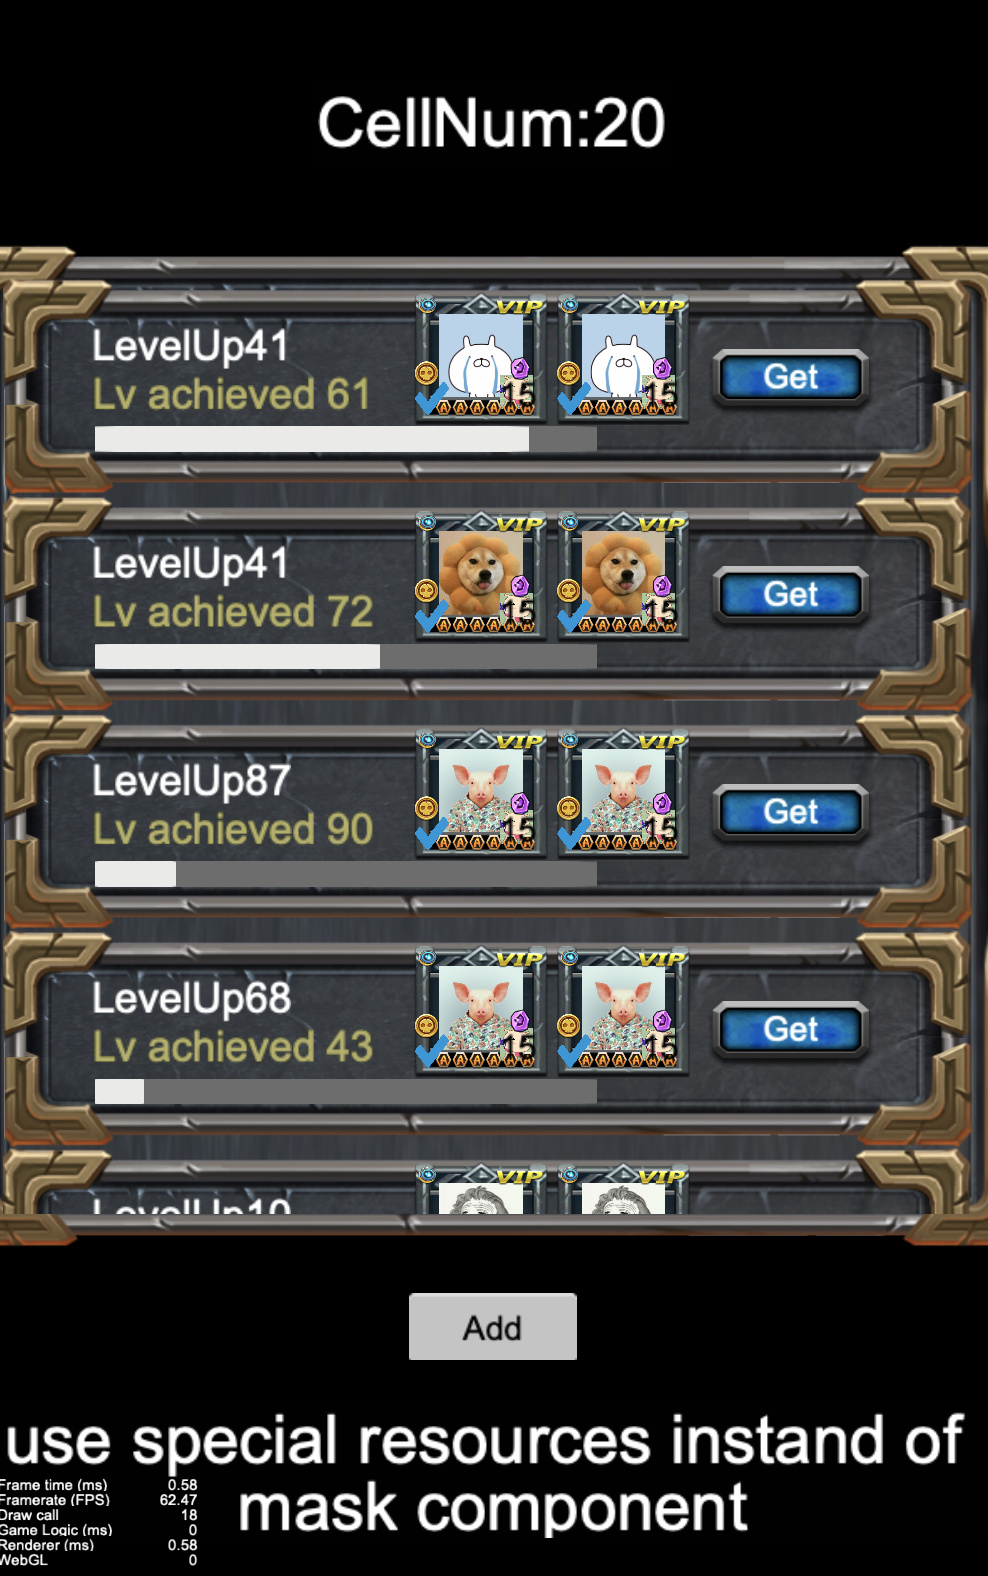
When we need to display some special display, Like icon with rounded corners, try to implement it without
maskcomponent if possible. For example, ask your artist to provide you rounded resources. -
Currently,
maskcomponents,spinecomponents, anddragonBonecomponents will interrupt the batching process, we should avoid them and instead optimize your scene graph. -
In the demo project, each following icon has a child node which used
maskcomponent:
Disabling the
maskcomponent results in the following:Finally, just 18
DrawCalls!ScrollViewhas amaskcomponent which is used for culling the display and we can not avoid this operation.
-
-
Reuse those cells and reduce the number of
Nodeobjects.-
We do a lot of optimization on the number of
DrawCallsalready, but the actual number ofNodeobjects is still very large. When the interface is shown or hidden, a large number ofNodeobjects means a large cost of invokingEnableandDisable. We can reuse those cells and update the location and display to reduce the number ofNodeobjects. -
You can reference the
ListViewcase in Cocos Creator examples. It works as follows:
You can see the detailed code in the ScrollView3 scene of the demo project.
-

Conclusion
Finally result as follows:
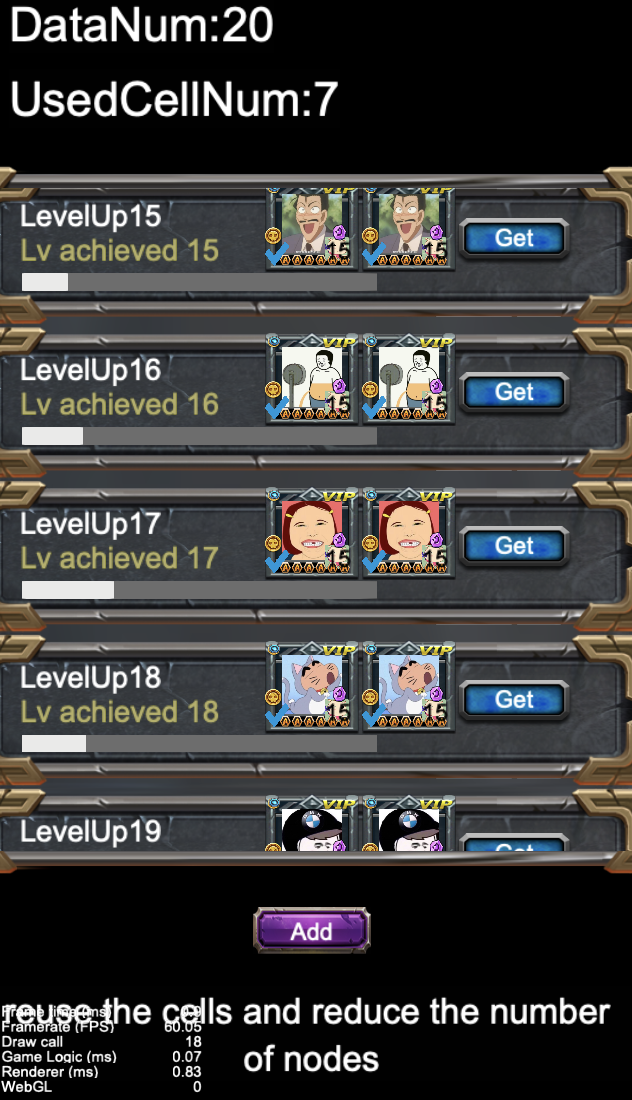
We use only 7 cell nodes to achieve a list of 20 cells, the number of DrawCalls is down to 18, and the actual number of nodes used is about 300, much less than the 1000 we started out with. If you take into account some of these common ScrollView optimizations it can greatly improve the performance of your game.
Thank you for reading!