Background
This tutorial shares how to build a physics drawing line game. It’s a more classic 2D gameplay where you draw lines to protect a player.
Most games with drawing lines use the box2d physics engine, as box2d is relatively tiny.
This article will explain how to develop a physics drawing line game from the start of a project to the game logic and support user-generated levels and level sharing.
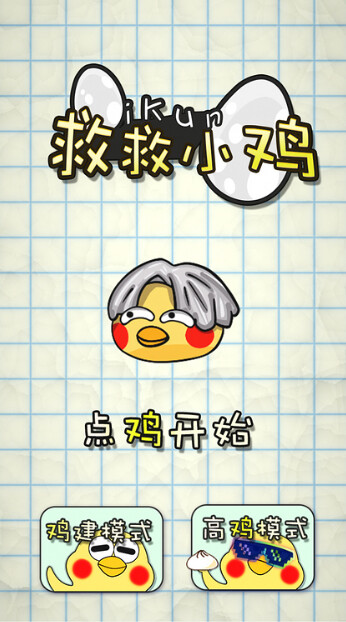
Link to experience: Cocos Creator | savemeow
Link to Cocos Store: (China only) 救救小鸡-PRO | Cocos Store
Game Setup
The game’s core gameplay is that the player needs to protect their chicks from the little black chickens.
In the world, many black holes suddenly appear, and many little black chickens are coming out to hurt our chicks.
Players must draw lines with their fingers to protect their chicks from the attacks of the little black chickens and other dangers in the game space.

Considering the cost of production, the game art will be drawn in a simple hand-drawn style, using paletton to select colors closer to proper design, dragging the color palette, and saving the scheme that looks best to the eye.
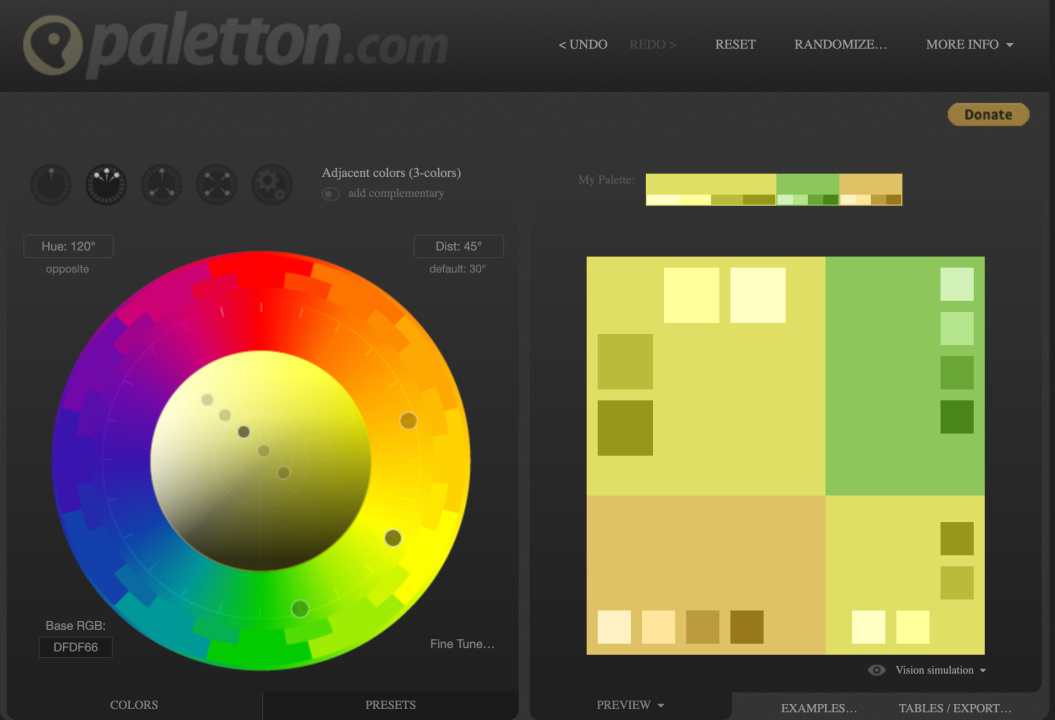
This confirms the overall style of the game.

The color palette used in the game can use rounded rectangle shrink to a minimum (such as 15px, the output into 15 + 15 + 2 = 32px, set aside 2 px for stretching it), the game UI framework adds up to only a few kilobytes, reducing the memory at the same time, you can also improve the loading speed.

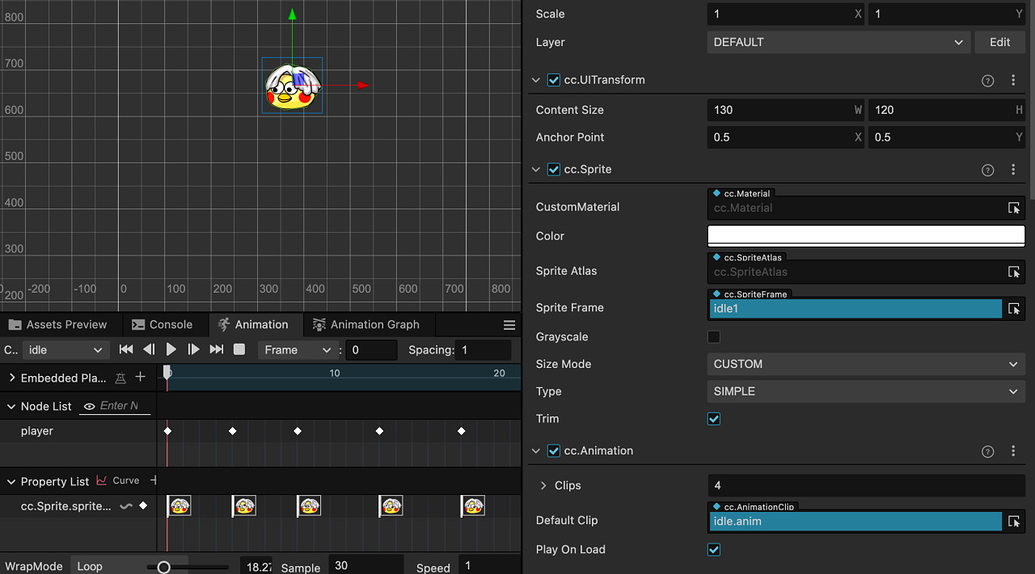
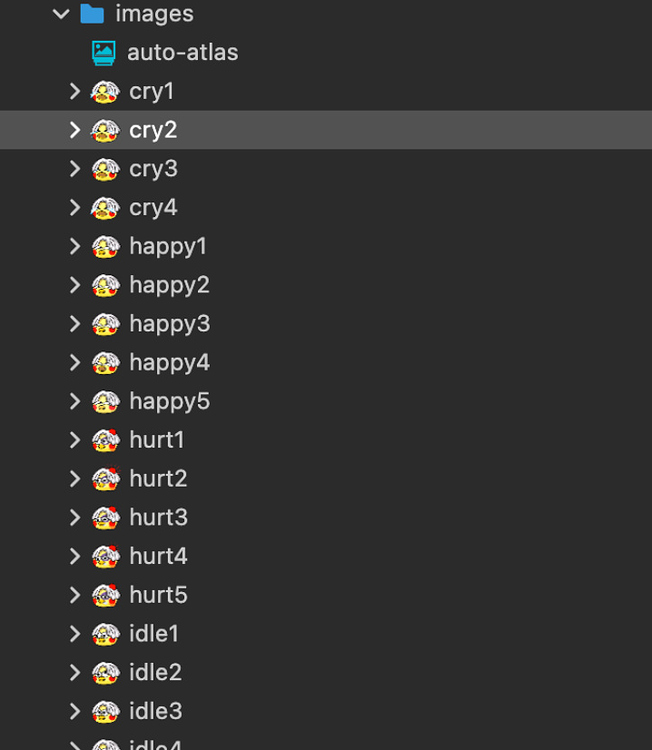
Considering the hundreds of dollars for a license to Spine professional version, the animation effect in the game is unified using Cocos built-in animation editor + sequence frame animation. Sequence frame animation using Photoshop production. After drawing our character, we copy several groups in Photoshop, adjust the character’s facial features, and output the sequence frame. If some are similar, they are eliminated to reduce the volume of the animation.
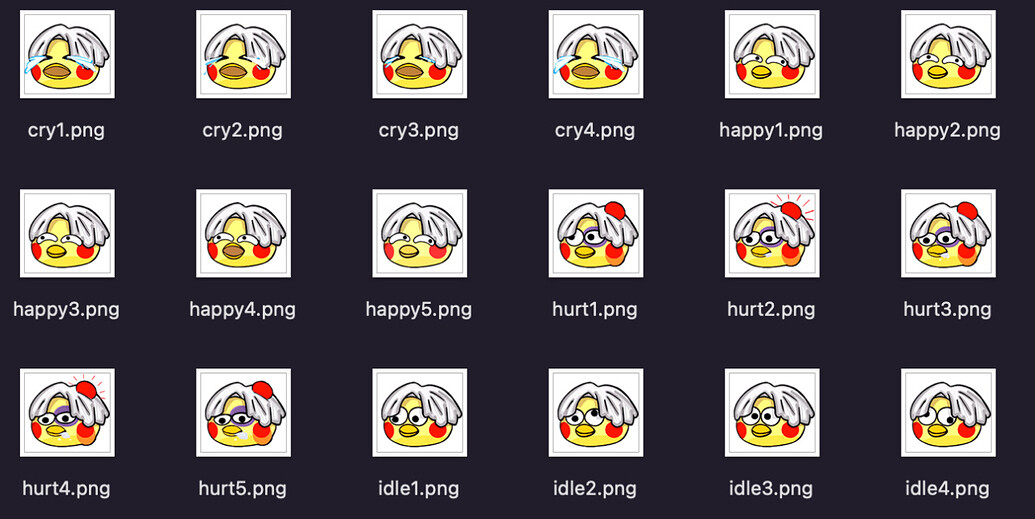
It is relatively simple to create a sequence of frames in Cocos, use 30 frames for the animation, create a new animation, create an animation component on top of the sprite, and replace the image in the corresponding keyframe.
There is no need to merge the created sequence frame animations, just drag them into a folder and pack them using the automatic atlas that comes with Cocos.
Custom Grid Backgrounds
Considering the game’s background is a paper world, and it needs to support user-generated content and simple AI, we need an image background with a grid. However, using an image background + grid image is not flexible enough. At the same time, the effect will be somewhat rigid and lacking randomness, on the shadertoy ported a paper grid effect.
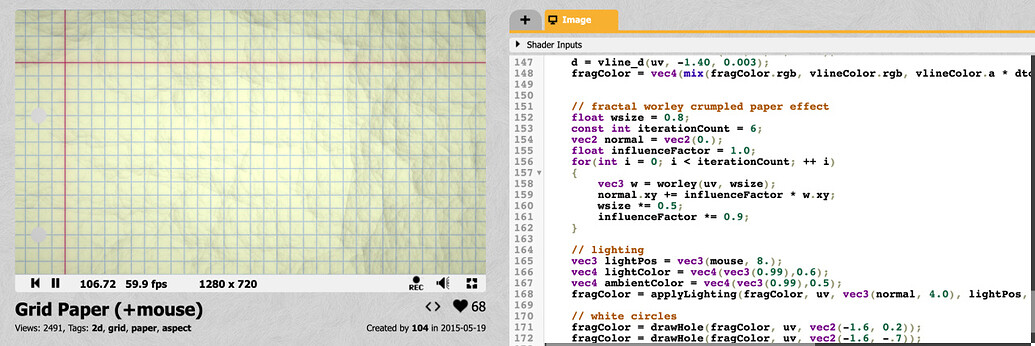
The original shader had more loops and a more realistic style. Here, it has been simplified somewhat.
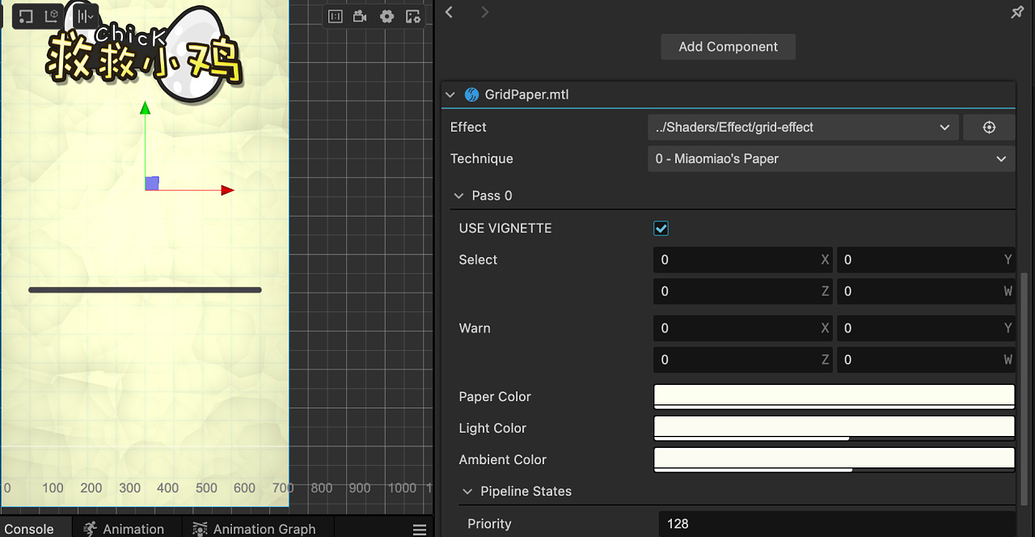
Here are the common properties in the shader that are exposed, adjusting the overall style to be consistent with the swatch.
Also, there are three scenes within the game, the game interface, in-game, and game editor, all of which use this shader’s image as a background, where the color a_color that comes with the sprite map is used to control the grid color.
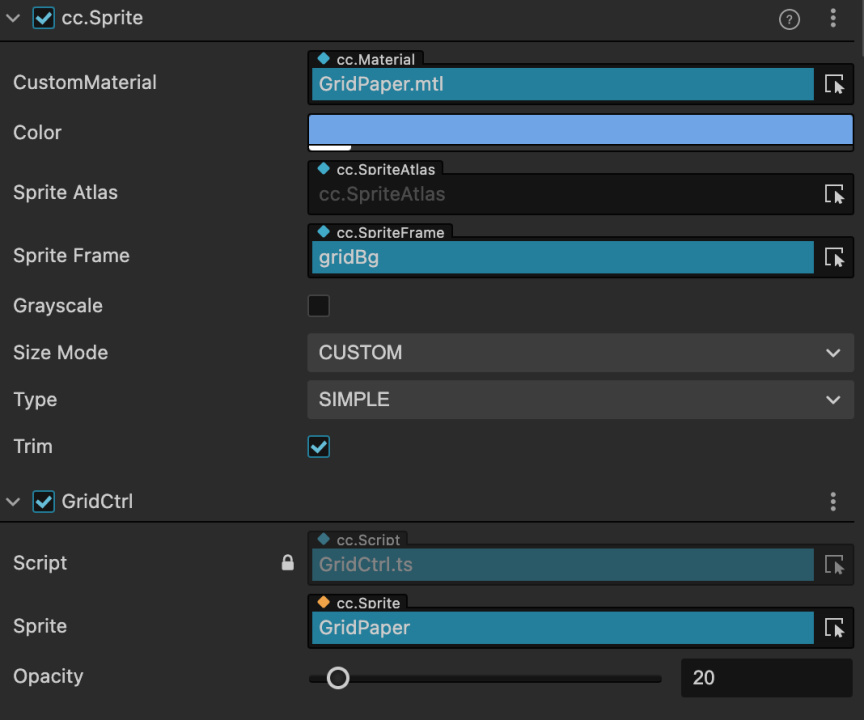
Using a simple script to accept global events that can modify the color of the grid (only transparency is adjusted here).
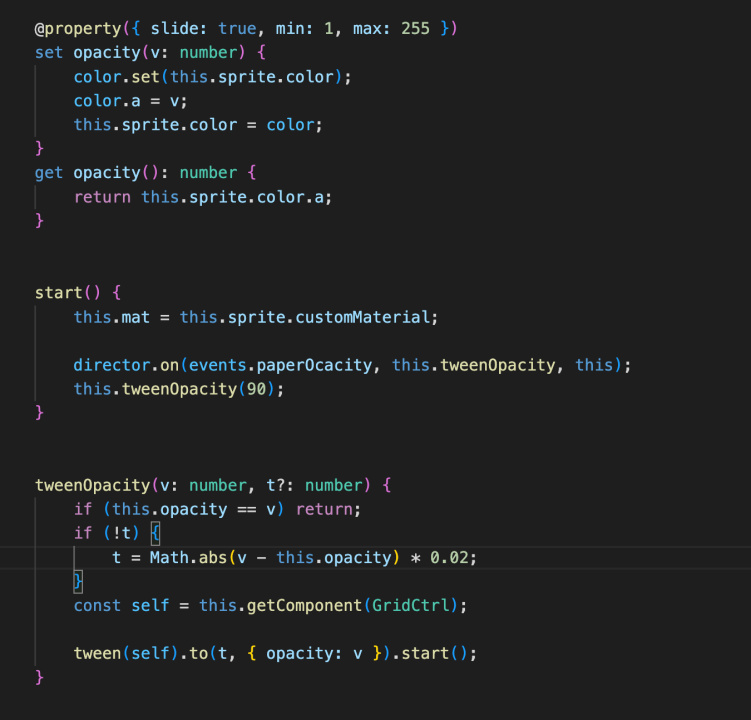
The effect is as follows:
Considering that the game’s user-generated content map editing needs use the grid, Astar grid navigation is also needed. We take the visual direction of the image as an example, the xy direction of uv in the shader is the left image, and the grid serial number of the astar algorithm from small to large is the right image
Considering that the game’s user-generated content map editing needs to use the grid, Astar grid navigation also needs. We take the visual direction of the image as an example. The xy direction of uv in the shader is the left image, astar algorithm grid serial number from small to large is the image on the right.

So we need to have converted the grid in the shader.

Also, considering the algorithm’s simplicity, no screen resolution adaptation is made here. The default design resolution is 750x1334, and the maximum display height supported is 750x2.2x = 1650 (the maximum size of most full-screen phones)
After uv unification, we need to set up the grid display. The default yellow is the safe area coordinates, indicating that objects can be placed or have objects, and red is the danger area, indicating that objects can not be placed.
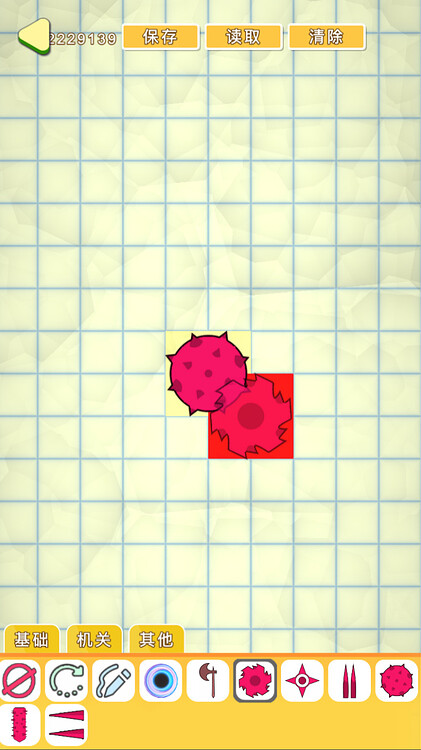
We define the post color and the order of the colors and use the simple AABB four directions in the shader to make the determination. Those within range change the color to yellow safety or red warning color.
Also, shader adds the worley creasing effect to the material’s macro for easy customization of switches
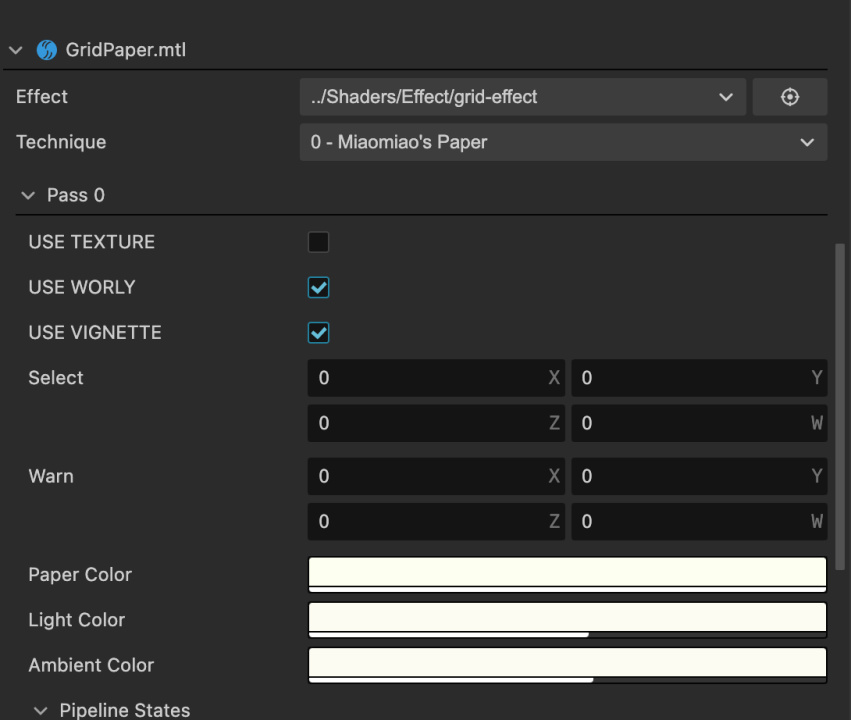
If you need to use your own image as a background, you can open the Use_Texture macro and just use a 750x1650 background.
With the above preparation, we are ready to start the map editor.
Map Editor
Before the map editor, we determine the overall grid size to be 75 pixels and the maximum resolution of the design to be 750x1650, which is 10x22 grids, and define a global class here to record these configurations.
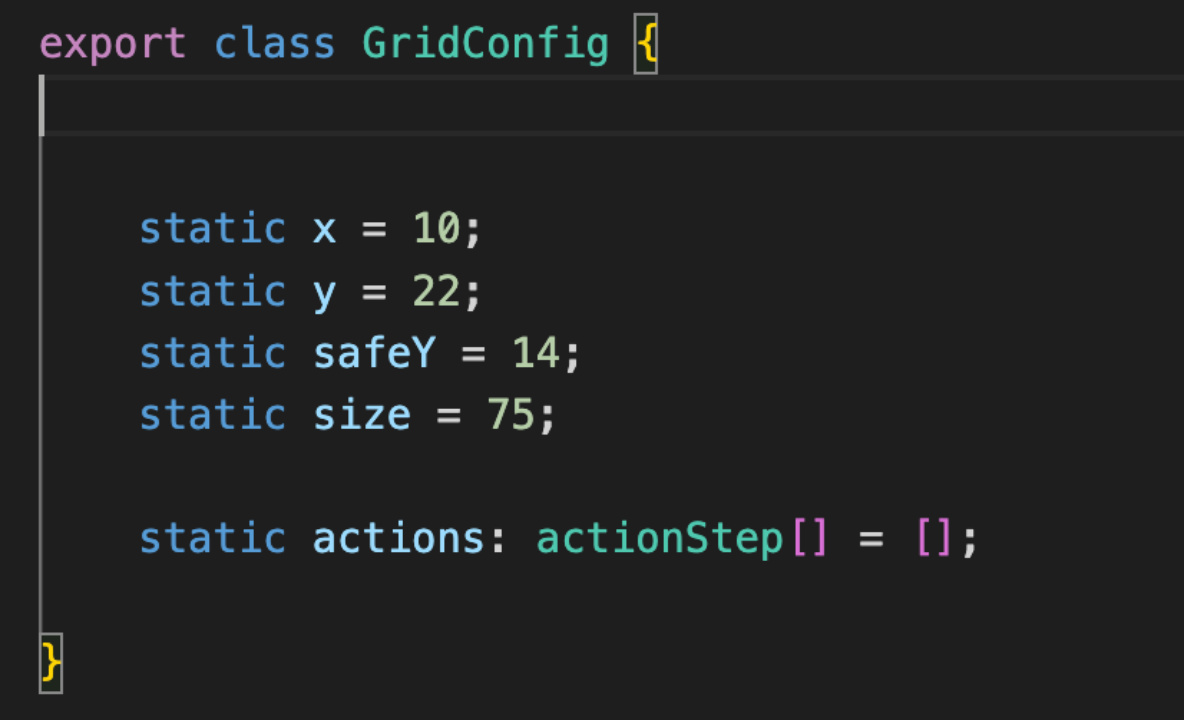
The number of squares for each item can be divided by 75 for the length and width of the picture of the object, respectively, and then rounded up.
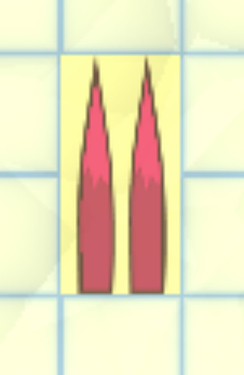
(e.g. spikes, is 60 x 148 resolution, which is exactly 1*2 grids).
We process this part of the data in advance when initializing the object to avoid double counting.

Next, the location of the drop point is decided according to the odd or even number of the grid, which can be divided into two axes, x and y, and treated separately.
If it’s an even number, you don’t need to do the offset. Just drop the point in the middle of the grid. If it’s an odd number, you need to offset by one grid unit and use Math.floor to find the smallest integer grid for even numbers and Math.round to find the nearest grid for odd numbers.

Detection on the map used to do the query. When the data is detected, we have to multiply the range of the grid with collisions by 0.1, so that the x range of the grid from 0 to 10, into 0 to 1, y range from 0 to 22, into 0 to 2.2, exactly and our shader uv correspondence (shader internal to the original uv. y also multiplied by 2.2, and not 0 to 1 anymore).
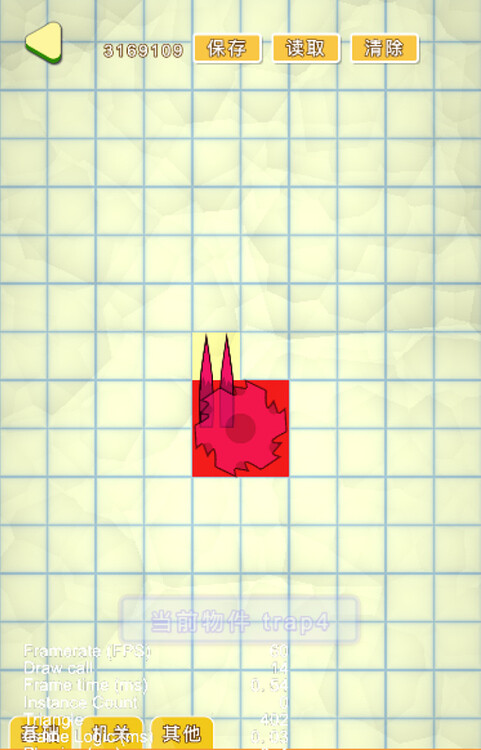
When we detect a collision body, the surrounding area of the current object will turn red, and the location around the presence of the collision body will table yellow.
There are several enumerations of object names defined within the game. When their names match, the initialization will be marked as a draw line tool, delete tool, or rotate tool. When the result is detected using these tools, the selected object will be highlighted, and the corresponding operation will be performed.
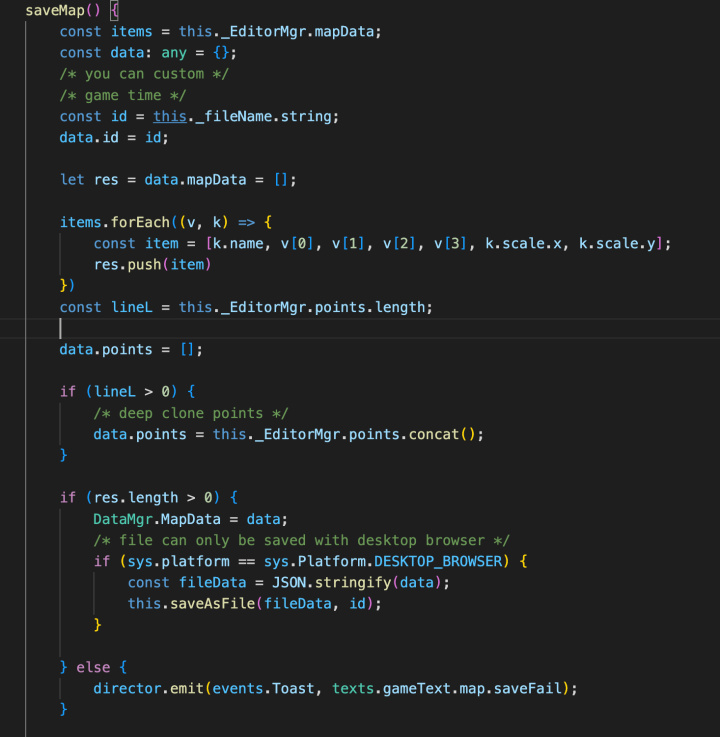
When saving the level, we only need to record the start and end range of the grid of the object, which is the data saved by the map before and record the scale of the object. x and scale.y records the rotation in the left, right, and up and down directions. Save it as JSON data, then Stringify the JSON data, and that’s it.
The same logic is used for both the map editor and in-game level reading, and in the case of runtime, we’ll initialize the grid weights in Astar Graph by the way
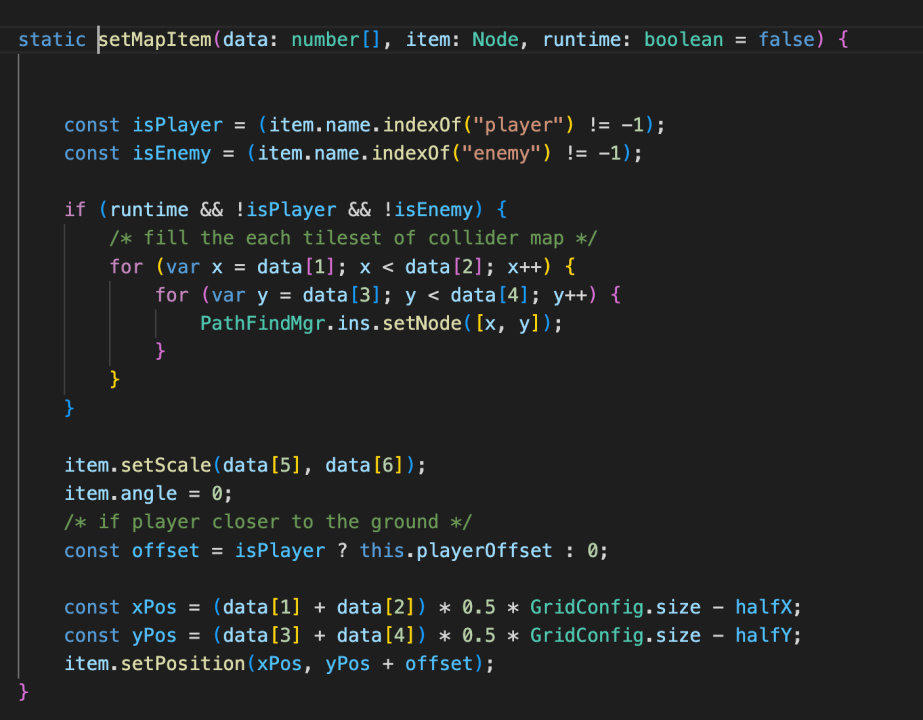
This way, in complex levels, the little black chickens can also pinpoint the chicken
Line drawing algorithm
The core logic of the game is to use Graphics to draw lines and record the path points of the drawn lines, and our map editor will also use this feature to draw auxiliary lines.
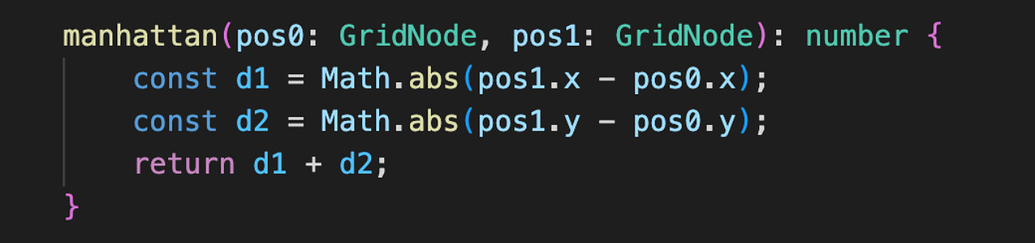
Here the Manhattan distance is used to record the exact movement. When the distance exceeds the set value, we store the path point once and draw the path using graphics.

Here the game environment and the editor environment use different length settings, with the editor being shorter to ensure that the stored level length is small enough.
For the first point of the line, we use the testPoint with the lowest overhead, recording the presence or absence of a collision body. For the second point onwards, a ray is fired from the previous point to the current point for detection.

Note that the coordinate points here need to use the world coordinates of the object.
When the line is drawn, I can then generate collision bodies based on the path points. Here, the collision bodies are generated directly using polygon polygons. The already generated collision bodies are recycled at the beginning of the level to reduce GC using the vec2 class.
We first connect every 2 points into a line and then compare the slope of the direction vector between each line. No trigonometric functions are used here for performance reasons. The slope is judged to be parallel if it is within a certain range and will only go as far as pushing the last point of the second line.

This way, we can reduce the number of path points involved in the calculation by 30%-40%. We use the optimized path points to calculate the polygon polygons that need to be generated. Here we set the start point as 1, the endpoint as 2, and the other intermediate points as 0.
First, calculate the direction vector before the 2 points.
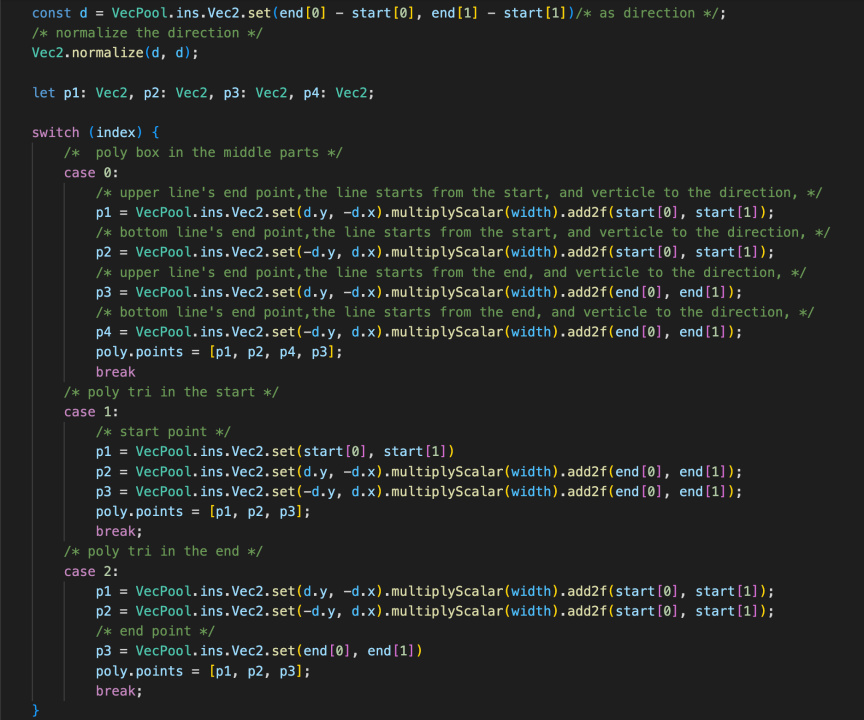
Then calculate the direction vector on the two perpendicular vectors, respectively, multiplied by the width of half of our line segment, and finally, the starting and ending points distinguish plus these two vectors, you can get 3 or 4 path points, you can build out a triangle or parallelogram (considering that the actual point and the ending point may stick to the edge, here the triangle is used to avoid collision conflict correction)
Generating the path points of a good polygon requires us to do an extra apply() once, and all our vec2 are stored from within a single instance of VecPool, reducing GC.
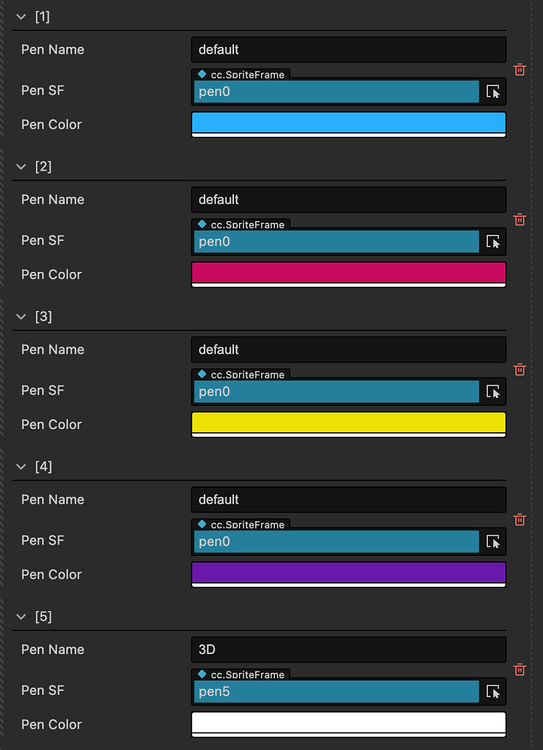
Here there is additional support for the Graphic’s custom materials, and the player can change the brush color within the game
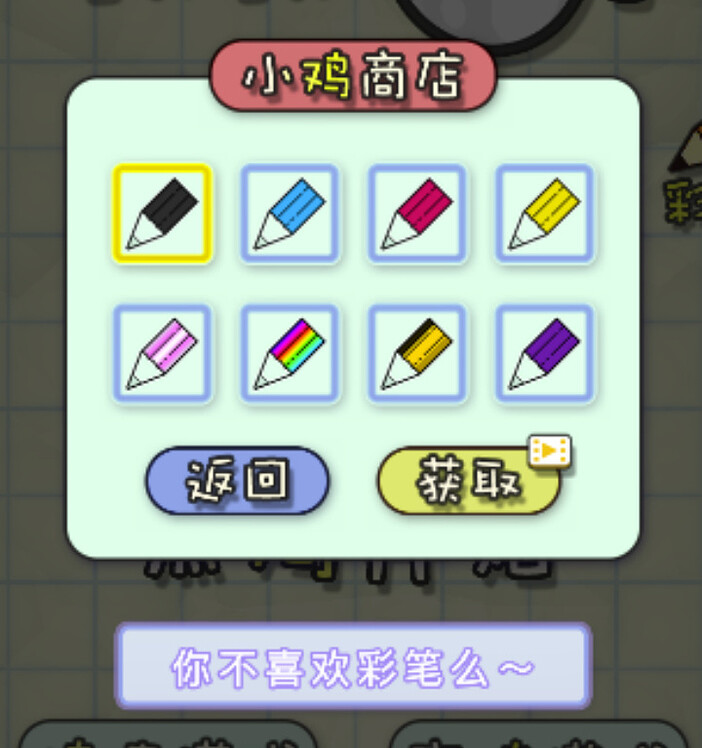
We configure the material colors and material names in the entry script, and the store and gameplay can just load them according to the configuration.
Thanks to the community for the great shader.
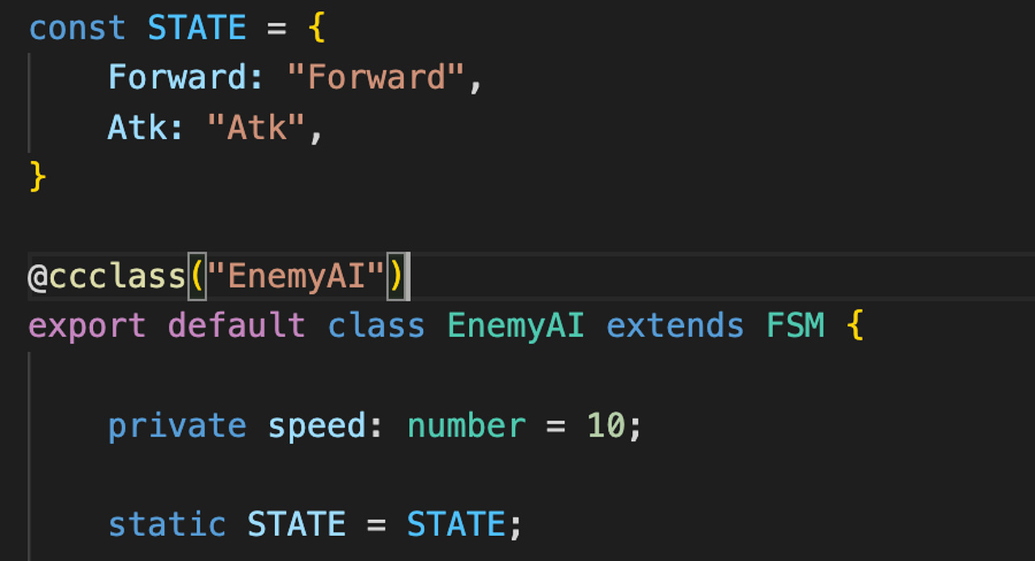
Status Machine
Once the lines are drawn, it’s time to notify the little black chick to set off to attack our chicks.
Here we use Cocos update. When switching state, it will first execute the onEnter method, then execute the onUpdate method. Here you can pass the current state, and the previous state, which is convenient for doing the logic switch. Here we will record the dt and duration time, convenient to inherit the state machine class use.
Black chicken’s AI inherits the FSM state machine, and the whole state is relatively simple, with only two states: pathfinding and attack.
The pathfinding phase uses the Astar algorithm, which advances to the next path point for each path point found. The pathfinding uses the character’s direction vector multiplied by a certain distance to detect the presence of physically drawn lines.

When a physically drawn line is detected, it is attacked on the physically drawn rigidbody2d, and by applying a velocity vector to the rigidbody2d, the line can appear to be lifted.
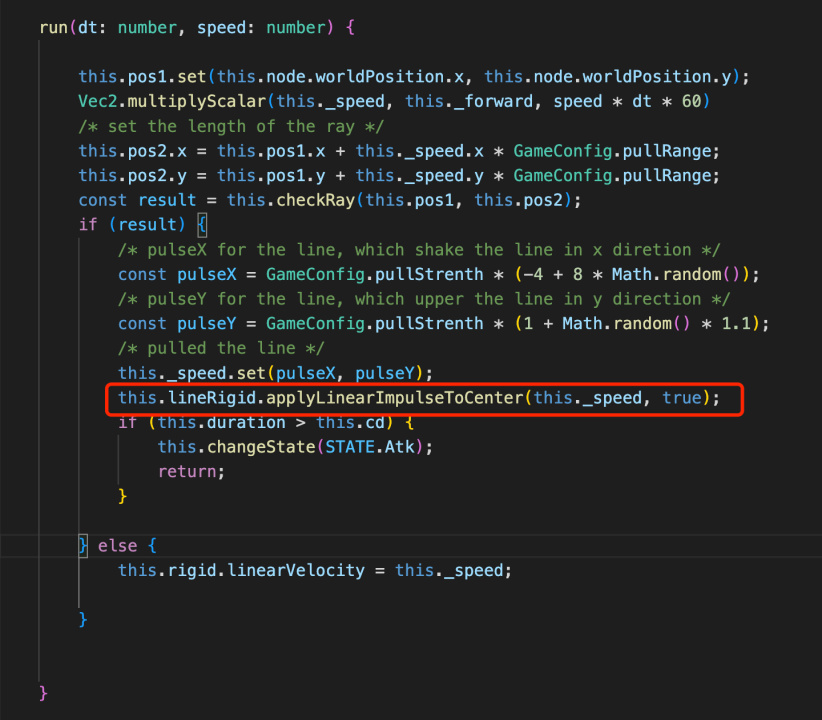
We’ll do random left and right in the x-direction, and enclose the y-direction with upward, also randomizing a certain value.
The chick’s state machine is relatively simple, with only basic collision detection. When a collision is detected, it triggers an injury, and the game fails.

Wayfinding navigation
Here we use the same A* navigation algorithm as in EasyNavmesh, with the exception that we use a single instance for management.
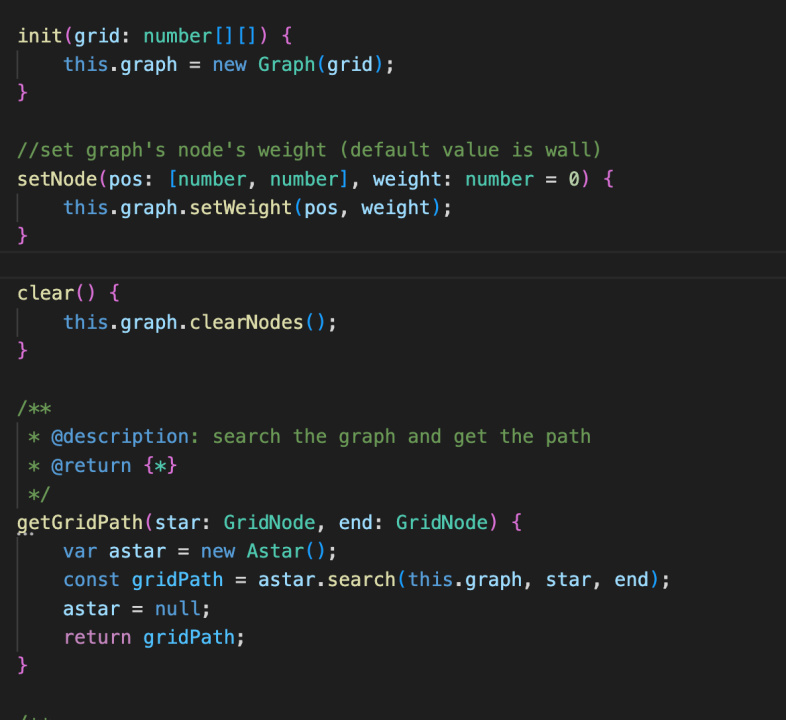
Here Astar is translated to the TS version, with strong type judgments added to the methods. The distance algorithm is changed to the Manhattan distance function.
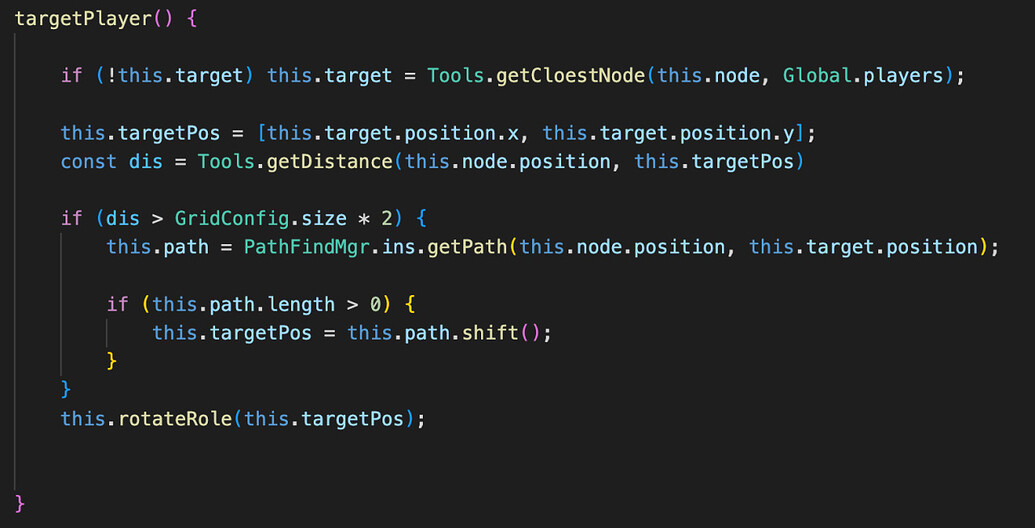
The in-game FSM also uses the Manhattan distance and will pathfind once more when our path point is gone, and we are more than two squares away from the target.
This is the whole extensive logic of the game broken down.
In-game photo taking
In-game objects and UI are divided into Default and UI_2D groupings, and two cameras are created. Screencam usually has an empty visible grouping, and the Default grouping is only visible when a photo is taken.
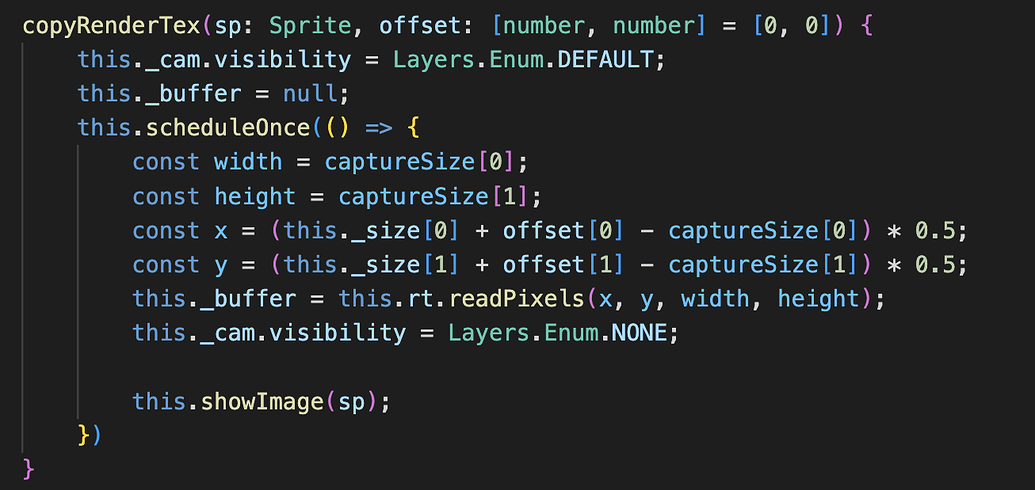
A split second after the screenshot is taken, we read the pixel points from the camera’s RenderTexture and pass in the character’s offset to ensure that the screenshot is not too wide and that the camera doesn’t go out of frame against the character.
Level-sharing logic
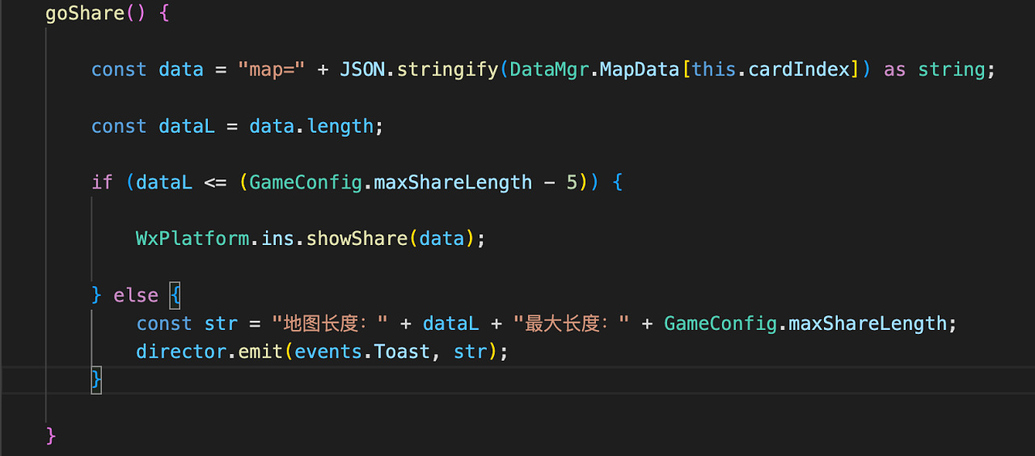
Level sharing does not use the cloud server. Here, I use the query parameter in WeChat sharing. The query can store the maximum length of 2048 string (Tested, and 4096 can also run. I am worried that some phones may have compatibility problems, so here the maximum set to 2046)
We can convert all the current levels to STRINGS when we share them and put them in QUERY.
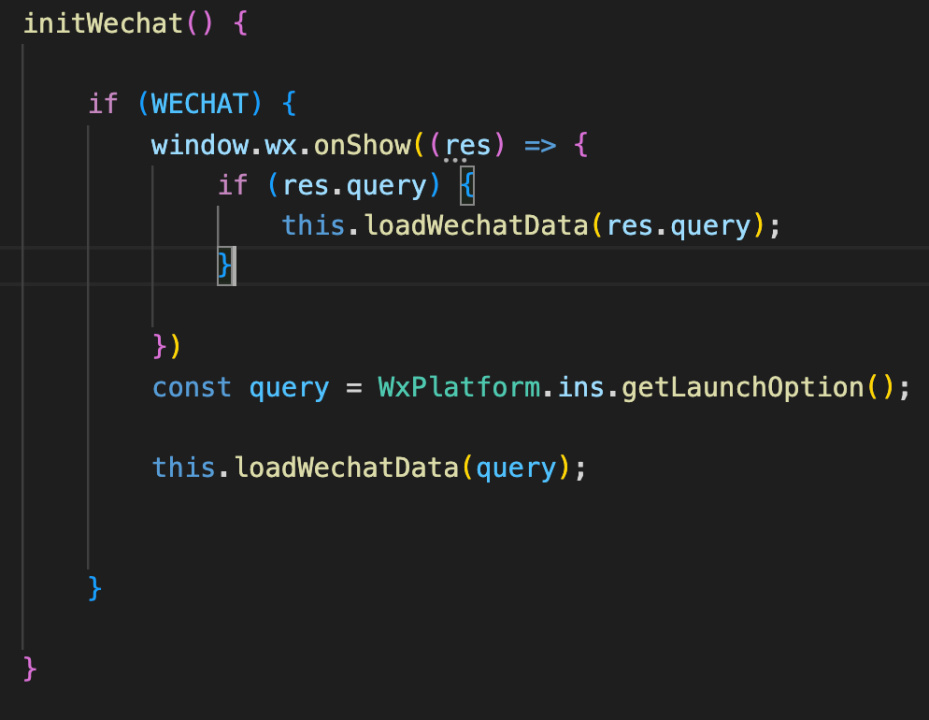
When we share it with other players and other players open it, it will detect if there is a corresponding query during game initialization and wx.onShow.
The WeChat getLaunchOption is what will be available when you first enter the game, wx.onShow is when the background switch back is triggered when the query is detected, and the level data within the query is valid. Then you can initialize the level
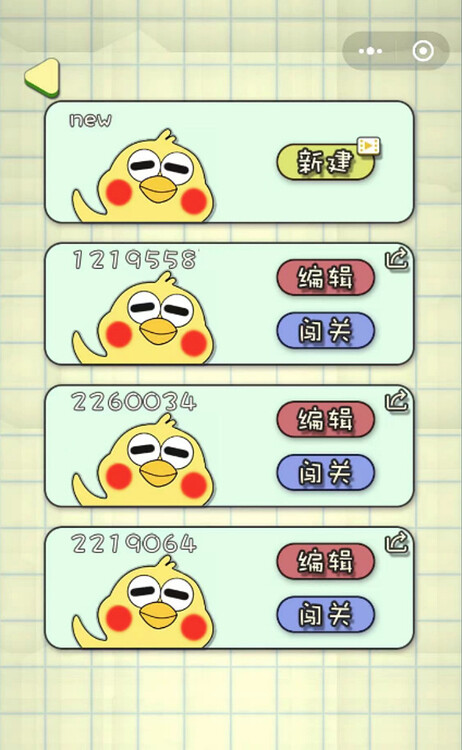
In-game display of friend’s user-generated content levels

Friends open the level.