Hello I’m using cocos2dx c++ with windows and visual studio
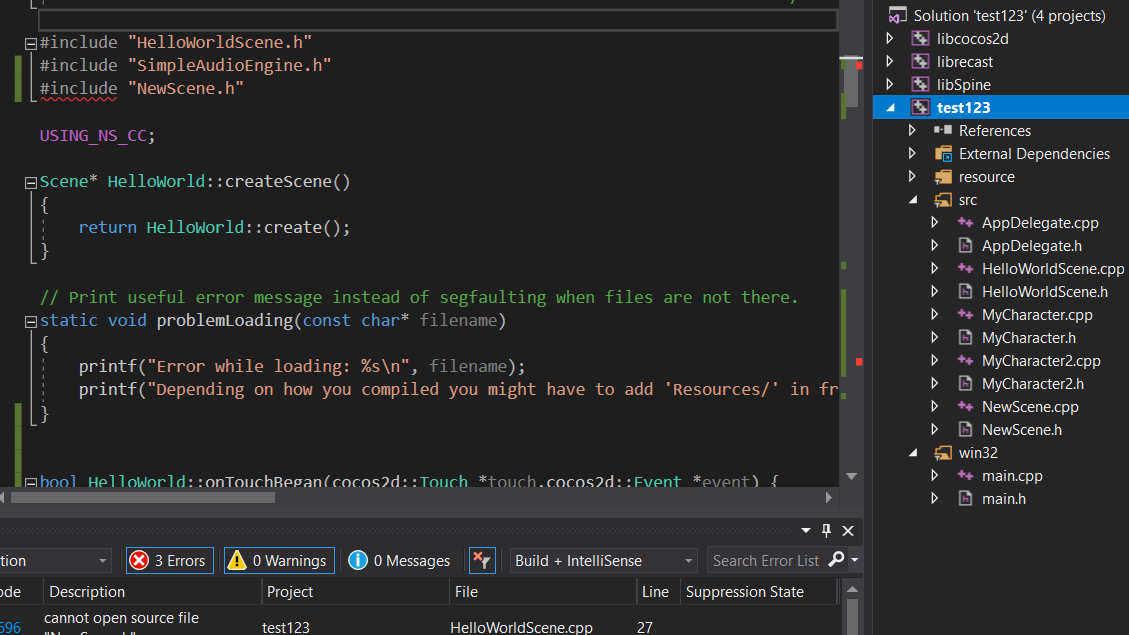
I wrote when i try to create a new scene class in visual studio and try to include its .h file in the .cpp file it keeps saying cannot open source file NewScene.h
Now to generate the correct VS project files, open a command prompt, go into your game root folder, then do this:
For Visual Studio 2017:
mkdir win32build && cd win32build
cmake .. -G"Visual Studio 15 2017" -Tv141
For Visual Studio 2019:
mkdir win32build && cd win32build
cmake .. -G"Visual Studio 16 2019" -Tv142 -A Win32
In Visual Studio, open the win32build\*.sln solution file, and you should see a completely different file structure in your solution and projects, and that should work.
ok i did that i noticed whenever i add a new class
with new class buttons when on visual studio
where it generated a .h file with the new project
it generates it not in the classes directory of cocos2dx
it puts it in the win32build directory
instead so when i include the Genos.h file
in the helloWorldscene.cpp it doesnt find it
and new class button doesnt let u change the directory location
so i try to do it with the new item button but it only generates
one file at a time .h or .cpp so i gotta do it twice for each class
and its default directory it win32 folder so i gotta change that everytime also which is extremely tedious as i thought it should work correctly when i right click Classes or Src folder and pick add class it visual studio should generate the .cpp and .h file in the correct location Is this how you guys work with it by default? I googled how to change working directory from properties for visual studio and did and then made a new class and its still making it in the win32build folder
This is not an issue with Cocos2d-x, nor with CMake. It’s a Visual Studio “feature”, and one that a lot of users of Visual Studio have complained about, like here. One day they may change the behavior, but for now you have several options.
Create the CPP and Header file separately, by right clicking Classes folder -> Add -> New Item. Create a header file, and then a cpp file. This is not the preferred away by any means, and there is a better way.
If you own a license for JetBrains C++ ReSharper (and if you don’t, I recommend that you consider it), then you can right click the Classes folder, then you click Add -> New From Template -> Class, and that WILL go into the correct folder.
Remember that what you see in your Visual Studio C++ project explorer are not real folders, they’re ‘filters’, each of which may or may not represent an actual folder depending on how you’ve set it up. This Smart Create C++ Class plugin actually creates the folder on disk if you right click on it to create a class, at least going off the description.
Last option, write your own VS plugin to do what you need (depends how annoyed you get by this VS behavior). You could fork the Smart Create C++ Classgithub repo and build on that.

 (depends how annoyed you get by this VS behavior). You could fork the