Hello!
I’ll go straight to the point. I have a single image, which serve as puzzles, and I need to load them as whole images, and then cut them into different pieces, the “puzzle pieces”. I have the images which will serve as mask for the different pieces, but I have no idea how to do it.
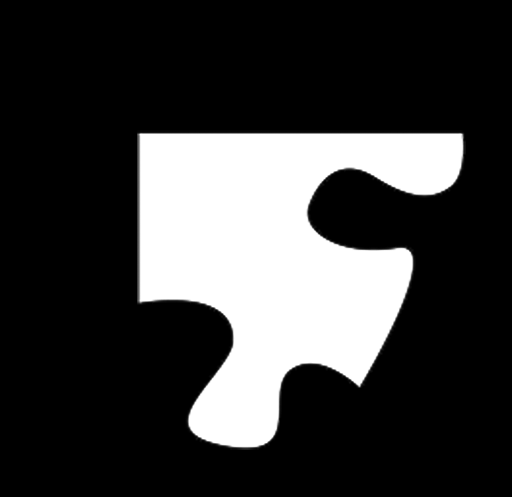
This is one of the masks, for example:
Unfortunately I’m too busy to provide source code, but the way I would tackle this would be:
For each piece,
- Load the mask for that piece as a sprite and use it as the mask for a ClippingNode.
- Load the puzzle image (the image that is being divided into pieces) as a sprite and add it to the ClippingNode.
- Move the puzzle image so that the puzzle piece shows the correct piece of the image.
It may be inefficient to have lots of clipping nodes, so it may be preferable to use RenderTextures instead. For that, load the puzzle image as a sprite and set the sprite’s blending function so that it will only render in the white parts of each mask. (Something like dst of GL_ZERO and src of GL_DST_ALPHA, but I’m not very sure about that.) Then, for each puzzle piece,
- Create a RenderTexture with the size of the puzzle piece.
- Load the mask as a sprite and position it so it will be in the center of the RenderTexture.(Either set its position to X of half it’s width and Y of half its height, or set its anchor point to (0, 0).)
- Set the position of the puzzle image so that the part that matches the puzzle piece is within the bounding box.
- Use the RenderTexture’s beginWithClear function, clearing to an alpha of 0. (So, for example, an RGBA of (0, 0, 0, 0).)
- Use the mask’s visit function, then use the puzzle image’s visit function.
- Use the RenderTexture’s end function.
- Not sure the proper way to use RenderTexture for a scene, whether you just add it as use it like a sprite, or if you extract its sprite and add that. But somehow add the sprite generated by the RenderTexture to your scene.
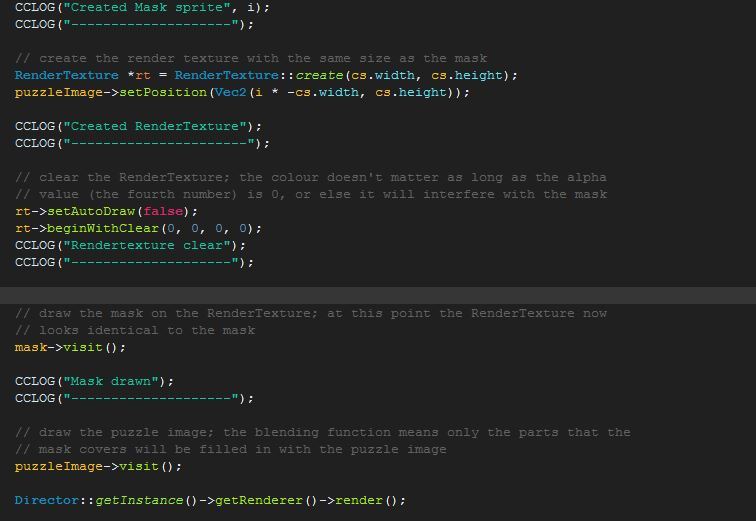
OK, I wrote some code:
   // load the image the makes up the puzzle
    Sprite *puzzleImage = Sprite::create("HelloWorld.png");
    // set the anchor point to the desirable value
    puzzleImage->setAnchorPoint(Point(0, 1));
    // set the blending function that will only draw the picture in the opaque
    // parts of the mask; this method also draws the mask where not covered by
    // the puzzle image which can help with making sure everything is sized properly
    puzzleImage->setBlendFunc({ GL_DST_ALPHA, GL_ONE_MINUS_SRC_ALPHA });

    // iterate through each puzzle piece; to test the code, I just made it create
    // 2 identical puzzle pieces
    for (int i = 0; i < 2; i++) {
        // load the mask sprite; this just uses a single image for testing purposes, but
        // you will likely want this to change every iteration
        Sprite *mask = Sprite::create("Puzzle2.png");
        Size cs = mask->getContentSize();
        // center the mask
        mask->setPosition(Point(cs.width / 2, cs.height / 2));

        // create the render texture with the same size as the mask
        RenderTexture *rt = RenderTexture::create(cs.width, cs.height);

        // position the image so that the correct part of it is over the puzzle
        // piece; this position here, combined with the anchor point set earlier,
        // means the first puzzle piece will match the top-left of the image, and
        // the next piece will cover the next part of the image along the top;
        // remember to move the image in a negative direction to move it left or up
        puzzleImage->setPosition(Point(i * -cs.width, cs.height));

        // clear the RenderTexture; the colour doesn't matter as long as the alpha
        // value (the fourth number) is 0, or else it will interfere with the mask
        rt->beginWithClear(0, 0, 0, 0);

        // draw the mask on the RenderTexture; at this point the RenderTexture now
        // looks identical to the mask
        mask->visit();
        // draw the puzzle image; the blending function means only the parts that the
        // mask covers will be filled in with the puzzle image
        puzzleImage->visit();
        // the renderer needs to be called to finalise generating the image, or else
        // the RenderTexture won't get its final image until the next draw call, which
        // means the puzzle image will be in the same place for each puzzle piece, i.e.
        // all the pieces will cover the same part of the puzzle image
        Director::getInstance()->getRenderer()->render();

        // finish rendering onto the render texture
        rt->end();

        // not sure how you are suppose to use the final image of the RenderTexture, but
        // I imagine getting rid of the RenderTexture and just using its texture is best.
        Sprite *rtSprite = Sprite::createWithTexture(rt->getSprite()->getTexture());
        addChild(rtSprite);
        // RenderTexture produces a texture which is inverted, so you need to uninvert it
        // to have it right way up
        rtSprite->setFlippedY(true);
        // put the puzzle piece wherever you want on screen
        rtSprite->setPosition(Point((i + 0.5) * cs.width, 200));
    }
This was tested with Cocos2d-x 3.6 with an OSX app. It uses the default project generated with Cocos, with the unnecessary parts of the HelloWorldScene class removed.
2 Likes
Thanks for your answers mate, I really apreciate it  I’ll be testing it today.
I have tried, but I get an error (One that is usually related to memory errors, when - for example - you try to access an object that hasn’t been initialized, or is null.
The error comes out when I reach mask->visit();
Here’s a snapshot of my code:
Im a complete rookie in this topic, so I really hope you can help me.
If you are getting an error associated with null on mask->visit(), it would be likely that your mask didn’t load, which most likely means the filename of the image file to use doesn’t exist. Make sure the file in the line Sprite *mask = Sprite::create("Puzzle2.png"); is a sprite that actually exists.
I’ve already checked, its a valid sprite and it loads it just fine.
Oh right, I forgot to mention, while I was testing this code, it didn’t work if I put it in the init method. Is it in your init method? If so, try moving to onEnter.
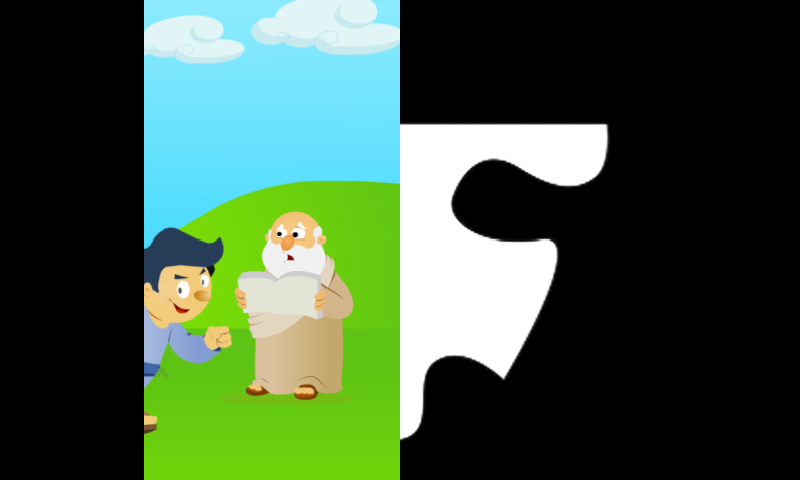
I got the code working, but performs weird. This is the result:
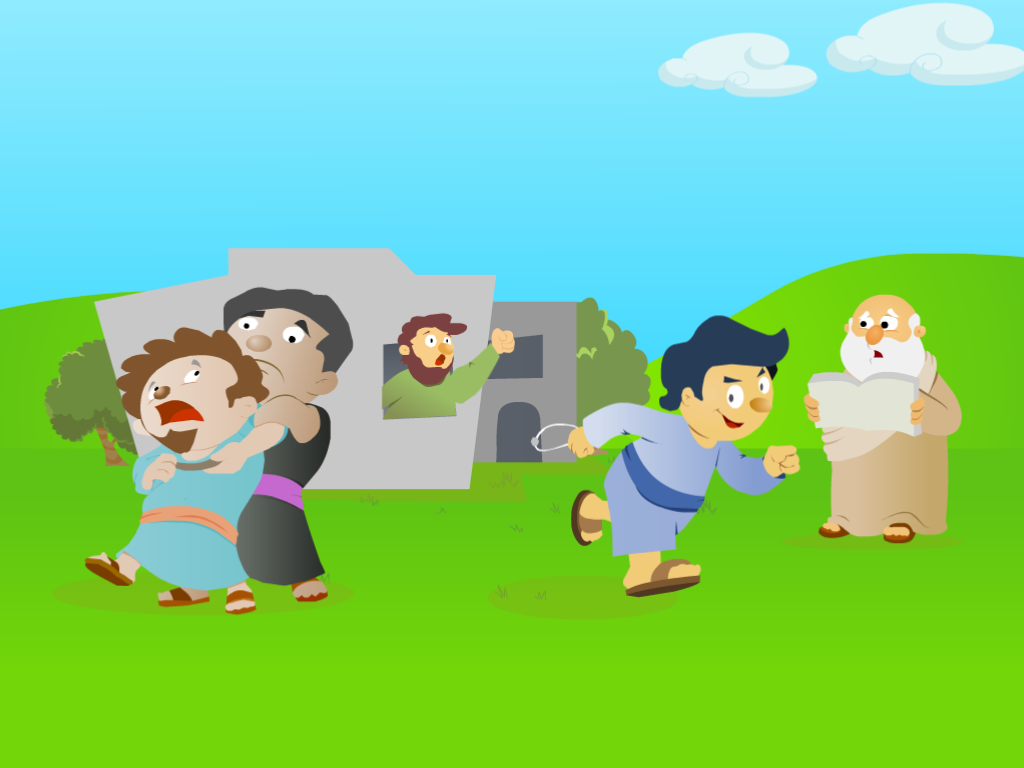
And the image I need to cut is this one:
OK, so the your mask needs to be opaque (coloured) where you want the picture to appear on your puzzle piece image and transparent in the areas you don’t. When I downloaded your puzzle piece from here and tried the code, it didn’t work until I remembered that the background of the mask image is black not transparent.
Is the background of your mask (puzzle piece image) black?
 That’s what I did to your puzzle piece example.
How did you do it? 
I checked, and the puzzle piece image has no transparency. BTW in the screenshot I put, I forgot to tell I don’t have any background for the scene, that’s why everything shows black.
Thank you for being pacient and help me 
You use an image editing program, select the black and hit delete. I used Photoshop, but if you don’t have that there’s Paint.NET for Windows and I think Gimp is the same sort of thing and is on Windows, OSX and Linux.
So I should delete the black parts of the mask then, now should I leave that transparent? And after that I’ll try your solution again.
Yes. To put it simply, the way the blending function works is by going through your mask pixel by pixel, reading the transparency of that pixel and drawing a pixel from your puzzle image in that location with that transparency. So areas of the mask that are transparent will have get any of the puzzle image, while the places you have colour (the white parts of your mask) will get filled in. Which is what you want.
I imagine you’re very good with image editing and Open GL. Nice
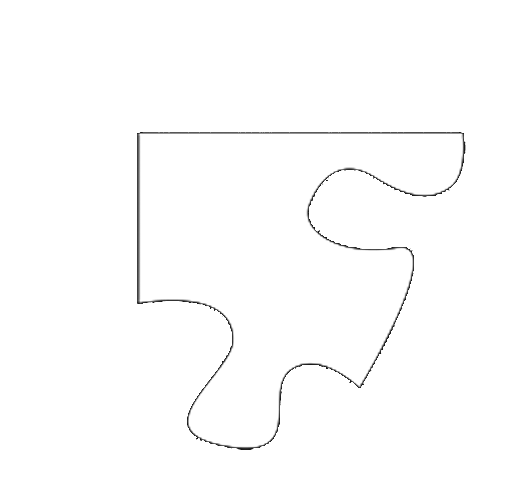
So, this is how I edited my mask image, is this the correct way?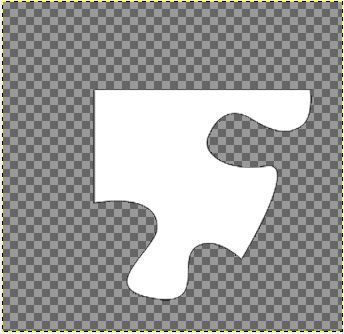
Final result:
Not an expert. Just someone who learns what he needs to know when he needs it.
That should work, but the black border doesn’t look very nice. How did you remove the black background?
For how long have you been working on game development? Just a question
I used GIMP. Using the magic wand tool I selected the black area, then went to the menu bar and went : Layer-> Transparency -> Add alpha channel. Then I used the eraser, enlarged it to cover all the image and used it to erase the black part without touching the white part.
OK. In Photoshop you can use the magic wand tool and press “delete” to delete the selected areas. Don’t know if GIMP is the same or if it would make it look any better. But if you test out your image, it should still work hopefully.
Game development, 2-3 years. Still plenty left to learn though.
You tell me, I have 2 - 3 months in game development XD Thanks for the help my friend, I’ll by trying again 

 I’ll be testing it today.