
Cocos Creator: Getting started with WeChat games (Part 4)
Note: This is a multi-part tutorial: Part 1 | Part 2 | Part 3
Introduction and getting help
You are welcome to post to the Cocos Creator category on the Cocos forums to talk about any issues you encounter during the development process. This tutorial does not teach how to code.
Please prepare your development environment before starting this tutorial. If you are having trouble with our tutorial, please take a look at the following documentation:
Preparing the development environment:
Let’s begin!
In the previous tutorials, we have been completing all the steps to make our game feel like a real, playable, game. In this section, let’s implement allowing the player to control the hook by touching the input.
First, let’s make some modifications to the hooks made in the first parts of this tutorial series.
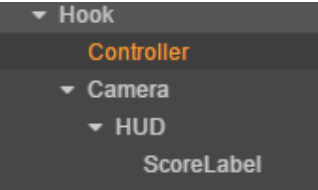
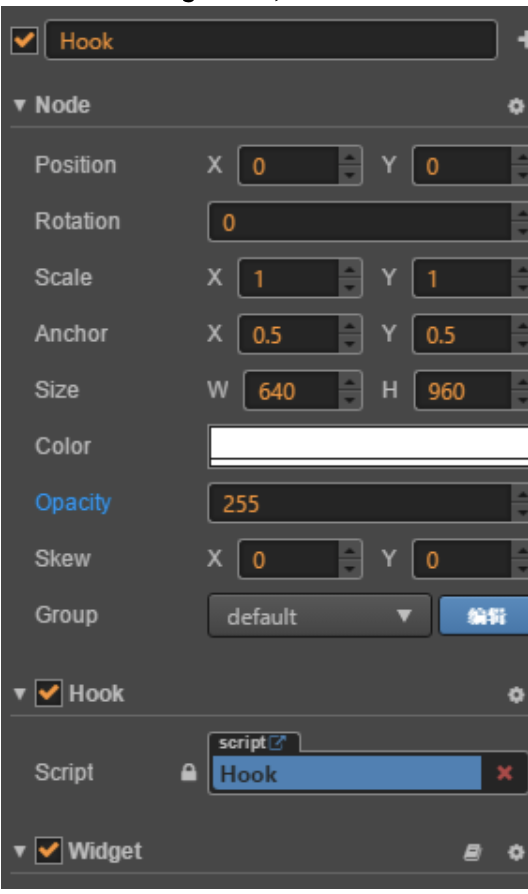
Hook is a widget node, the mount script is the Hook we made in the first tutorial.
Next, change the size to 640 * 960.
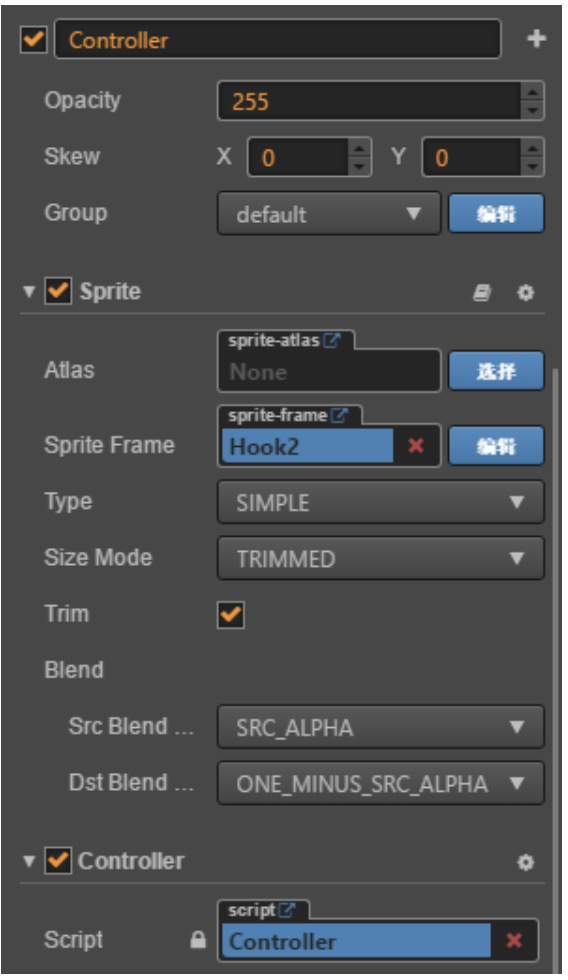
The controller for our hook node is of type: Sprite. Create a new script called: Controller.js
Camera is unchanged from the first parts of this tutorial series.
Third, open Controller.js script, and let’s write the code. Please refer to the Touch Input example. Use the contents of URL in Controller.js.
Fourth, add the property mCanvas in Properties of the Canvas node. Example:
mCanvas : {
  default : null,
  type : cc.Node
}

Fifth, turn on the registration listener touch event and define the callback function for after the touch event is triggered:
Enabling:
EnableTouch () {
  if (this.mEnableTouch)
      return;
  this.mCanvas.on(cc.Node.EventType.TOUCH_START, this.onTouchStart, this);
  this.mCanvas.on(cc.Node.EventType.TOUCH_MOVE, this.onTouchMove, this);
  this.mCanvas.on(cc.Node.EventType.TOUCH_END, this.onTouchEnd, this);
  this.mCanvas.on(cc.Node.EventType.TOUCH_CANCEL, this.onTouchEnd, this);
  this.mEnableTouch = true;
    console.log("EnableTouch");
},
Disabling event:
DisableTouch () {
  if (!this.mEnableTouch)
      return;
  this.mCanvas.on(cc.Node.EventType.TOUCH_START, this.onTouchStart, this);
  this.mCanvas.on(cc.Node.EventType.TOUCH_MOVE, this.onTouchMove, this);
  this.mCanvas.on(cc.Node.EventType.TOUCH_END, this.onTouchEnd, this);
  this.mCanvas.on(cc.Node.EventType.TOUCH_CANCEL, this.onTouchEnd, this);
  this.mEnableTouch = false;
  console.log("DisableTouch");
},
Simultaneously, implement onTouchStart, onTouchMove, onTouchEnd methods:
onTouchStart (event) {
},
onTouchMove (event) {
    var touches = event.getTouches();
    var touchLoc = touches[0].getLocation();
    console.log("touchLoc :" , touchLoc);
},
onTouchEnd (event) {

},
Next, call the EnableTouch method we just wrote in the start method to open the touch.
start () {
    this.EnableTouch();
},
Our last bit of code:
properties: {
    mSpeed : 350,
    mMoveToPos : {
        default : cc.v2(0,0),
        visible : false
    },
    mIsMoving : {
        default : false,
        visible : false
    },
    mEnableTouch : {
        default : false,
        visible : false
    },
    mCanvas : {
        default : null,
        type : cc.Node
    }
},

onTouchStart (event) {
    var touches = event.getTouches();
    var touchLoc = touches[0].getLocation();//Get the coordinates of the current touch point
    this.mIsMoving = true;//moving
    this.mMoveToPos = this.node.parent.convertToNodeSpaceAR(touchLoc); //Convert absolute coordinates to relative coordinates of the parent node
},
onTouchMove (event) {
    var touches = event.getTouches();
    var touchLoc = touches[0].getLocation();//Get the coordinates of the current touch point
    this.mMoveToPos = this.node.parent.convertToNodeSpaceAR(touchLoc);
},
onTouchEnd (event) {
    this.mIsMoving = false; // stop moving
},

update (dt) {
    if (!this.mIsMoving)
        return;
    var oldPos = this.node.position;
    var direction = this.mMoveToPos.sub(oldPos).normalize();// Get the direction of movement
    direction.y = 0;//Lock the movement of the Y axis
    var newPos = oldPos.add(direction.mul(this.mSpeed * dt));//Calculate the new coordinates of the hook according to the moving speed
    this.node.setPosition(newPos);
},
Feel free to adjust the speed value to a value that you feel is appropriate. The touch operations are complete!
Conclusion
We are halfway through our tutorial series!
Stay tuned for Part 5 of this tutorial!