
Cocos Creator: Getting started with WeChat games (Part II)
Note: This is a multi-part tutorial: Part 1
Introduction and getting help
You are welcome to post to the Cocos Creator category on the Cocos forums to talk about any issues you encounter during the development process. This tutorial does not teach how to code.
Please prepare your development environment before starting this tutorial. If you are having trouble with our tutorial, please take a look at the following documentation:
Preparing the development environment:
Let’s go fishing!
In Part 1 of this tutorial, we built the basic project and wrote our first line of code. You now should have a basic understanding of Cocos Creator and Sprite objects. In this tutorial, we will focus on moving fish around the scene at variable rates. To accomplish our goals, using Prefabs is a smart choice.
Let’s begin
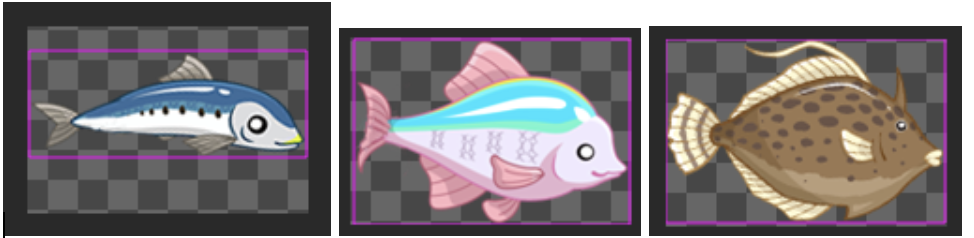
First, all fish resources (10 varieties) need to be imported into the project. Example:
Second, create a Sprite in the Scene and put the fish resources on it.
Third, create a new JavaScript source file to be run on Sprite instantiation. Edit the script you created and add the following code:
start () {
        let action = cc.sequence(
            cc.moveTo(5,320,this.node.y),// move
            cc.flipX(true),// flip x
            cc.moveTo(5,-320,this.node.y),// move
            cc.flipX(false)// flip x
        );
        this.node.runAction(cc.repeatForever(action)); // repeat
    },
If the above code doesn’t make sense, please refer to the Actions and Action List documentation.
Our first preview
Let’s click on the Preview button to see how everything is working:
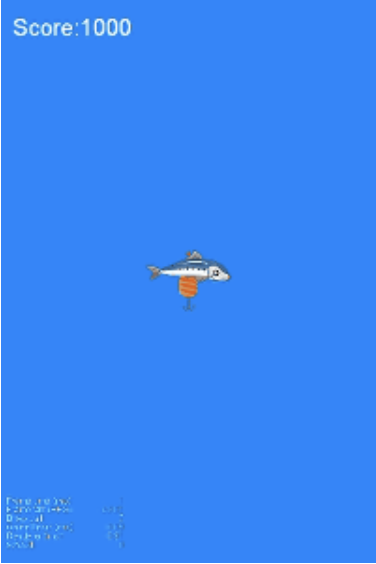
So far, the game is running as expected. We still have some details to add.
Building out and optimizing
Did you notice that some speeds and movements seem to be inconsistent? Let’s take some time to optimize the code we have written to make it function as we need.
First, let’s optimize our movement code. Example:
start () {
        let x = this.node.x;
        let duration = 5 - (this.node.x + 320) / 640 * 5;
        let action = cc.sequence(
            cc.moveTo(duration,320,this.node.y),
            cc.flipX(true),// flip
            cc.moveTo(duration,x,this.node.y),
            cc.moveTo(5 - duration,-320,this.node.y),
            cc.flipX(false),// flip
            cc.moveTo(5 - duration,x,this.node.y),
        );
        this.node.runAction(cc.repeatForever(action)); // repeat
    },
Second, deal with the speed issues. Add a property called Speed and add to the fish to control the speed of the fish. Example:
 properties: {
        mSpeed : {
            default : 1,
            type : cc.Float,
            tooltip : "Fish speed, default normal speed is 1, minimum value is 0.1, maximum value is 10",
            min : 0.1
        },
    },
If the above code doesn’t make sense, please refer to the Attributes documentation.
Third, the Action can be re-engineered and optimized. Example:
start () {
    let x = this.node.x;
    let duration = 5 - (this.node.x + 320) / 640 * 5;
    let sqeAction = cc.sequence(
        cc.moveTo(duration,cc.v2(320,this.node.y)),
        cc.flipX(true), // flip
        cc.moveTo(duration,cc.v2(x,this.node.y)),
        cc.moveTo(5 - duration,cc.v2(-320,this.node.y)),
        cc.flipX(false), // flip
        cc.moveTo(5 - duration,cc.v2(x,this.node.y)),
    );
    let action = cc.speed(cc.repeatForever(sqeAction), this.mSpeed);
    this.node.runAction(action); // repeat movement
},
Lastly, change Speed to 2 in the Attribute Editor:

Conclusion
This tutorial is starting to take shape!

Stay tuned for Part 3 of this tutorial!