
Cocos Creator: Getting started with WeChat games
Introduction and getting help
You are welcome to post to the Cocos Creator category on the Cocos forums to talk about any issues you encounter during the development process. This tutorial does not teach how to code.
Please prepare your development environment before starting this tutorial. If you are having trouble
with our tutorial, please take a look at the following documentation:
Preparing the development environment:
Let’s begin
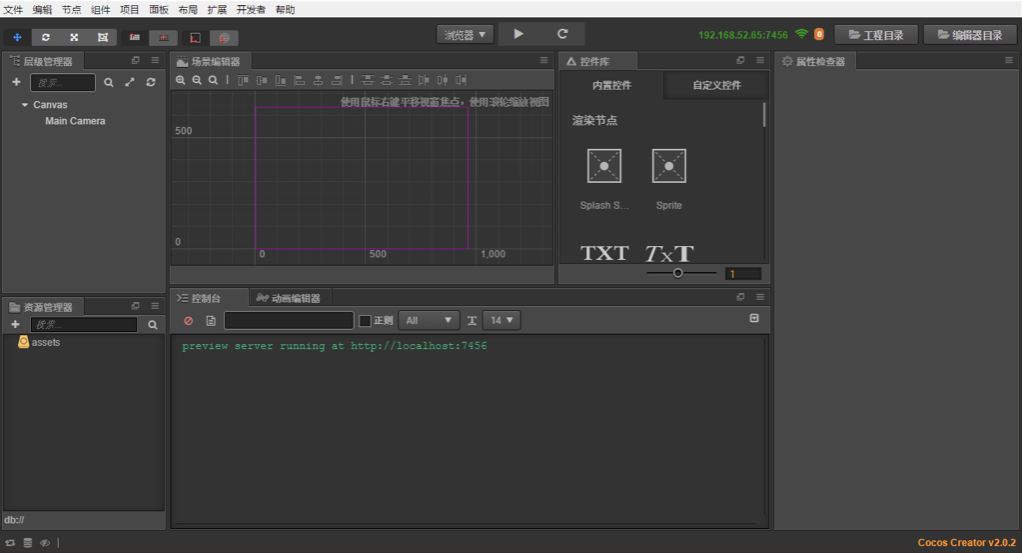
It’s pretty easy to get started. Let’s first launch Cocos Creator:

Next, create a new blank project. After clicking the new project, wait a few seconds, the project is set up, and the project editor interface is displayed.
For a basic introduction to using the Cocos Creator interface, please refer to the official Cocos Creator documentation.
Let’s briefly introduce the gameplay of the game we are developing. When the game starts, we need to control a “hook” to move deep into the water. When the hook catches a fish, a kitten starts to catch the fish line and hook the fish upwards. Pull until the water is pulled out. We need to control the hooks as much as possible to hook the fish.
The last step, to get started, is downloading the resources this tutorial needs. Please use this
GitHub URL.
Gameplay
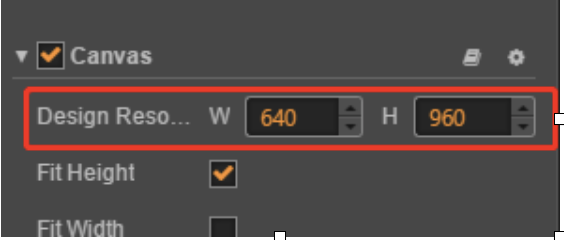
First of all, this is a portrait-mode oriented game, however Cocos Creator creates a horizontal game
by default. We need to change this by adjusting the design resolution. Set properly, simple width and
height variables control if a game will be in landscape mode or portrait mode.
Choose Canvas and change the Design Resolution to 640*960.
Building a scene
Next, we need to get the hooks.
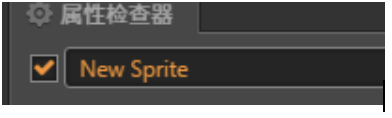
First, select Canvas, right-click to create a render node Sprite, in the Property inspector,
change the node name to Hook.
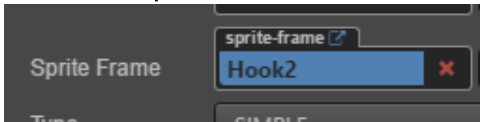
Second, replace the Hook’s SpriteFrame with Hook2 from the resources.
Third, create the script Hook.js in the assets folder. Add the script as a component to the node hook. The method added is to allow clicking the node Hook, in the Property inspector.
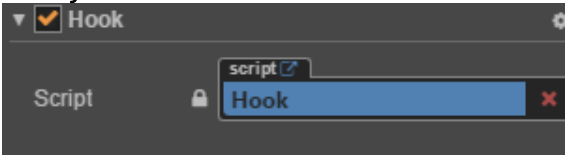
Last, add the following code to the Hook.js script to make the fish hook:
start () {

this.node.runAction(cc.repeatForever(cc.moveBy(5,cc.p(0,-100))));

},
For help please refer to the Sprite component documentation.
Our first preview
Let’s click on the Preview button to see how everything is working:

The Hook moves down, but the Camera does not.
Moving the camera
First, add an empty node to the Hook node. Change the name of this new node to Camera.
Second, when you add new components, make sure to this new Camera node as the camera for the
new component. This Camera node becomes the Camera for our game.
It is important to note that Camera is a child of Hook. This means that Camera can be
moved along with the Hook, and we don’t need to write any additional code to accomplish this.
Third, we need to add child nodes to the Camera. Add a Widget node with the name HUD. Please
modify the size of HUD to 640 * 960. This node is mainly used to place some UI nodes.
Fourth, set the background color of Camera to blue because there is no
background image yet.
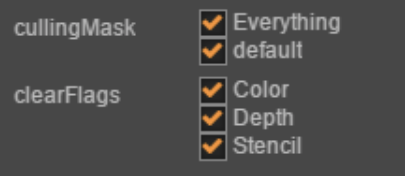
Fifth, Camera’s cullingMask and clearFlag need to be set as:
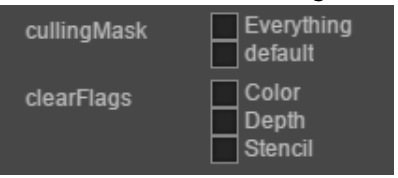
Sixth, set the MainCamera’s cullingMask and clearFlag need to be set as:
Lastly, add a Label to the HUD to use as the Score display and set the coordinates to the upper left corner.
Conclusion
This tutorial is starting to take shape!

Stay tuned for Part 2 of this tutorial!