
Creating a tank battle style game with Cocos Creator (Part 1)
Note: Part 2 of this tutorial is located here.
Introduction and getting help
You are welcome to post to the Cocos Creator category on the Cocos forums to talk about any issues you encounter during the development process. This tutorial does not teach how to code. Everyone will learn to make TiledMap resources. Please prepare your development environment before starting this tutorial. If you are having trouble with our tutorial, please take a look at the following documentation:
Preparing the development environment
Let’s begin
Tiled is a 2D level editor. Currently, the latest version of Cocos Creator only supports TiledMap v1.0.0 and below, this is why we provide a custom version of the Tiled map editor software.
1. Understanding and using the Tiled Map Editor
Once you have downloaded and unzipped the Tiled Map Editor installation package from above, find the Tiled application and double-click it. The following interface will appear:

Select the File menu and select New:
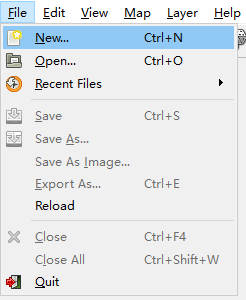
The following window appears:

Let’s take a moment and explain the various properties of this interface:
Map
Orientation:
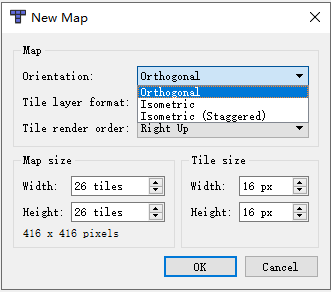
Orthogonal: (90-degree angle map) can be used for RPG game maps, but also for horizontal
version of the game like Super Mario.
Isometric: (45-degree angle) can be used for RPG game maps, also consider war chess games.
Isometric (Staggered): (45-degree interlaced) map is rendered as a quadrilateral, and the
boundary position is rendered using 1/2 triangle map block
Tile layer format:
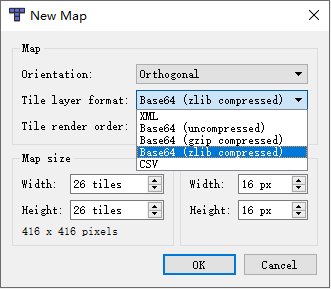
Layer save format: XML, Base64 (uncompressed, gzip, zlib), CSV
Tile render order:
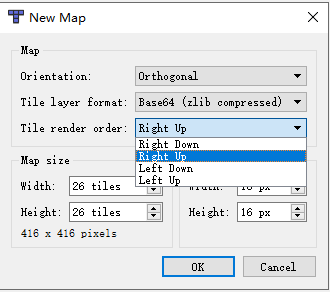
Map coordinate direction: the default is right down (lower right), that is, the upper left corner is the
vertex to the right is the x-axis, the downward is the y-axis
Map size:

Map size, which is the map created with Width * Height map tiles
Tile size:
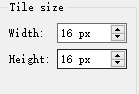 .
.
Block size, here corresponds to the pixel point, which is the width and height of each block
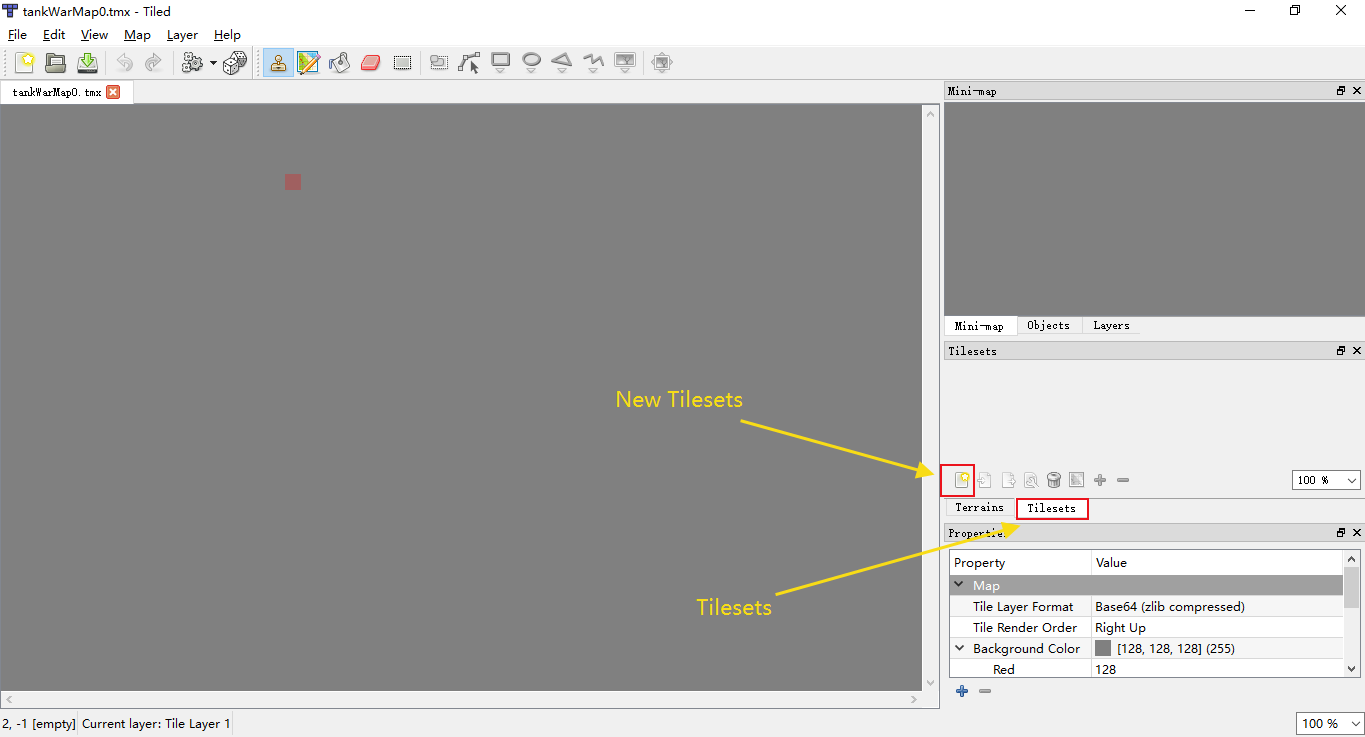
After understanding the role of each attribute, click OK to create a TMX map resource. Hold down Ctrl + S to save the resource, and name it tankWarMap0.
We can continue to add tile resources to the map. Click on Tilesets to enter the Atlas Management window:
Click New Tileset and the following window will appear:
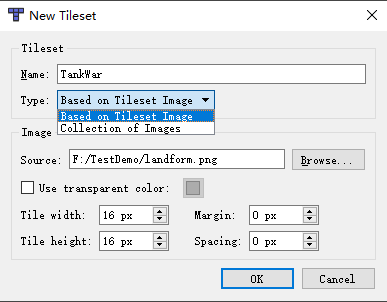
Name:
- Atlas name
Type:
- Based on Tileset Image
- Pattern based on the size of the atlas itself
- Collection of Images
- Can import any image
Source:
- Atlas path
Use transparent color:
- Replace the transparent area on the atlas with the specified color
Tile width / Tile height:
- Block size
Margin
- Tile edge pixel fill
Spacing:
- Tile interval pixel padding
Once all the settings have been set, click on OK to import the gallery.
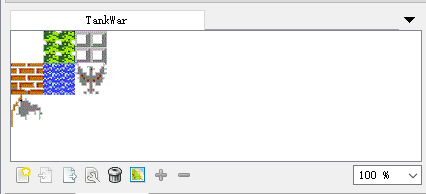
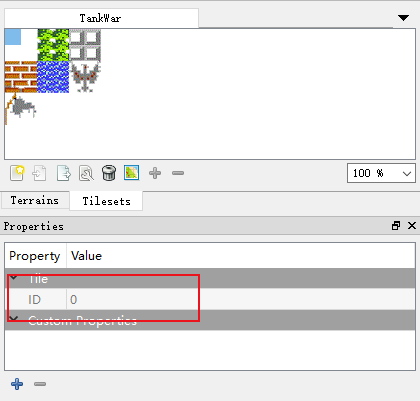
Each tile has its corresponding Tile ID, which is very useful for judging the type of tile:
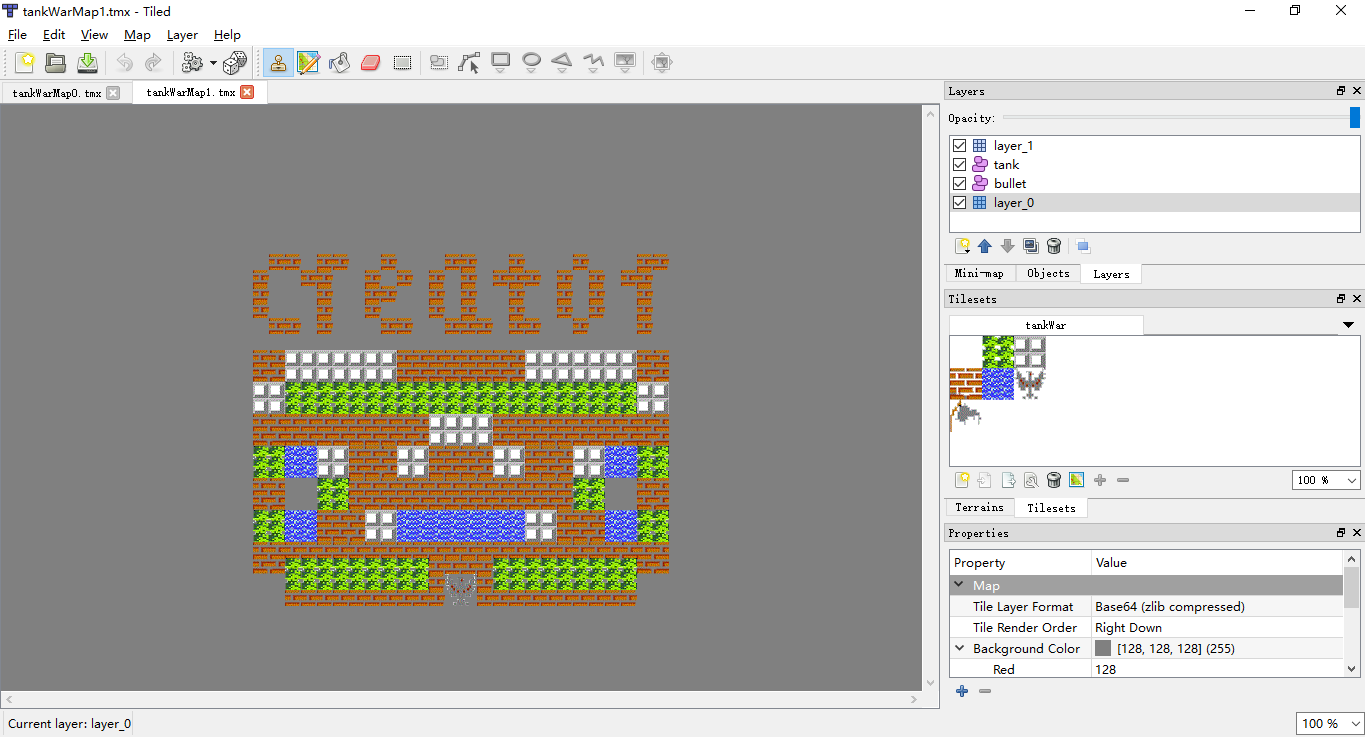
Next, we have to add the Tile Layer and Object Layer to the map. We now find the Tile Layers area:
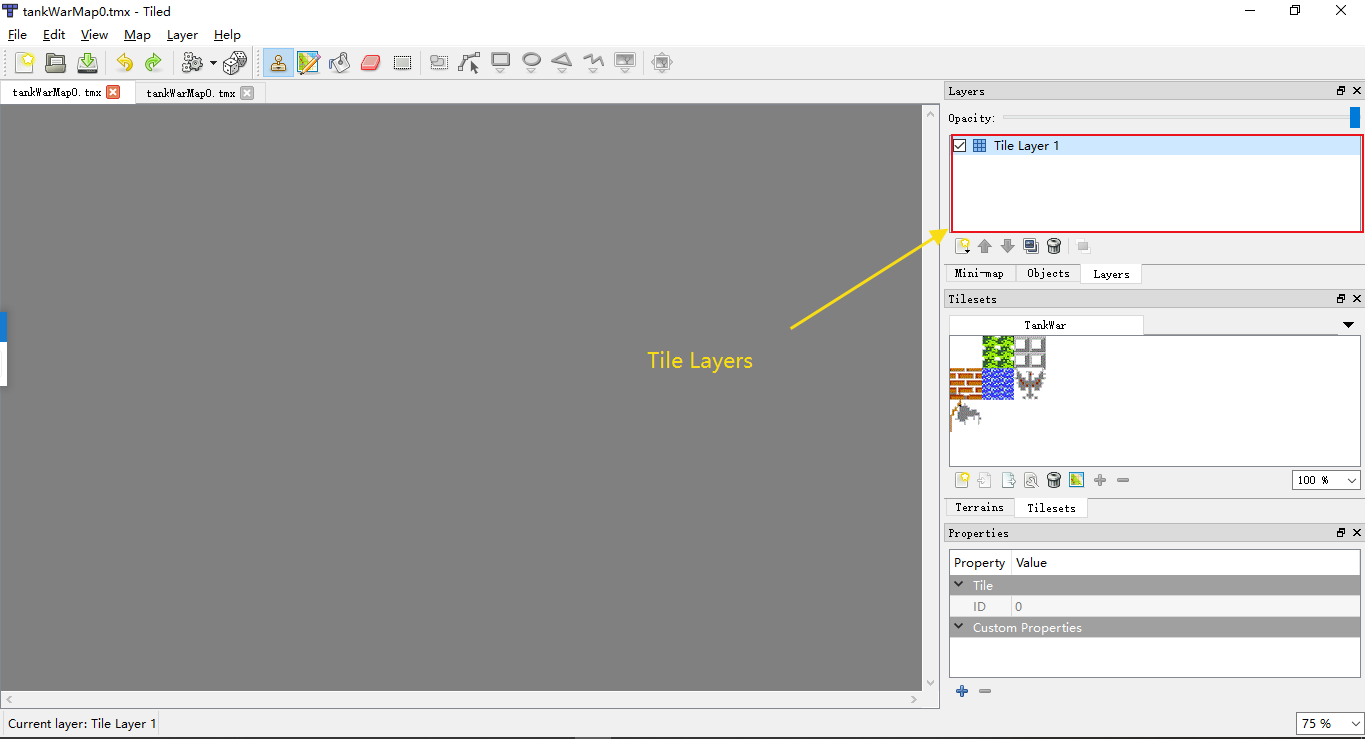
Add the Tile Layer and Object Layer as shown below (note the upper and lower levels of each Layer, it is recommended to be consistent with the following figure):

Why should we pay attention to the relationship between the upper and lower levels? Because when the TiledMap resource is imported into the Cocos Creator editor and added to the scene, its hierarchy will be reversed:

In the Cocos Creator UI system, the lower nodes will mask the upper nodes. This means special attention needs to be paid to this to avoid problems.
Select the area shown below, then click the left mouse button on the layer canvas, then drag a distance, then release. This completes the first mapping:
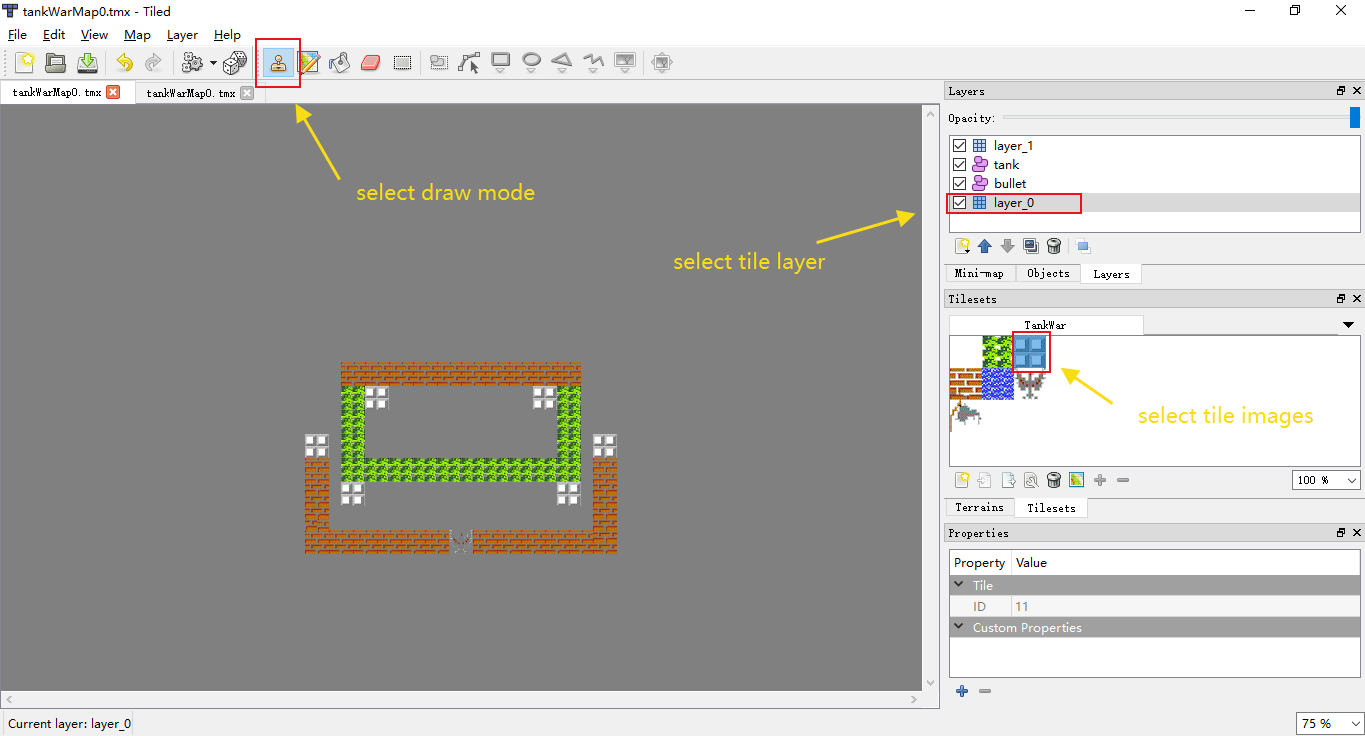
In the end, the finished product will look similar to this:
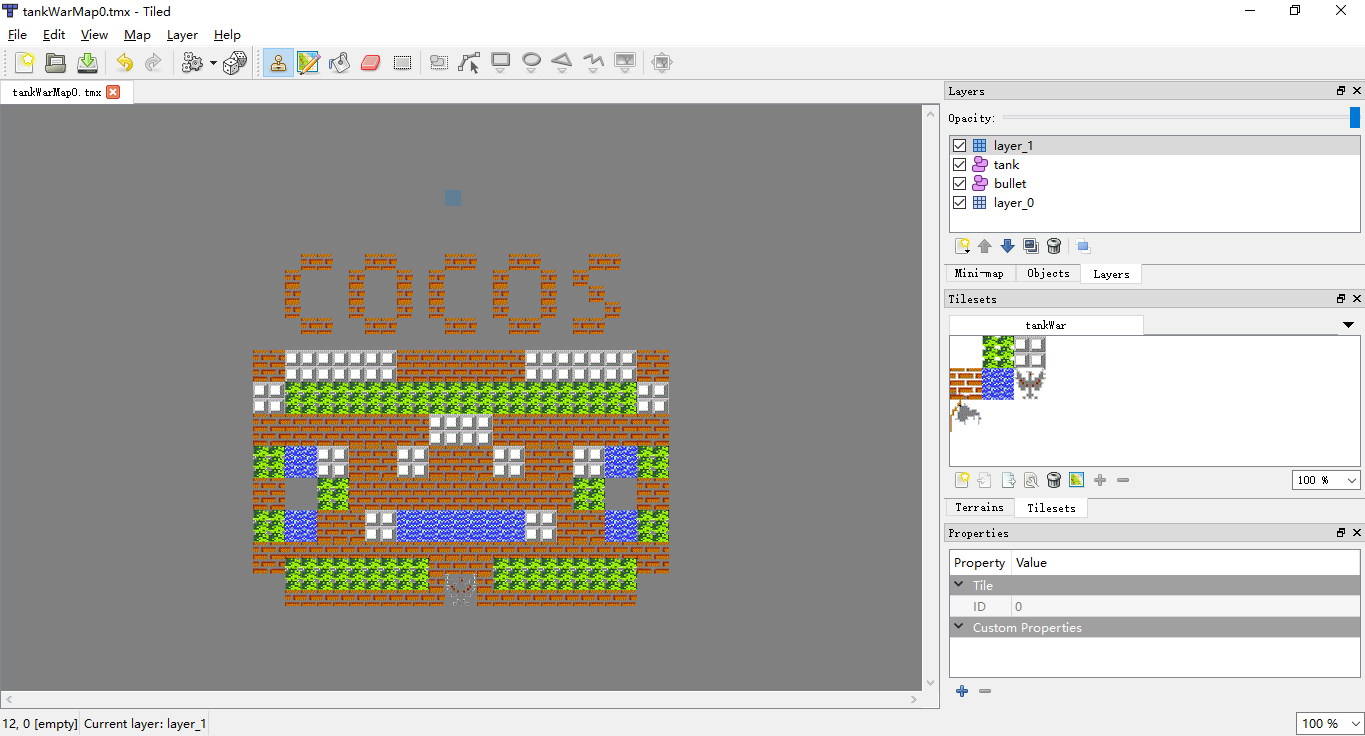
This completes an introduction of the basic operations of the Tiled Map Editor. There is still
plenty to learn, continue to explore its features on your own.
2. Using a Tiled Map resource in Cocos Creator
This section will demonstrate importing a Tiled Map resource into Cocos Creator, as well as demonstrate the CCTiledMap component.
2.1. Import a Tiled Map resources into Cocos Creator
Find the TileMap resource that has been saved locally:
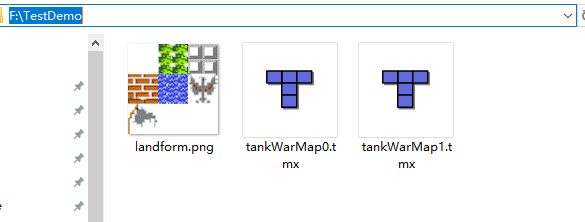
Select them all and drag them into the assets/res/maps directory in the Cocos Creator editor:
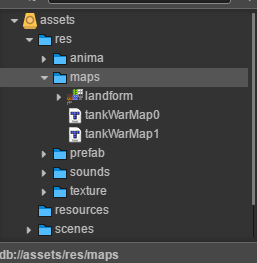
This will successfully import the resources.
2.2. Displaying a Tiled Map resource in the scene
There are two ways to display a Tiled Map resource in a scene:
-
Add the Tiled Map component and drag the
.tmxresource of the Tiled Map resource into the
Tmx Asset property box:
-
Drag the
.tmxresource from the Tiled Map resource into the scene.

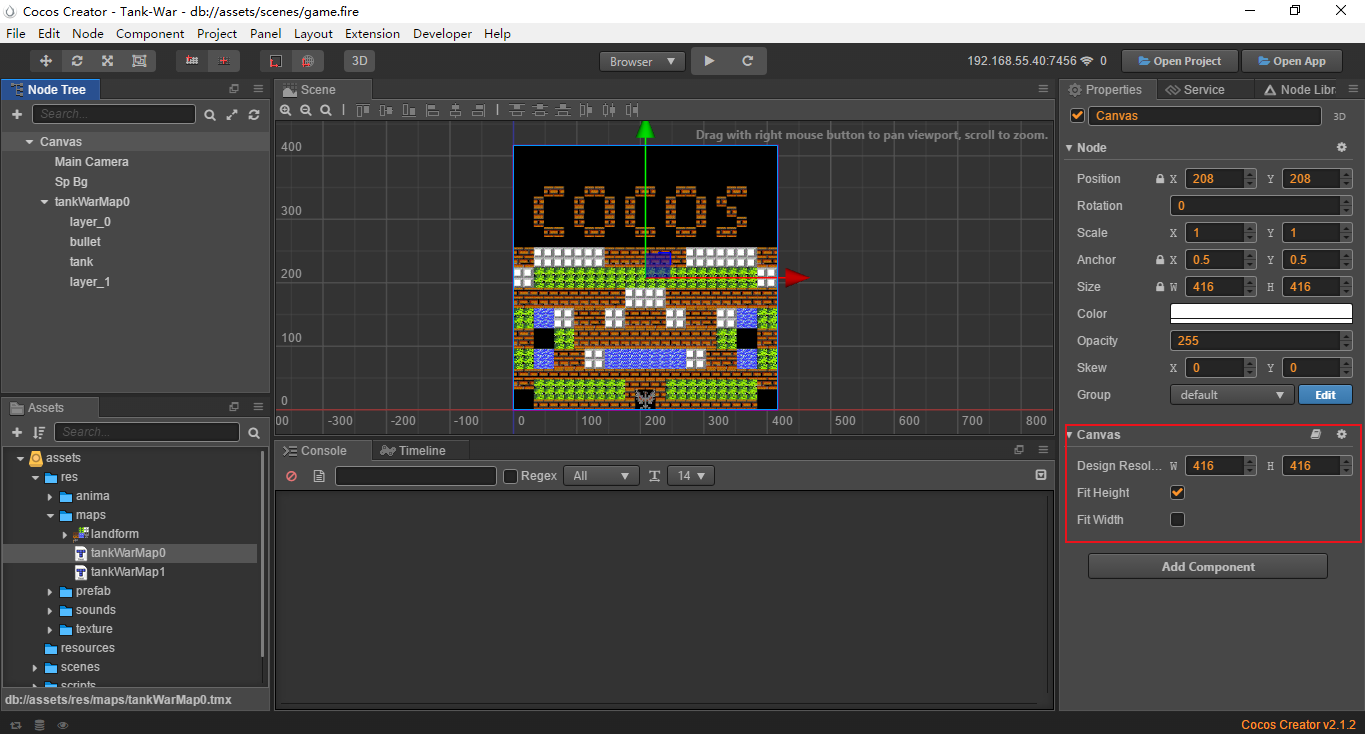
The above two methods can load and display the Tiled Map resource correctly, the effect is as follows:
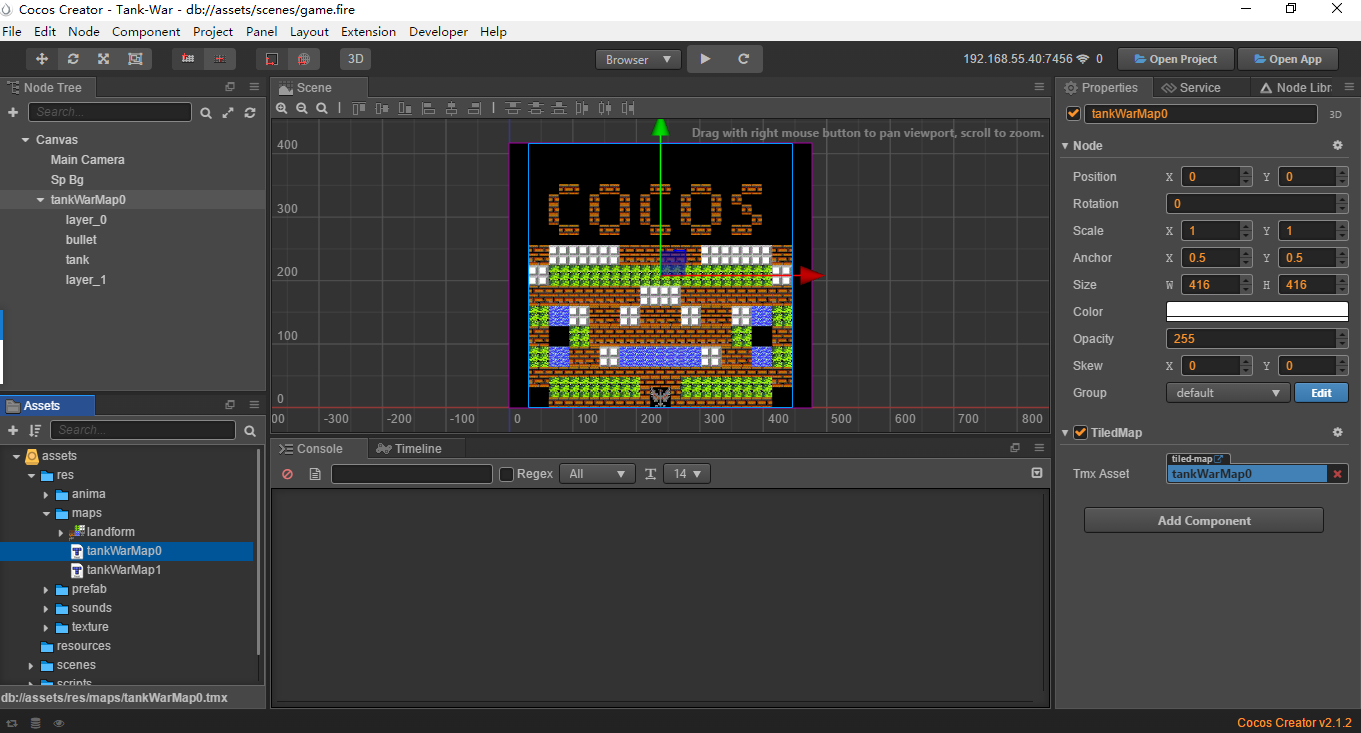
Finally, we need to resize the Canvas to match the size of the Tiled Map component, which will make the game look better.
3. Conclusion
This tutorial is a warm-up tutorial for creating a battle style tank game. As you become more familiar with the Tiled Map Editor you can create a lot of interesting maps.
The game effects may look something like this:
A full version of this demo can be found on our GitHub. Please open it with Cocos Creator v2.1.2.