
Cocos Creator: learning “FlappyBird”
Part (7): adding collision detetion
Note: This is a multi-part tutorial: Part 1 | Part 2 | Part 3 | Part 4 | Part 5 | Part 6
Note: Parts 8-11 coming soon.
Introduction and getting help
You are welcome to post to the Cocos Creator category on the Cocos forums to talk about any issues you encounter during the development process. This tutorial does not teach how to code.
Please prepare your development environment before starting this tutorial. If you are having trouble with our tutorial, please take a look at the following documentation:
Preparing the development environment:
Let’s get started
This tutorial focuses on using Cocos Creator to build a Flappy Bird clone. Remember Flappy Bird?

So far, from Part 1, Part 2, Part 3, Part 4, Part 5 and Part 6 we have our Bird, we we can make it appear to fly in a colorful world and we have written code to start to make our game playable.
Cocos Creator has a built-in physics system. This game simply uses the Collider component, part of the collision component in the physics system.
Reading
For further learning, please review the: Collision documentation.
Adding Collider Components
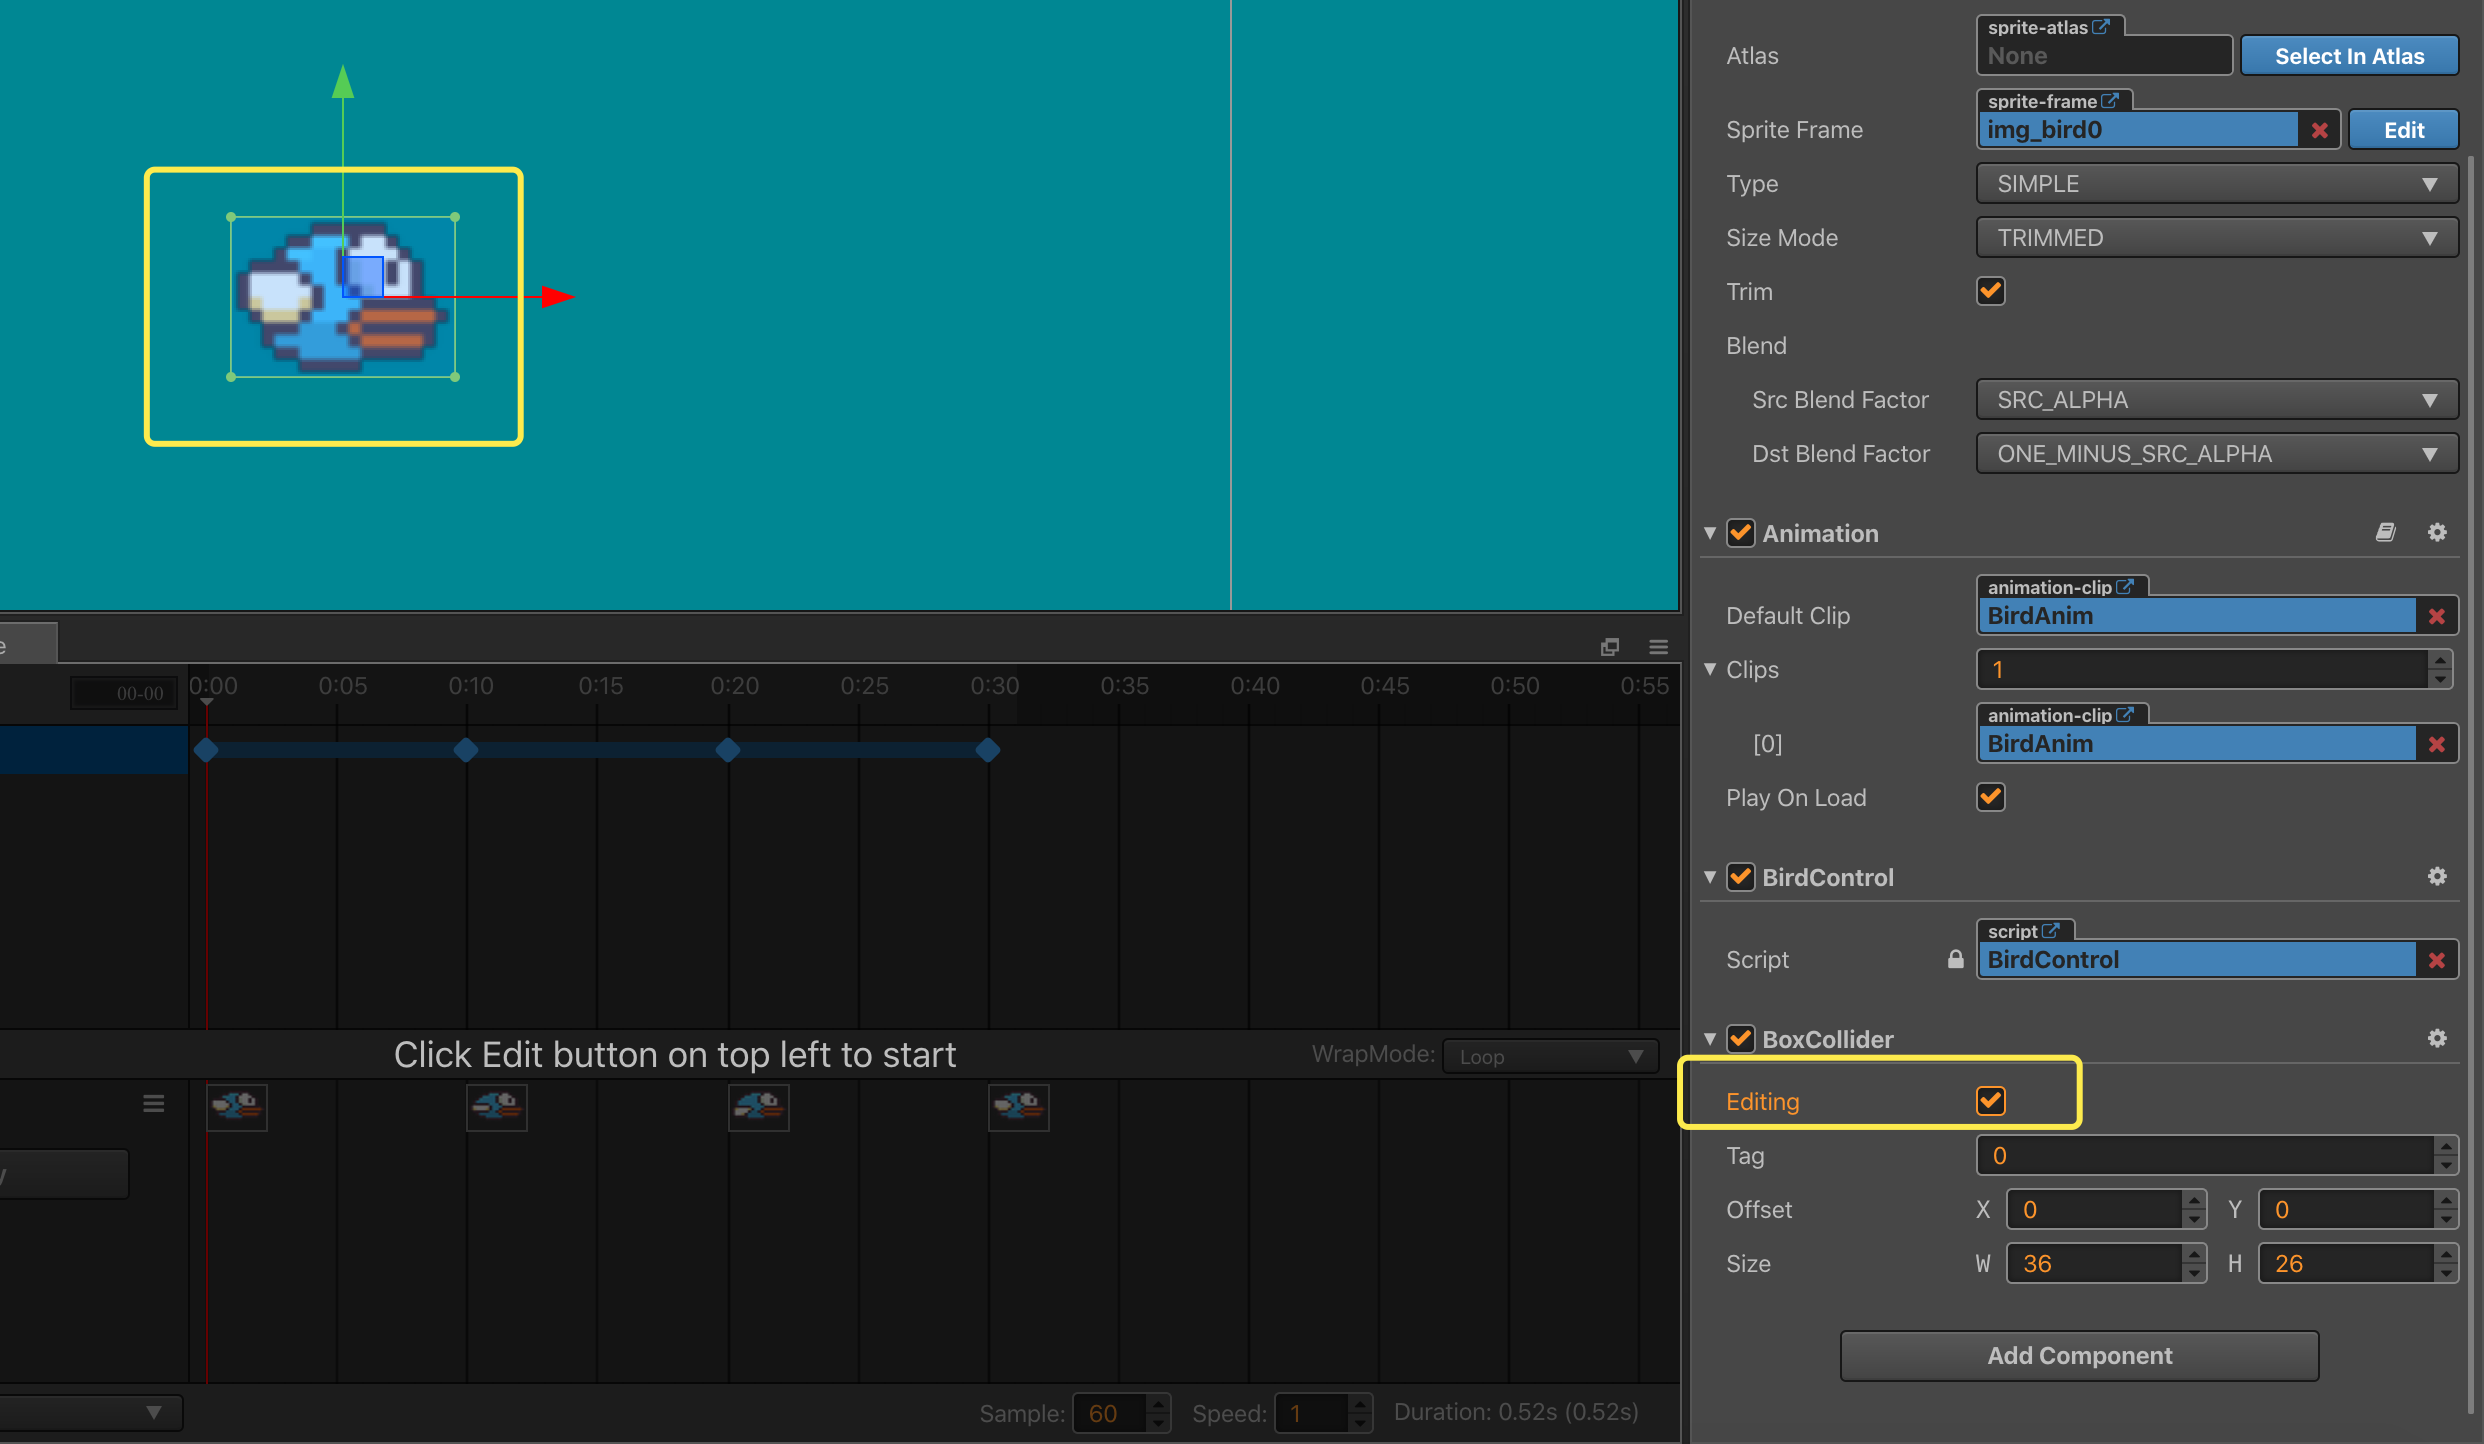
First, we need to add a Collider component to our bird:

Second, we should use the BoxCollider component directly. The editing option is unchecked by default. If it is checked, we can see that there is a green box around the bird. You can use the mouse to change the size of the collision body. In this game, we can just use the default size, there is no need to change this adjustment.
Next, double-click the prefab resource to enter the prefab editing interface. We need to add a collision body to the obstacle:

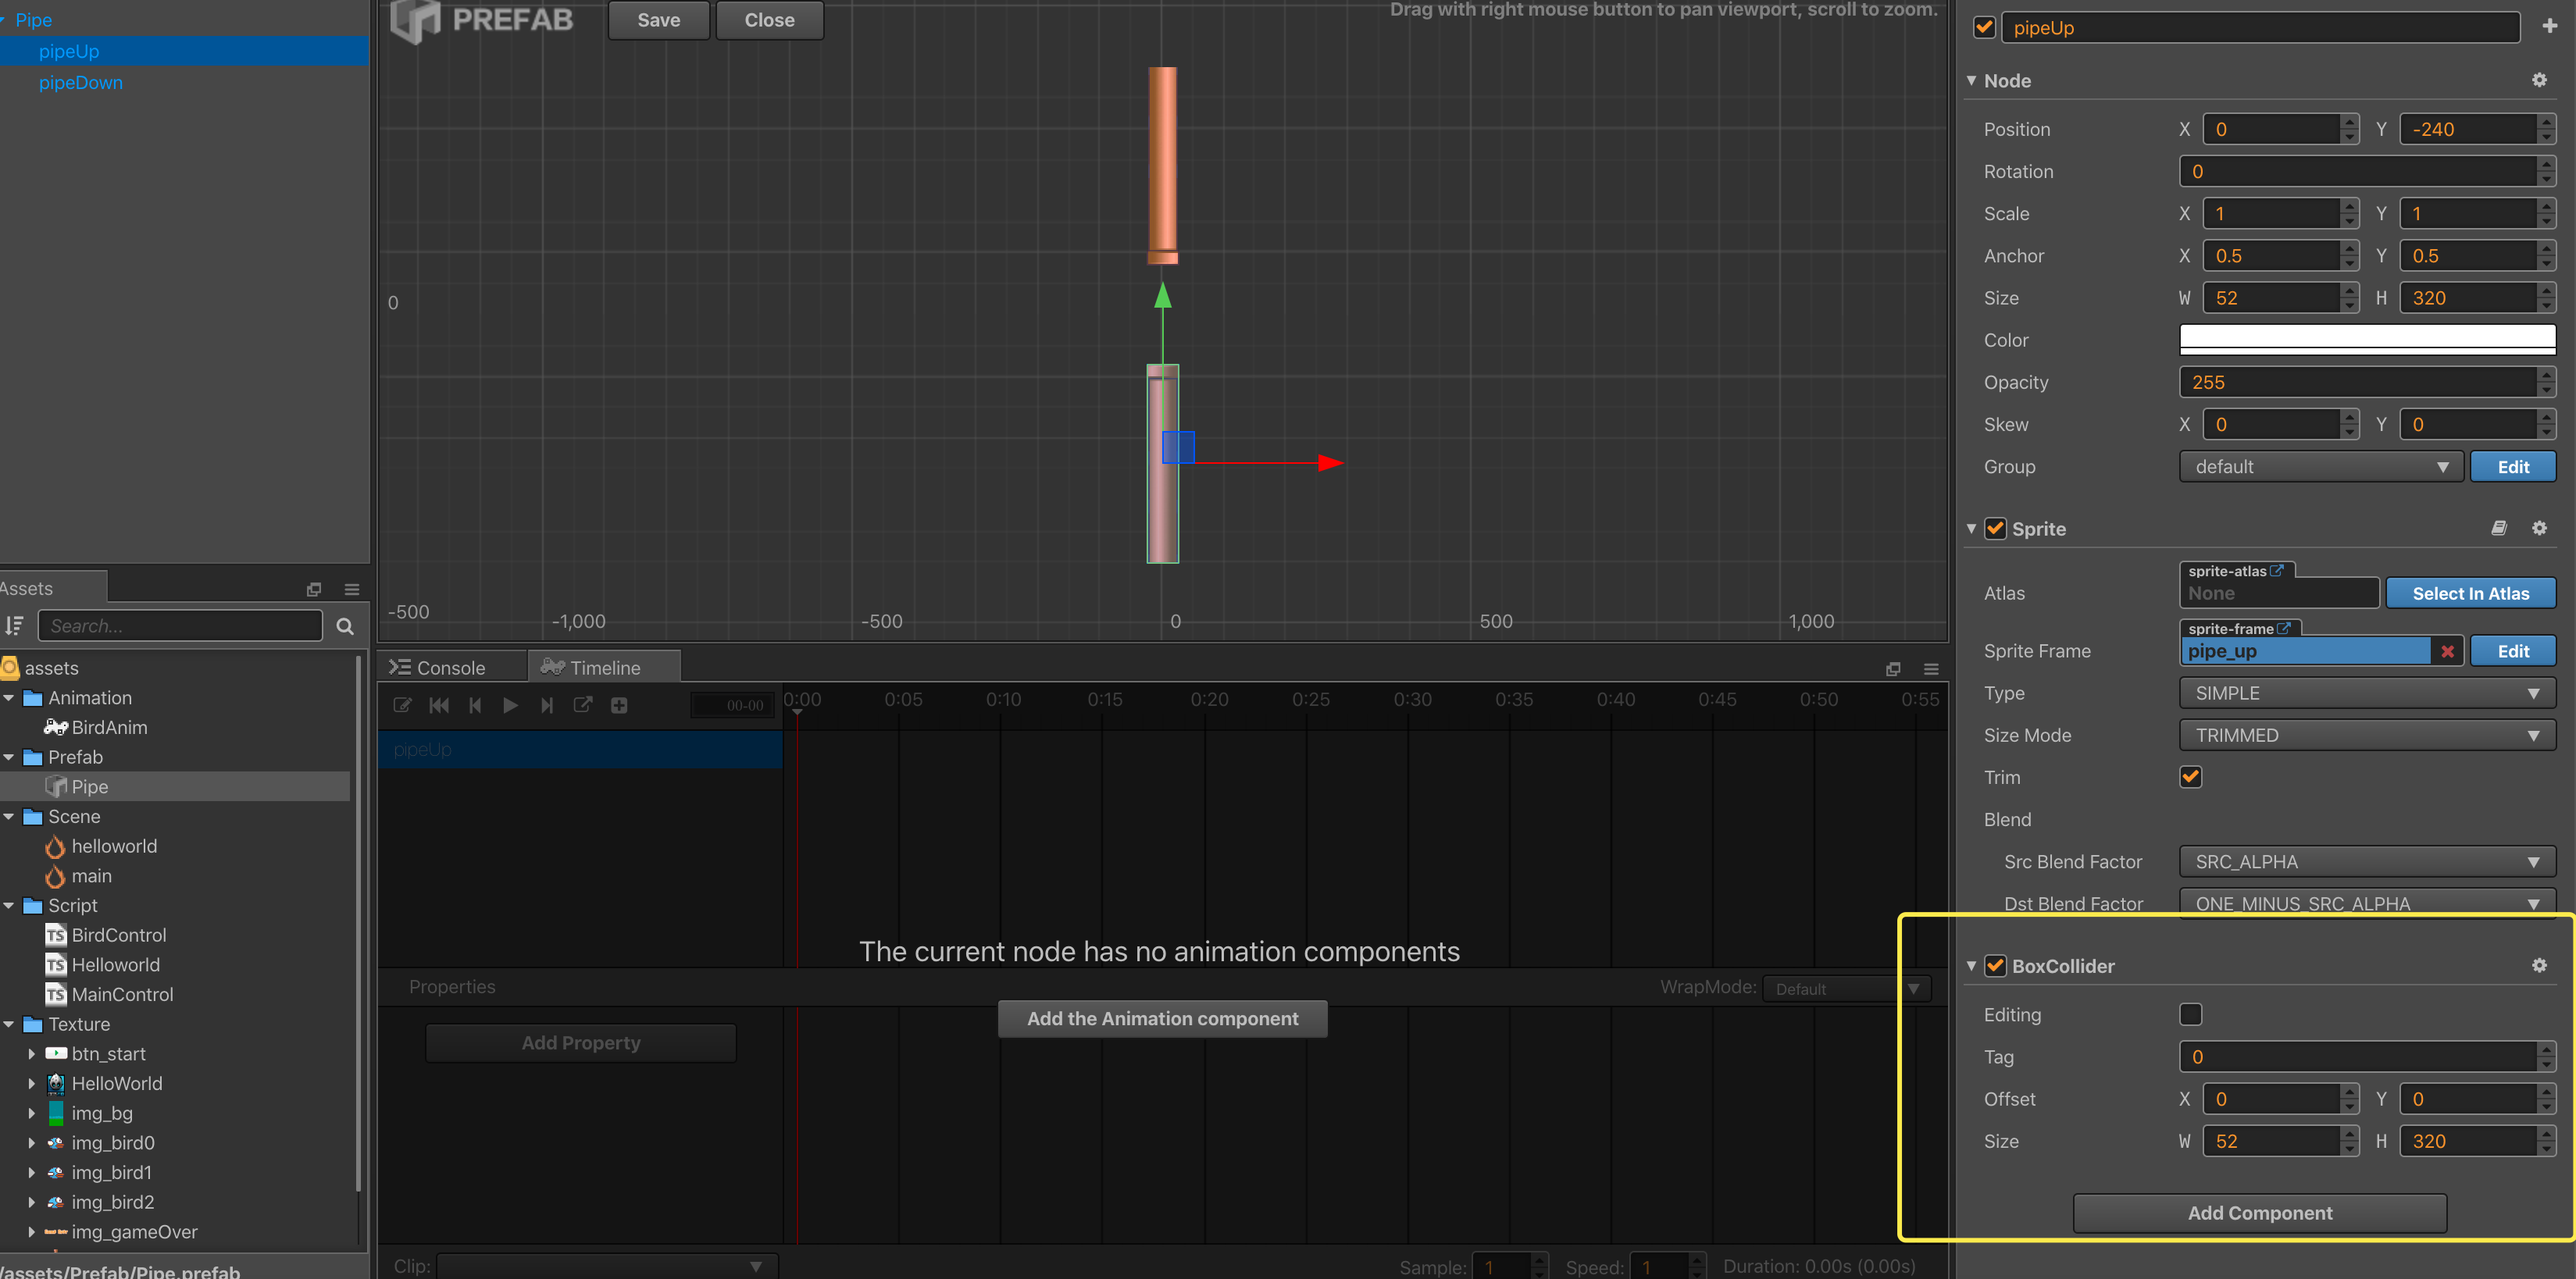
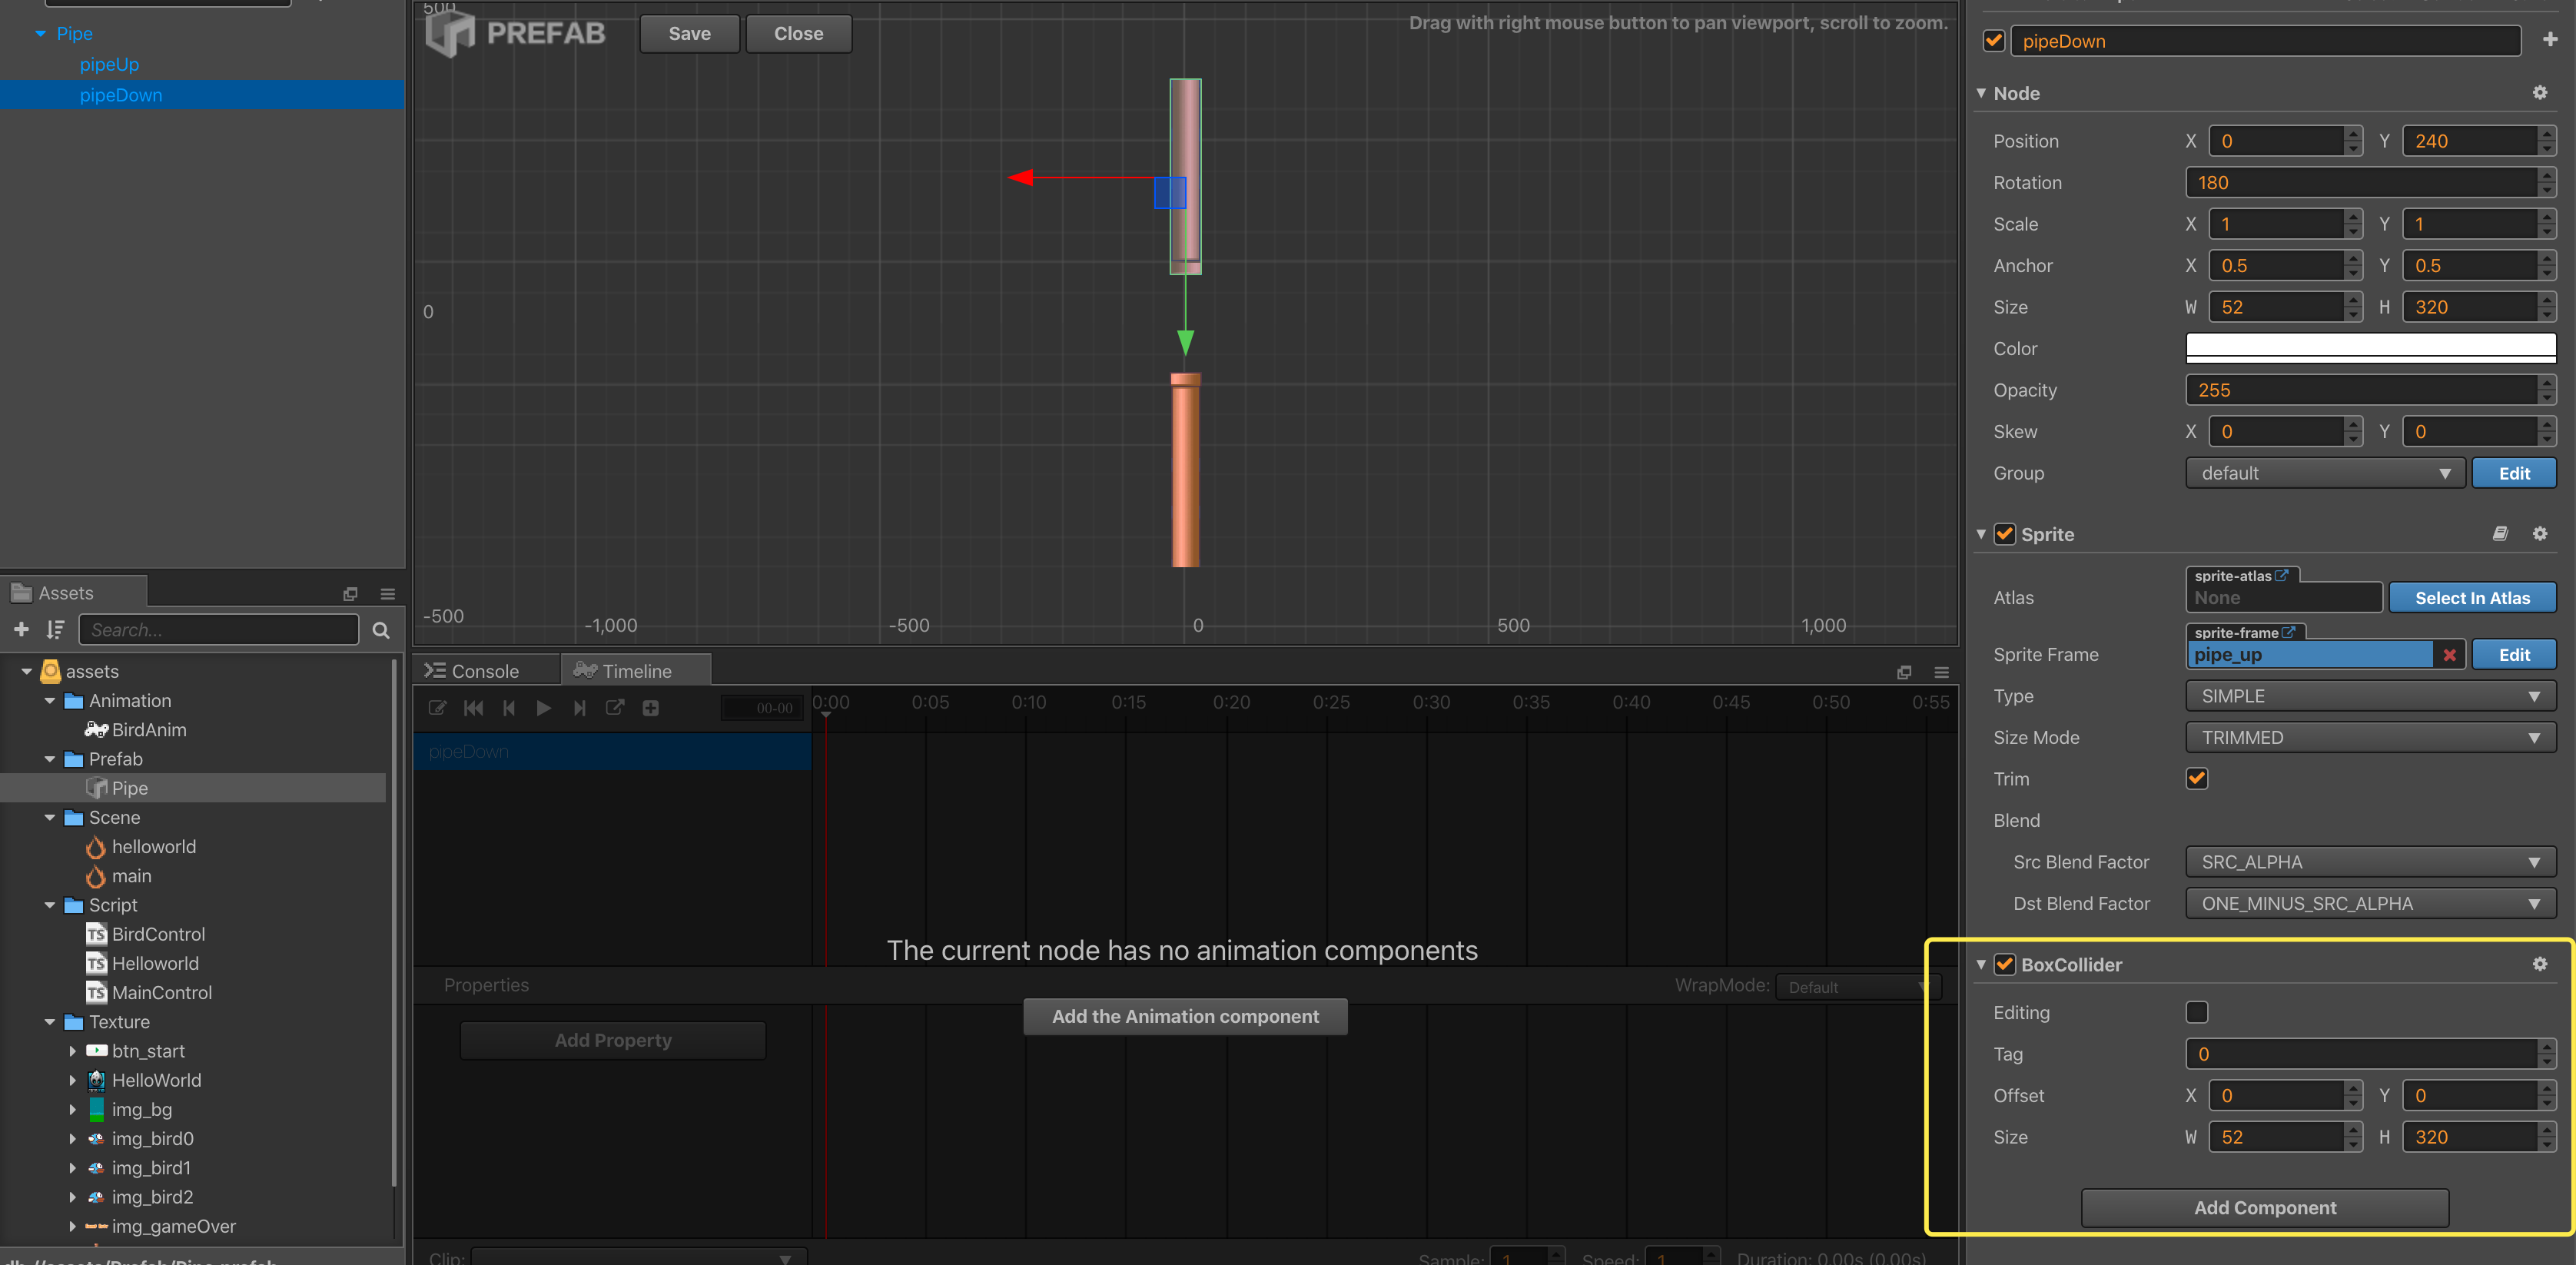
Fourth, add collision components to both the upper and lower pipes, then save and return to the scene for editing.
Fifth, double-click the MainControl.ts TypeScript file and edit the code:
    onLoad () {
        //open Collision System
        var collisionManager = cc.director.getCollisionManager();
        collisionManager.enabled = true;
        //open debug draw when you debug the game
        //do not forget to close when you ship the game
        collisionManager.enabledDebugDraw = true;
    }
Adding the above code to the onLoad() function does two main things:
1: It enables collision detection (the detection is disabled by default). Only nodes with collision components attached will be checked for collision in the game.
2: It enables Debug mode, so we can see the shape and size of the collision body of the node.
Save your progress
Save your changes in the text editor that you are using. Find the Save button in Cocos Creator and click Save once.
Birds and obstacles are surrounded by white lines, which is the shape of the collision body. By looking at the above .gif notice the collision body will move and rotate with the node.
Continuing with collisions
Next, open the BirdControl.ts TypeScript file and add the following code:
    onCollisionEnter (other: cc.Collider, self: cc.Collider) {
        //game over
        cc.log("game over");
    }
The onCollisionEnter() function is the callback function of the engine’s default collision start event. Each node that implements a collision body will trigger this function when a collision starts.
The above code indicates that after a bird collision, a game over message is output to the console. You can open a browsers console by using Command + Option + i.
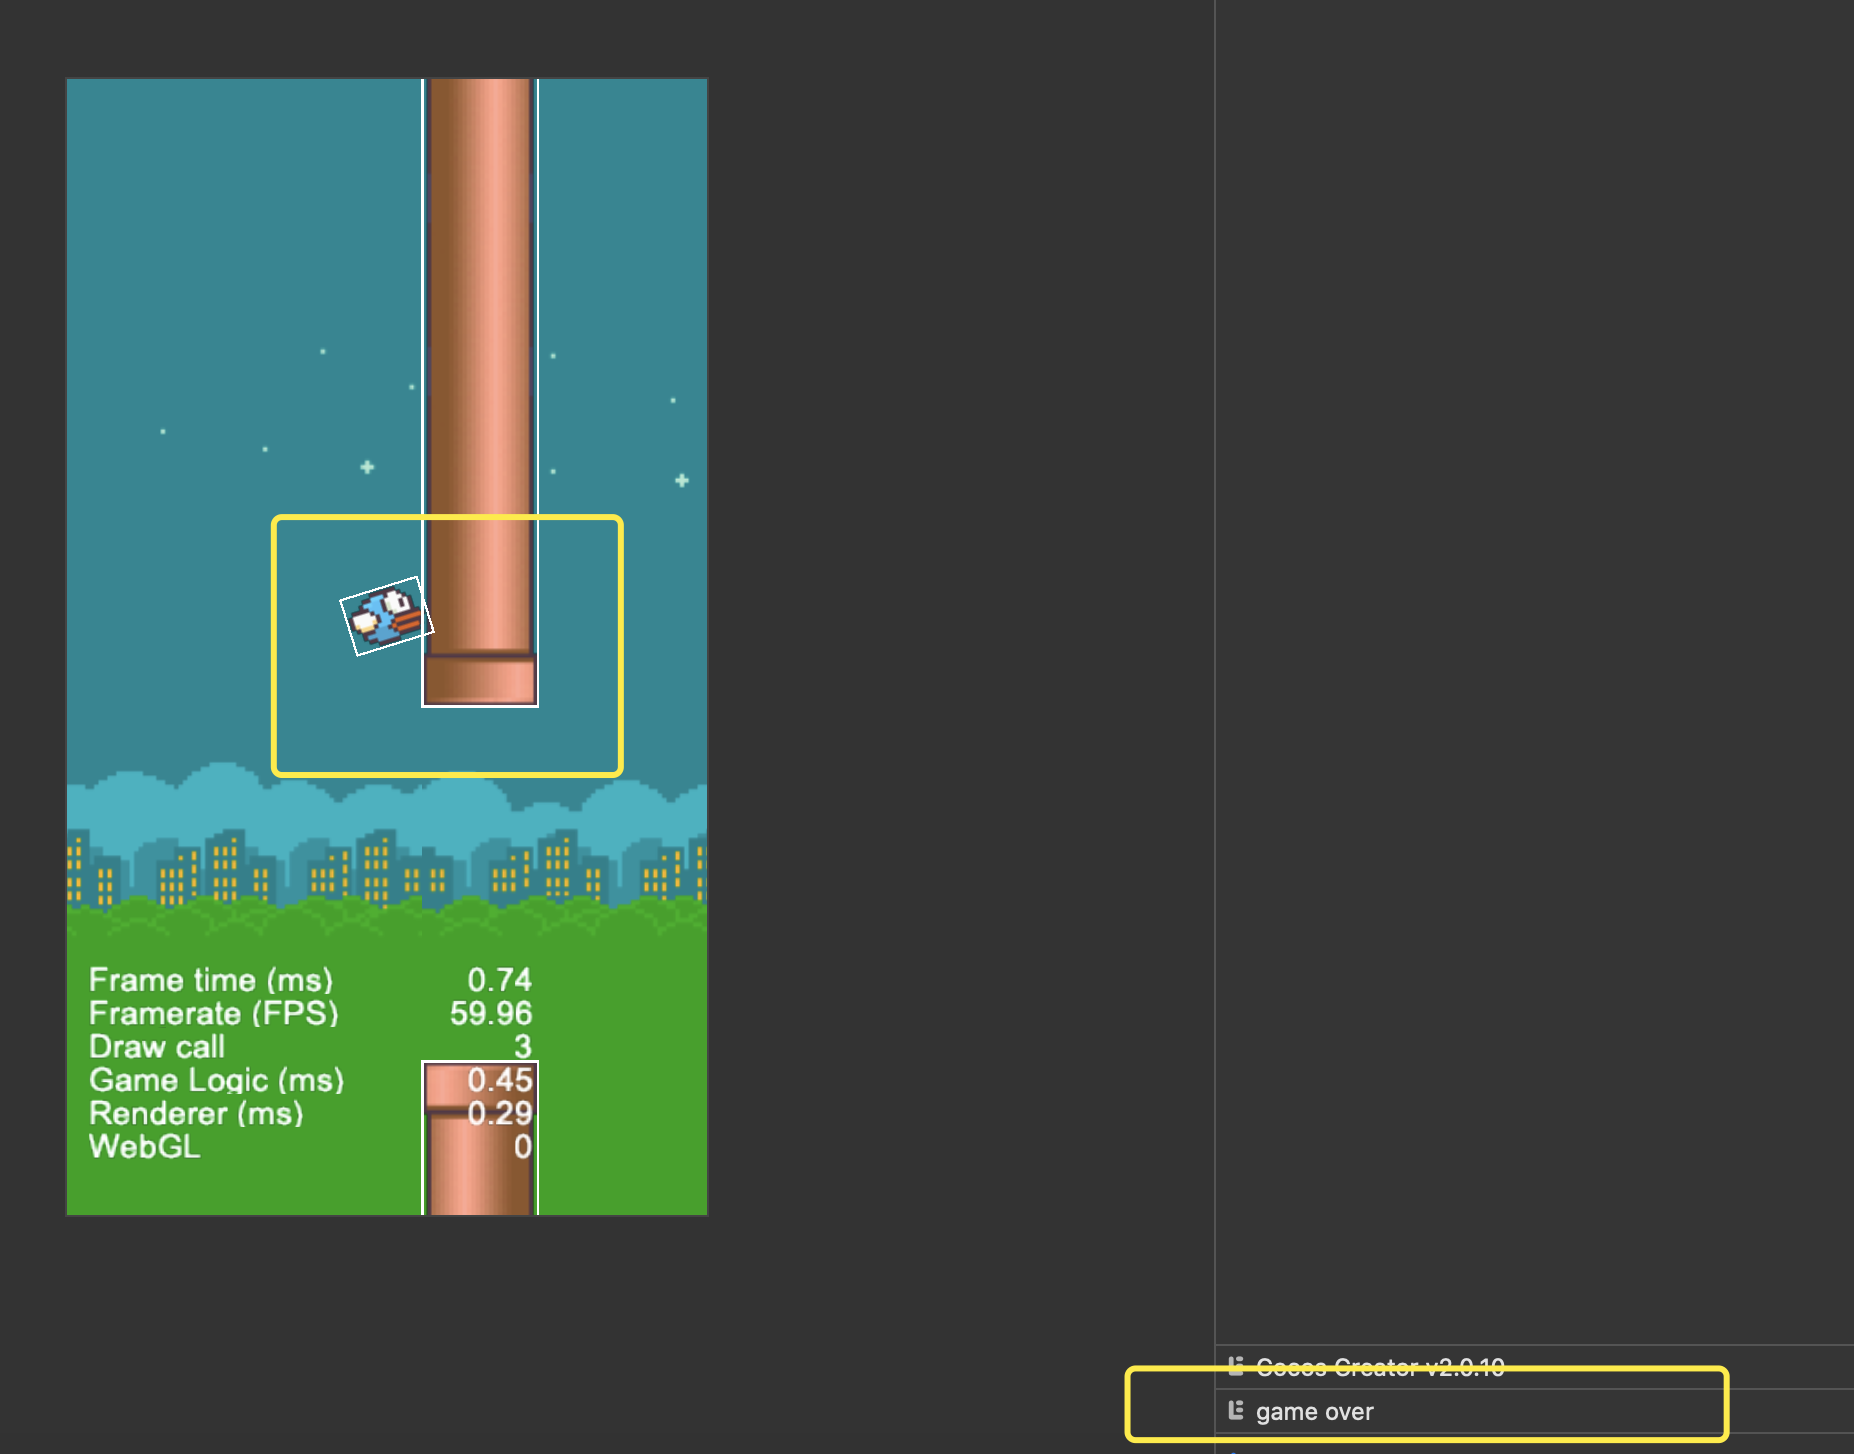
When you see the console output game over, it means that the onCollisionEnter() function in BirdControl.ts has been triggered when the bird and the pillar come into contact.
However, the player does not know that the game is over. We will continue to make our game more playable in the next sections.
Save your progress
Save your changes in the text editor that you are using. Find the Save button in Cocos Creator and click Save once.
So where are we?
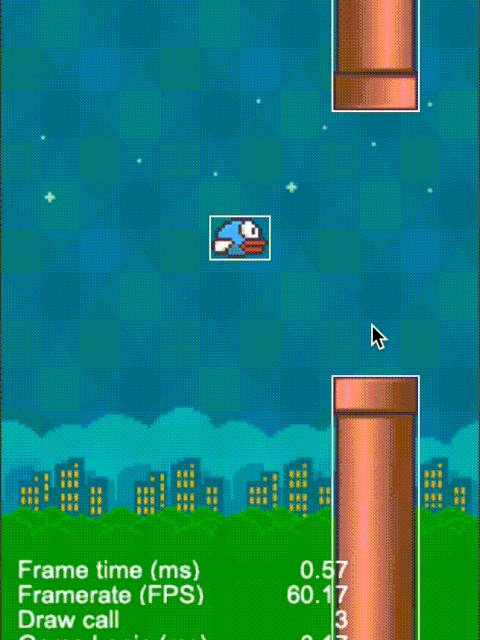
At this step, our tutorial should look similar to this:
Conclusion
Stay tuned for Part 8 of this tutorial!
Special Thank you!
To HuJun for creating this tutorial.