
Cocos Creator: learning “FlappyBird”
Part (6): Prefabs
Note: This is a multi-part tutorial: Part 1 | Part 2 | Part 3 | Part 4 | Part 5
Note: Parts 7-11 coming soon.
Introduction and getting help
You are welcome to post to the Cocos Creator category on the Cocos forums to talk about any issues you encounter during the development process. This tutorial does not teach how to code.
Please prepare your development environment before starting this tutorial. If you are having trouble with our tutorial, please take a look at the following documentation:
Preparing the development environment:
Let’s get started
This tutorial focuses on using Cocos Creator to build a Flappy Bird clone. Remember Flappy Bird?

So far, from Part 1, Part 2, Part 3, Part 4 and Part 5, we have our Bird, we we can make it appear to fly in a colorful world and we have written code to start to make our game playable.
Obstacles as Prefabs
We need to add obstacles to the game world. This section helps to understand how to make obstacles into prefabricated resources, also know as Prefabs, and then instantiate and control the movement of these obstacles from JavaScript code.
Note: It is crucial to understand the importance of Prefabs. Please make sure to read the Prefabs
Implementing
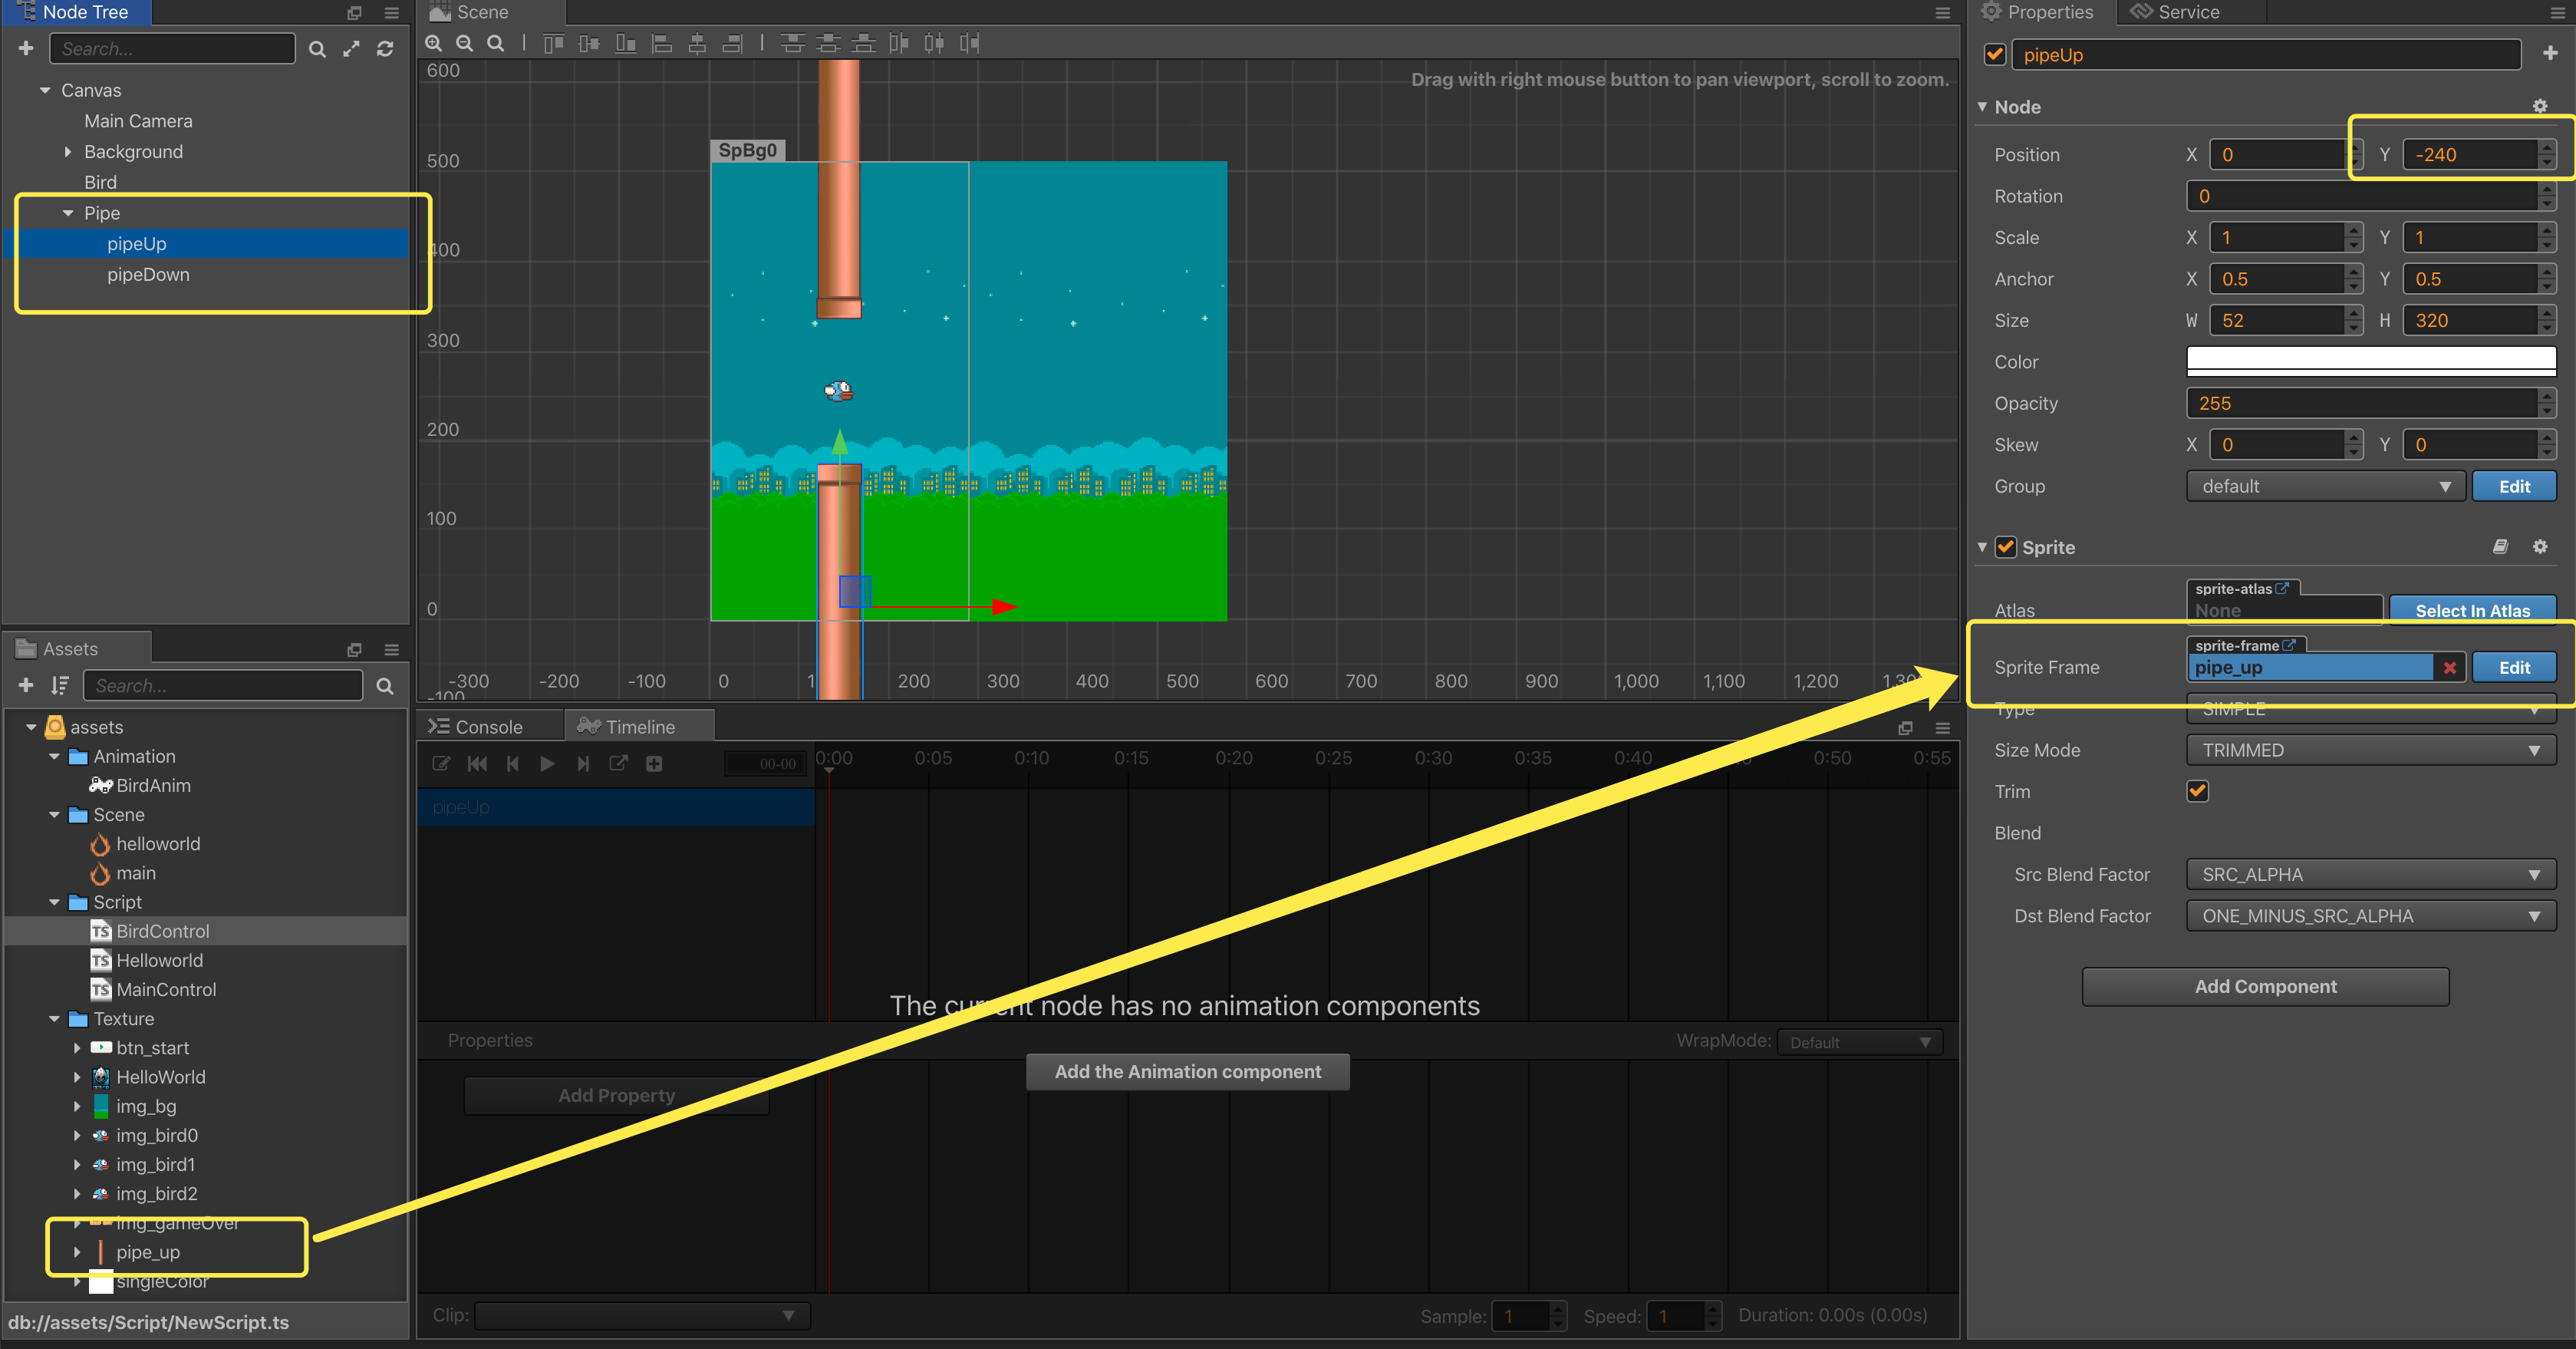
First, create an empty Pipe node, and then create two Sprite child nodes to the Pipe, as shown in the following figures:

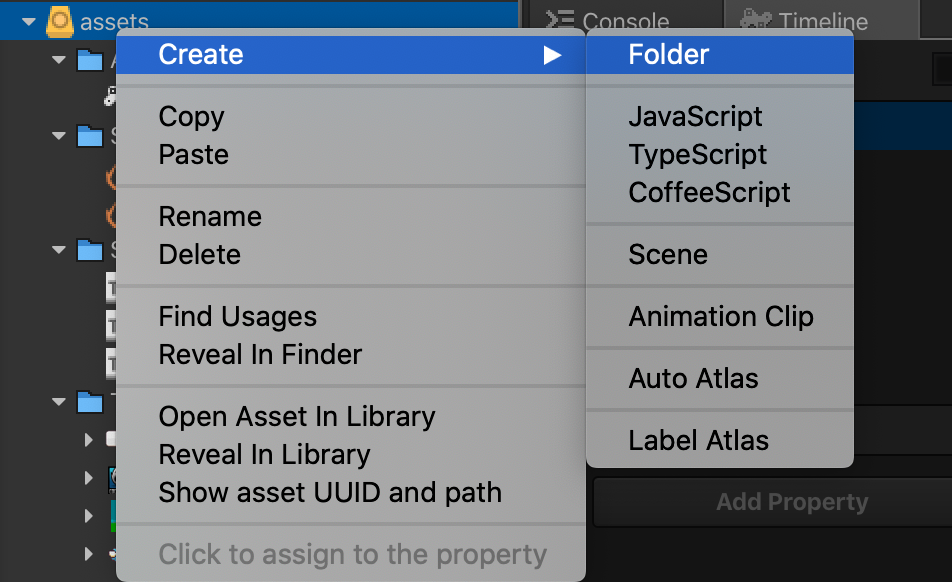
Next, create a Prefab directory under the assets directory (used to put all prefab resources for this game).
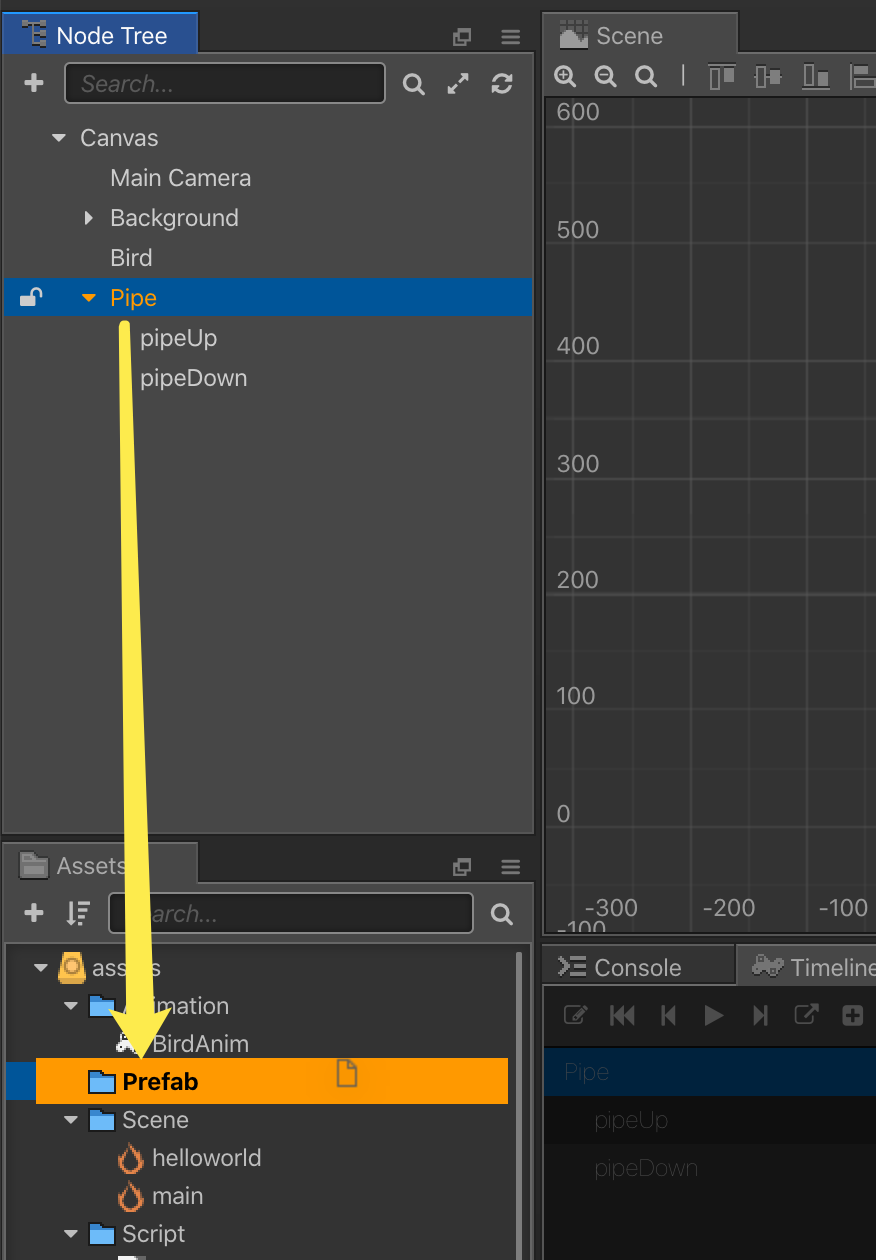
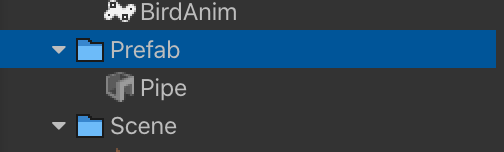
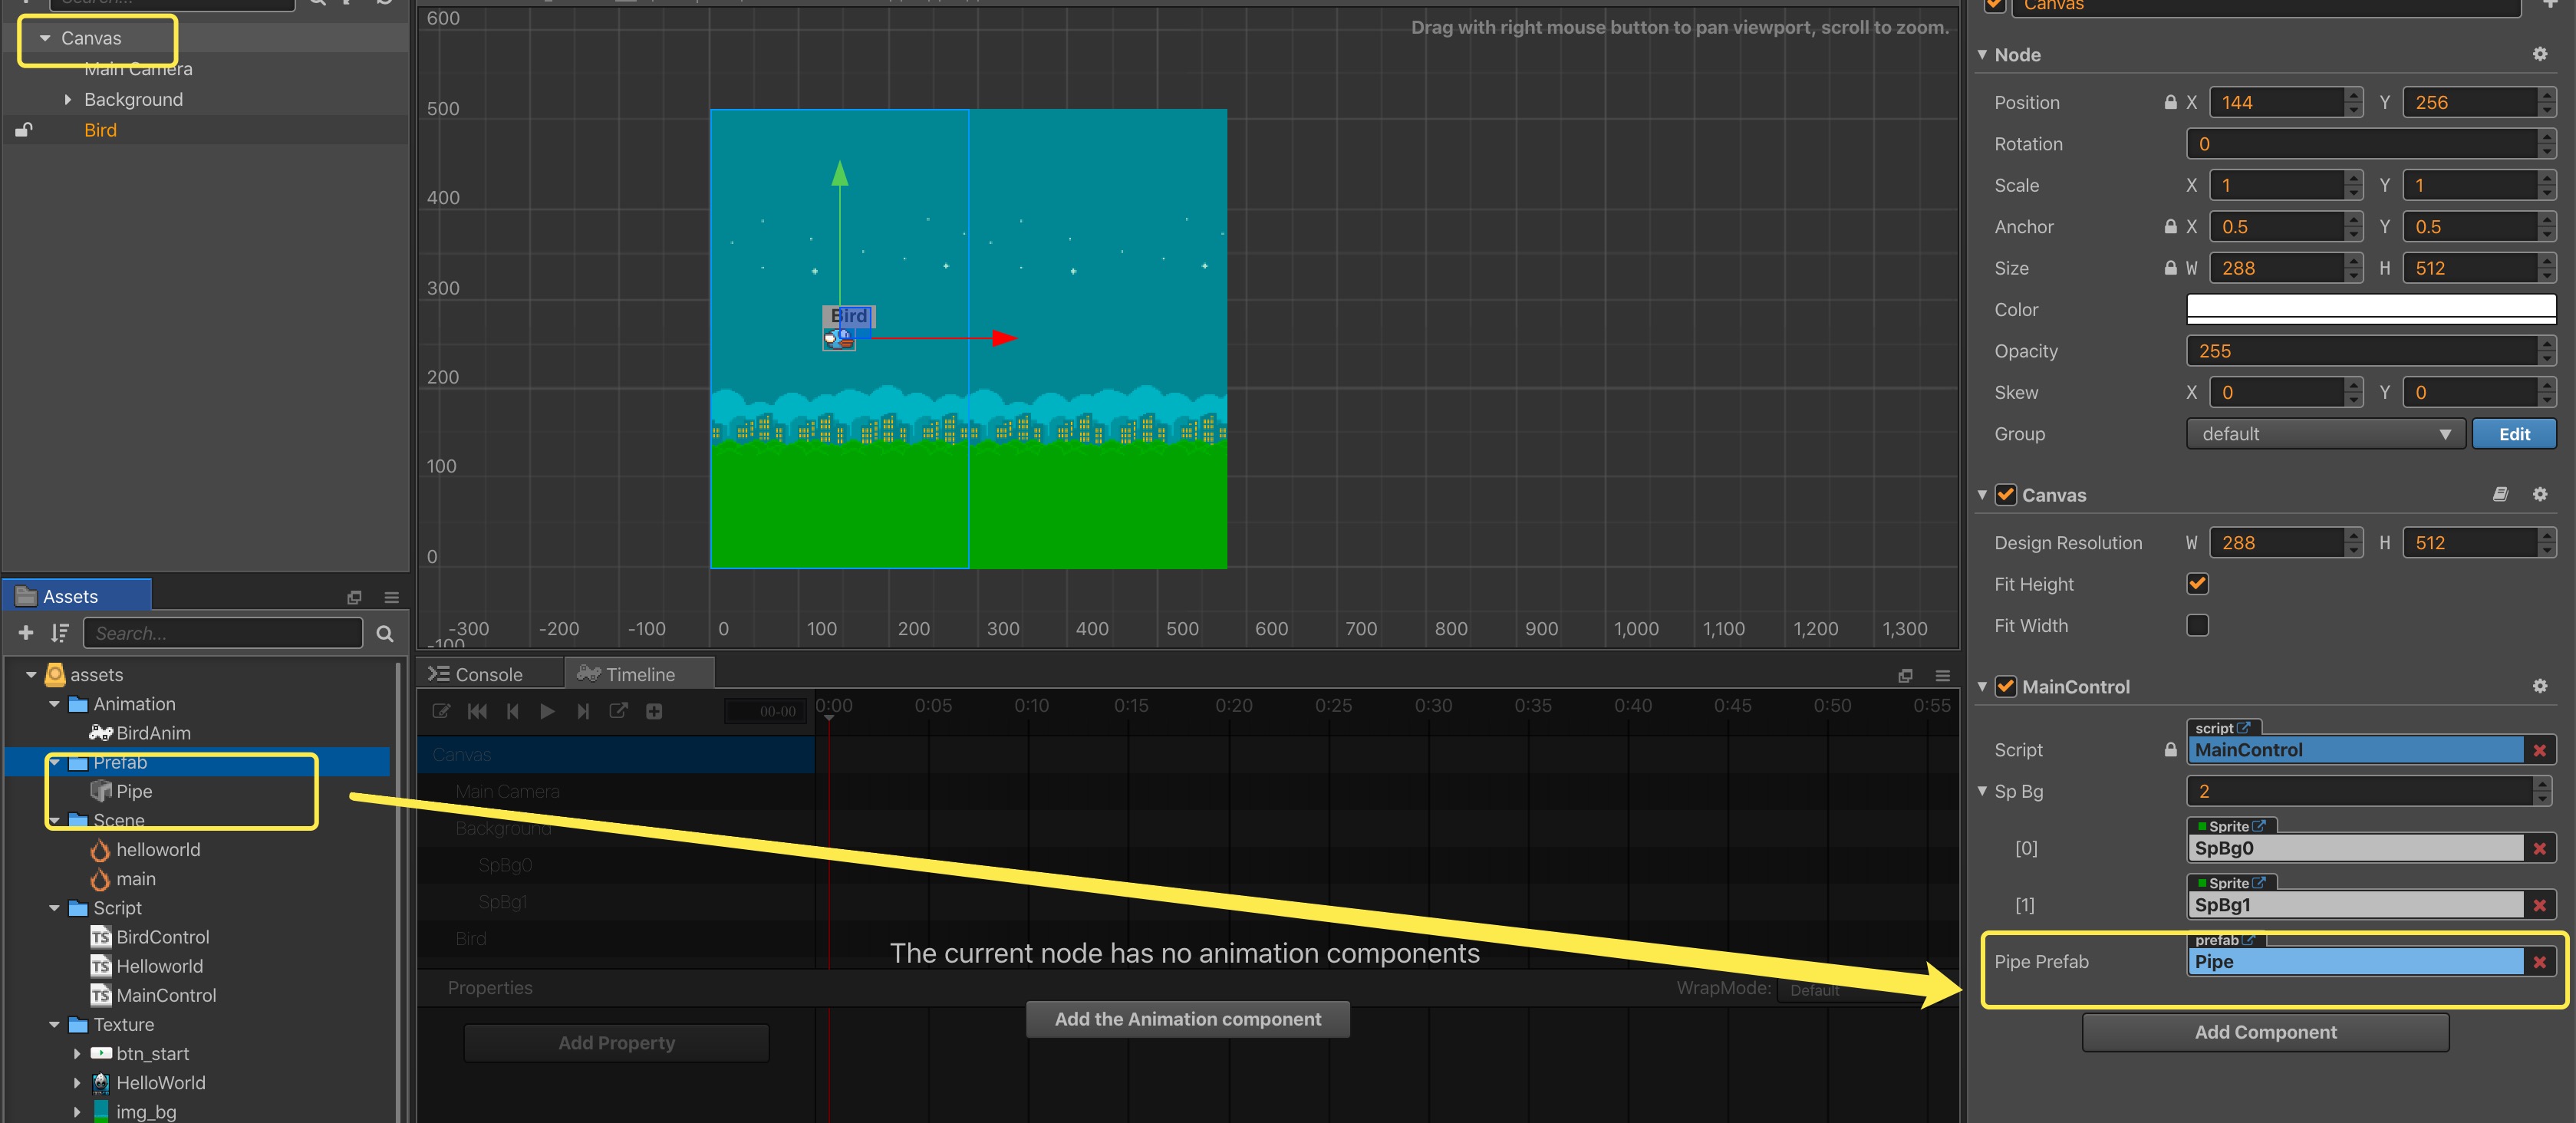
Third, drag the Pipe node into the Prefab directory, and then a Pipe prefab resource will be generated in the Prefab folder.
Fourth, delete the Pipe node under the Canvas node and use code control to generate and move directly in the script. Add the following code to MainControl.ts:
    @property(cc.Prefab)
    pipePrefab: cc.Prefab = null;

    pipe: cc.Node[] = [null, null, null]

    start () {
        for (let i = 0; i < this.pipe.length; i++) {
            this.pipe[i] = cc.instantiate(this.pipePrefab);
            this.node.addChild(this.pipe[i]);

            this.pipe[i].x = 170 + 200 * i;
            var minY = -120;
            var maxY = 120;
            this.pipe[i].y = minY + Math.random() * (maxY - minY);
        }
    }
The first pieces of code: declare a prefab in the MainControl script, and modify it with @property (cc.Prefab) to display it in the IDE’s MainControl script.
The second piece of code: declares an array of type cc.Node with a length of 3, which is 3 pipe obstacles.
The third piece of code: the start() function is one of the Cocos Creator life cycle functions, and it is triggered after the onLoad() function is triggered. start() is usually used to initialize some intermediate state data, which may change during update() and is frequently enabled and disabled. Instantiate the pipe array with the pipe prefab in the start() function, and add these 3 instantiated nodes to the Canvas node. Lines 42 to 45 of the code assigned values to the three pipes. The x coordinate is placed at intervals of 200 pixels, and the y coordinate is random within the range of (-120, 120).
Add the following code to MainControl.ts in the update() function:
        // move pipes
        for (let i = 0; i < this.pipe.length; i++) {
            this.pipe[i].x -= 1.0;
            if (this.pipe[i].x <= -170) {
                this.pipe[i].x = 430;

                var minY = -120;
                var maxY = 120;
                this.pipe[i].y = minY + Math.random() * (maxY - minY);
            }
        }
This code mainly moves 3 pipes to the left by 1 pixel per frame. When a pipe moves out of the screen from the left (the abscissa is less than or equal to -170), the abscissa of this pipe is assigned a value of 430, and then height is re-acquired.
Save your progress
Save your changes in the text editor that you are using. Find the Save button in Cocos Creator and click Save once.
So where are we?
At this step, our tutorial is taking shape.
Conclusion
Stay tuned for Part 7 of this tutorial!
Special Thank you!
To HuJun for creating this tutorial.