Cocos Creator: learning “FlappyBird”
Part (5): adding touch response!
Note: This is a multi-part tutorial: Part 1 | Part 2 | Part 3 | Part 4
Note: Parts 6-11 coming soon.
Introduction and getting help
You are welcome to post to the Cocos Creator category on the Cocos forums to talk about any issues you encounter during the development process. This tutorial does not teach how to code.
Please prepare your development environment before starting this tutorial. If you are having trouble with our tutorial, please take a look at the following documentation:
Preparing the development environment:
Let’s get started
This tutorial focuses on using Cocos Creator to build a Flappy Bird clone. Remember Flappy Bird?

So far, from Part 1, Part 2, Part 3 and Part 4, we have our Bird, we can make it appear to fly in a colorful world and we have written code to start to make our game playable.
The touch monitoring events (in fact, all built-in events are) is added to the node (cc.Node). When the node is interacted with, the callback function of the event will be triggered. At that time, the callback function is running. This callback is what we need to incorporate some touch events.
Touch events
First, our game needs to respond to touch events in full screen, so we need to find a node that covers the entire interface. Perhaps, the Canvas node meets the requirements?
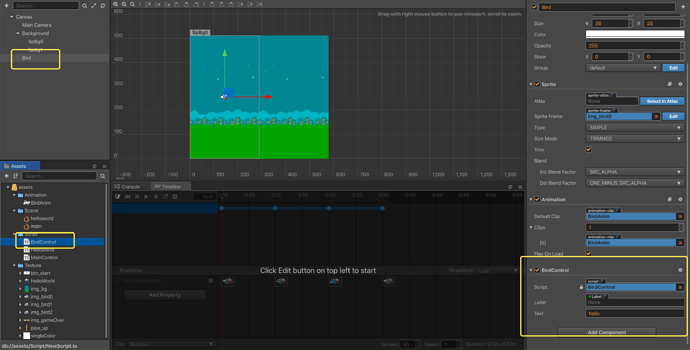
Second, create a BirdControl script and attach it to the Bird node to specifically control the bird’s game logic.
As shown above, after the script is attached. Next, double-click the BirdControl script to edit it:
const {ccclass, property} = cc._decorator;

@ccclass
export default class BirdControl extends cc.Component {

    //Speed of bird
    speed: number = 0;

    onLoad () {
        cc.Canvas.instance.node.on(cc.Node.EventType.TOUCH_START, this.onTouchStart, this);
    }

    start () {

    }

    update (dt: number) {
        this.speed -= 0.05;
        this.node.y += this.speed;
    }

    onTouchStart (event: cc.Event.EventTouch) {
        this.speed = 2;
    }
}
The first piece of code defines a speed variable to indicate the speed of the bird in the Y-axis direction. Positive values indicate upward flight, and negative values indicate the falling process.
The second piece of code, the onLoad() function is one of the life cycle callback functions provided by Cocos Creator. This callback function is triggered when the node attached by the script is activated for the first time. It is generally used to perform some initialization related operations. Line 24 is to add a touch event response to the Canvas node.
Let us talk about the parameters being used:
cc.Node.EventType.TOUCH_START - As you can see from the name, this event is when the touch starts.
this.onTouchStart() is our custom callback function.
this, is used to bind the caller of the response function. This parameter is important and must be provided.
The third piece of code, in the update() function, reduces the speed by 0.05 per frame. The bird is affected by gravity and needs to do an upward uniform deceleration motion or a downward uniform acceleration motion.
The fourth piece of code, the onTouchStart() function is our custom touch callback function. This function will be triggered when the mouse clicks on the game area. Each time this function is triggered, we increase the upward speed with a speed value of 2.
Save your progress
Save your changes in the text editor that you are using. Find the Save button in Cocos Creator and click Save once.
So where are we?
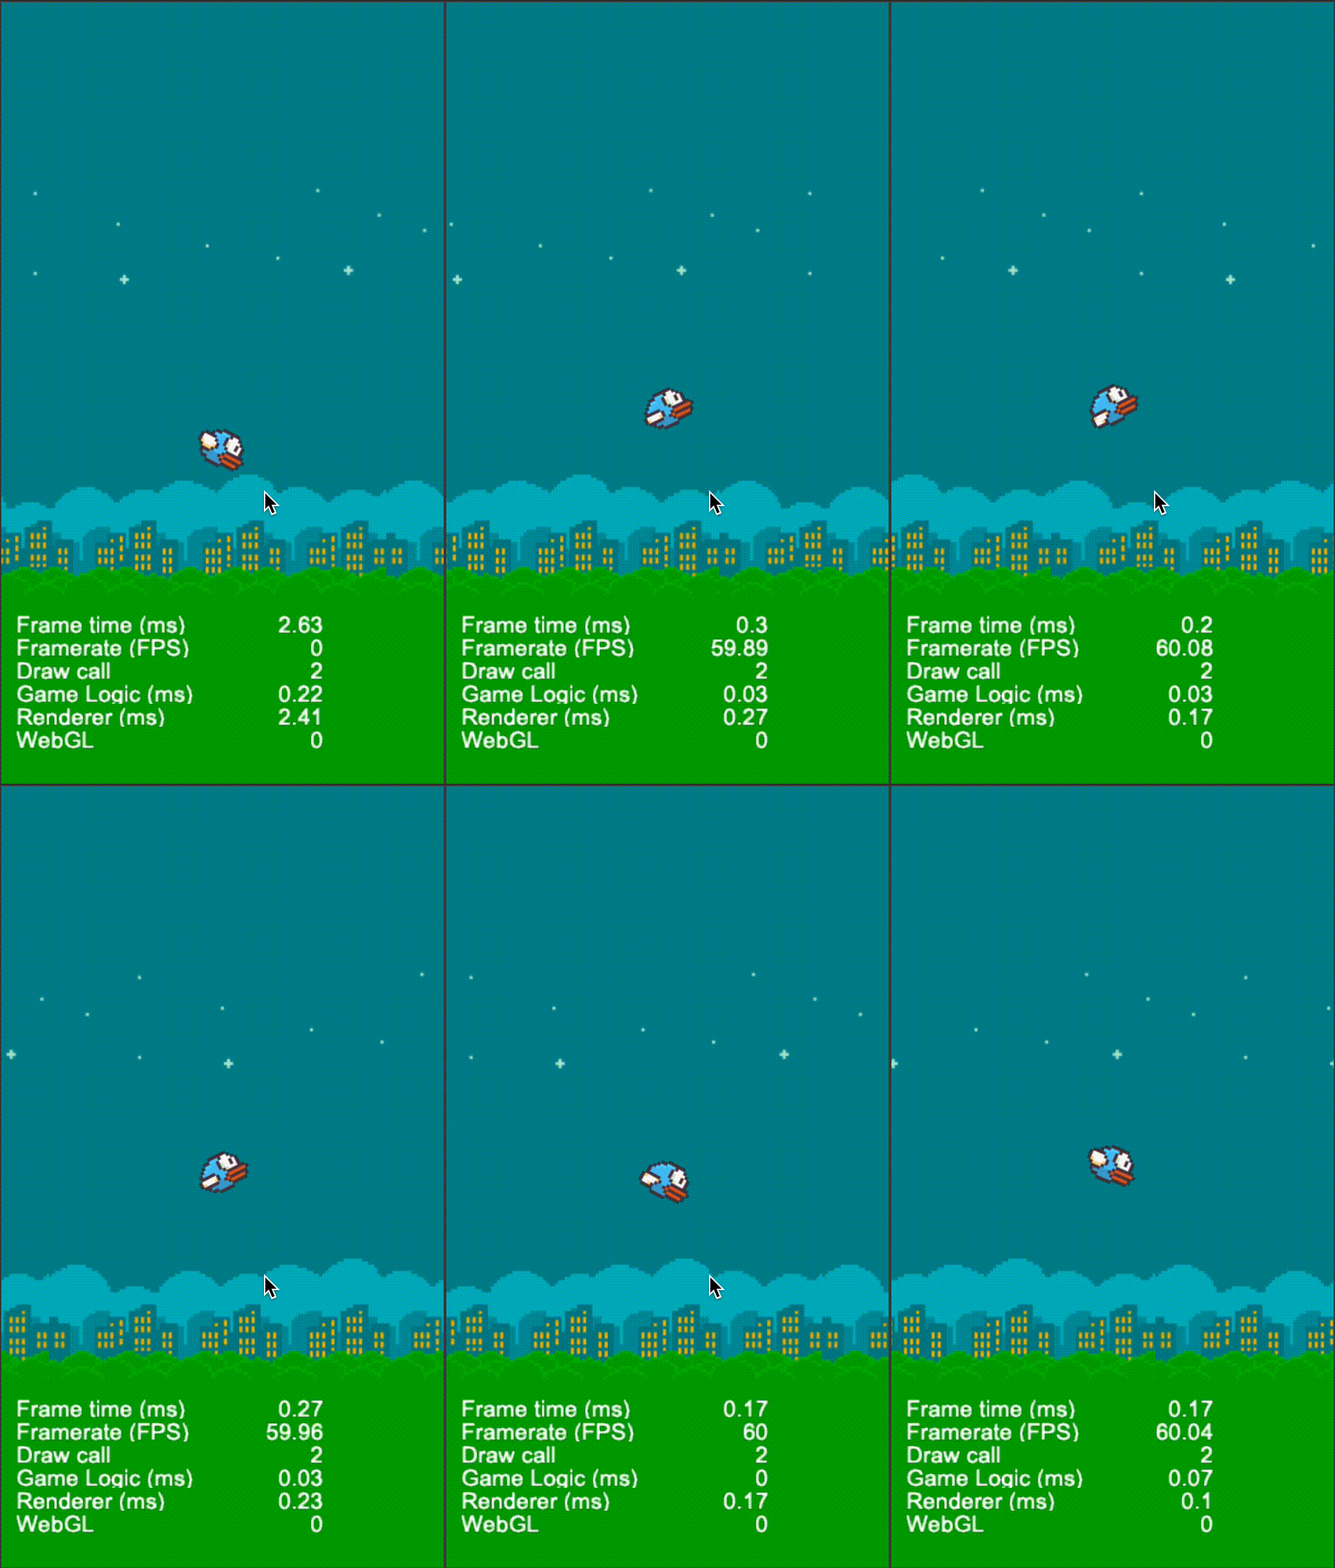
At this step, run the project. You will find that every time you click, the bird will fly up a distance.
Making our environment realistic
To make the acceleration and deceleration effects more realistic, we can tilt the bird up a little angle when it is flying upwards, and tilt it down an angle when it is falling. Let us select a maximum tilt angle of 30 degrees.
The implementation is simple, the code is as follows:
    update (dt: number) {
        this.speed -= 0.05;
        this.node.y += this.speed;

        var angle = -(this.speed/2) * 30;
        if (angle >= 30) {
            angle = 30;
        }
        this.node.rotation = angle;
    }
This code helps to create realistic effects!
Save your progress
Save your changes in the text editor that you are using. Find the Save button in Cocos Creator and click Save once.
So where are we?
At this step, our tutorial is taking shape.

Conclusion
Stay tuned for Part 6 of this tutorial!
Special Thank you!
To HuJun for creating this tutorial.

