
Cocos Creator: learning “FlappyBird”
Part (11): adding background music and sound effects
Note: This is a multi-part tutorial: Part 1 | Part 2 | Part 3 | Part 4 | Part 5 | Part 6 | Part 7 | Part 8 | Part 9 | Part 10
Note: This is the last part of this tutorial series! Congratulations!
Introduction and getting help
You are welcome to post to the Cocos Creator category on the Cocos forums to talk about any issues you encounter during the development process. This tutorial does not teach how to code.
Please prepare your development environment before starting this tutorial. If you are having trouble with our tutorial, please take a look at the following documentation:
Preparing the development environment:
Let’s get started
This tutorial focuses on using Cocos Creator to build a Flappy Bird clone. Remember Flappy Bird?

So far, from Part 1, Part 2, Part 3, Part 4, Part 5, Part 6, Part 7, Part 8, Part 9 and Part 10 , we have our Bird, we can make it appear to fly in a colorful world, we have written code to start to make our game playable, added collision detection to our Bird and Pipes, added displaying a Game Over sprite when the game comes to an end, gave the game state and added a scoring system.
Adding background music
Note: It is crucial to understand the importance of Audio. Please make sure to read the Audio documentation
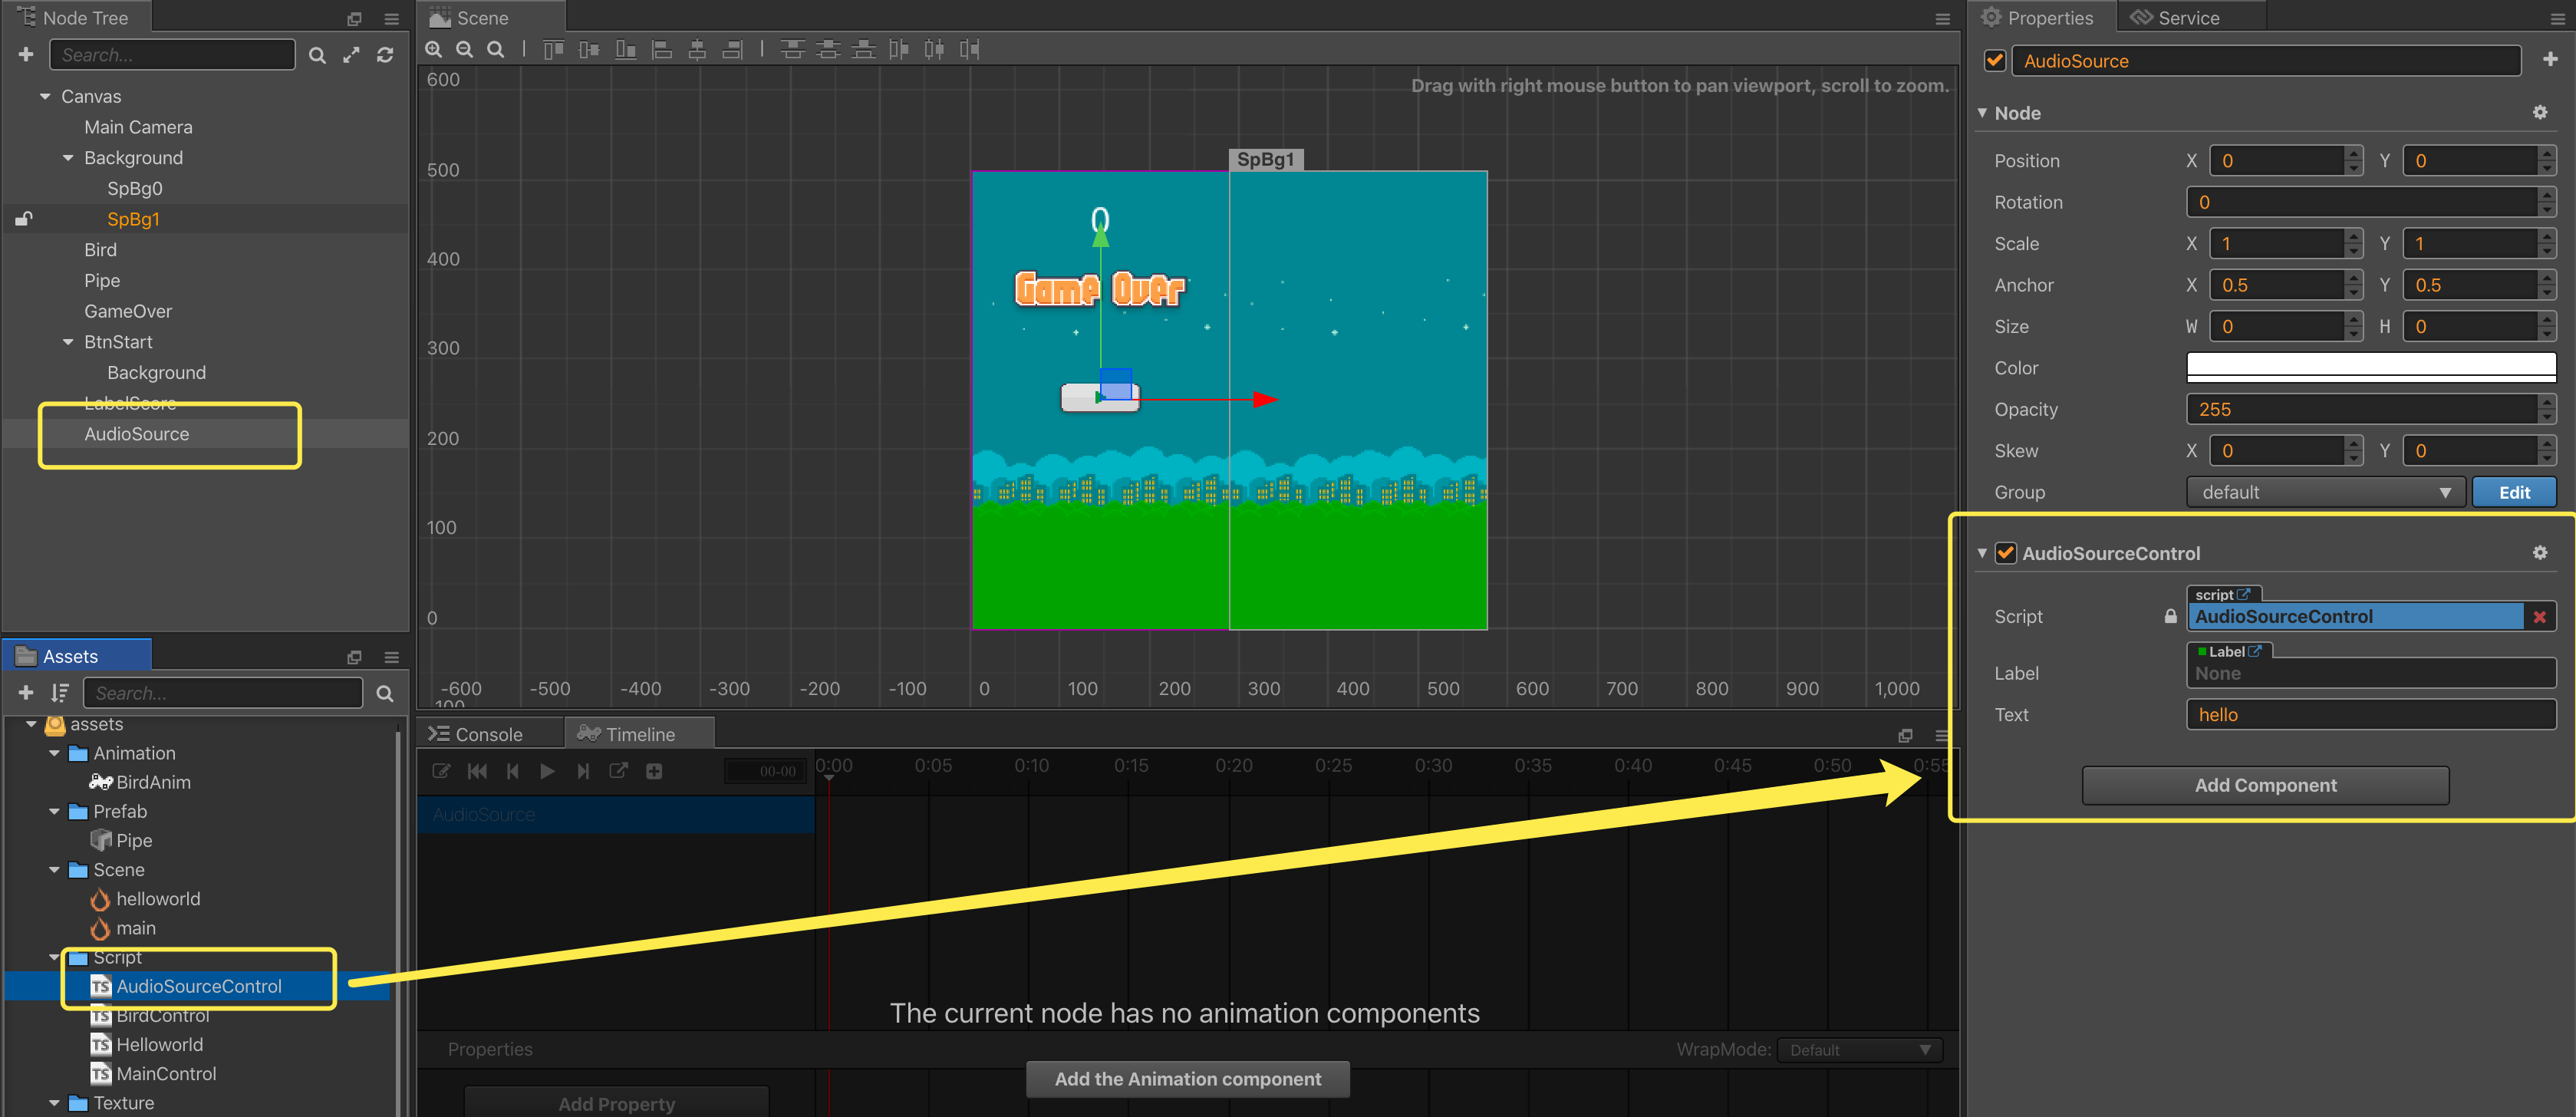
First, create an empty node named AudioSource.
Second, create a TypeScript named AudioSourceControl.ts, and bind the script on the newly created AudioSource node.
Third, add the following code to the AudioSourceControl.ts script:
const {ccclass, property} = cc._decorator;

// sound type enum
export enum SoundType {
    E_Sound_Fly = 0,
    E_Sound_Score,
    E_Sound_Die
}

@ccclass
export default class AudioSourceControl extends cc.Component {

    @property({type:cc.AudioClip})
    backgroundMusic: cc.AudioClip = null;

    // sound effect when bird flying
    @property({type:cc.AudioClip})
    flySound: cc.AudioClip = null;

    @property({type:cc.AudioClip})
    scoreSound: cc.AudioClip = null;

    @property({type:cc.AudioClip})
    dieSound: cc.AudioClip = null;

    // LIFE-CYCLE CALLBACKS:

    // onLoad () {}

    start () {
        // play background music
        cc.audioEngine.playMusic(this.backgroundMusic, true);
    }

    playSound (type: SoundType) {
        if (type == SoundType.E_Sound_Fly) {
            cc.audioEngine.playEffect(this.flySound, false);
        }
        else if (type == SoundType.E_Sound_Score) {
            cc.audioEngine.playEffect(this.scoreSound, false);
        }
        else if (type == SoundType.E_Sound_Die) {
            cc.audioEngine.playEffect(this.dieSound, false);
        }
    }

    // update (dt) {}
}
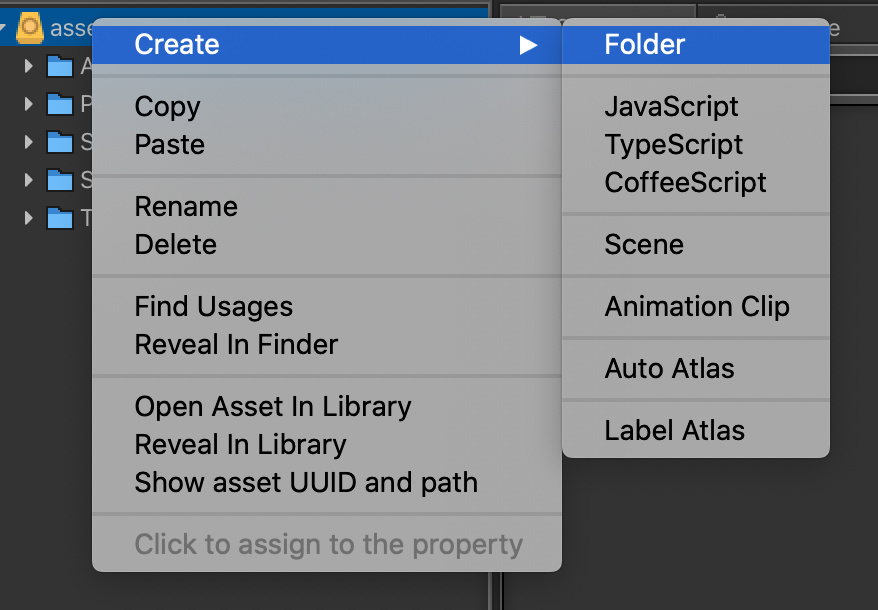
Fourth, return to the Cocos Creator editor, create a new folder named Sound, and import all music sound effects resources into this folder

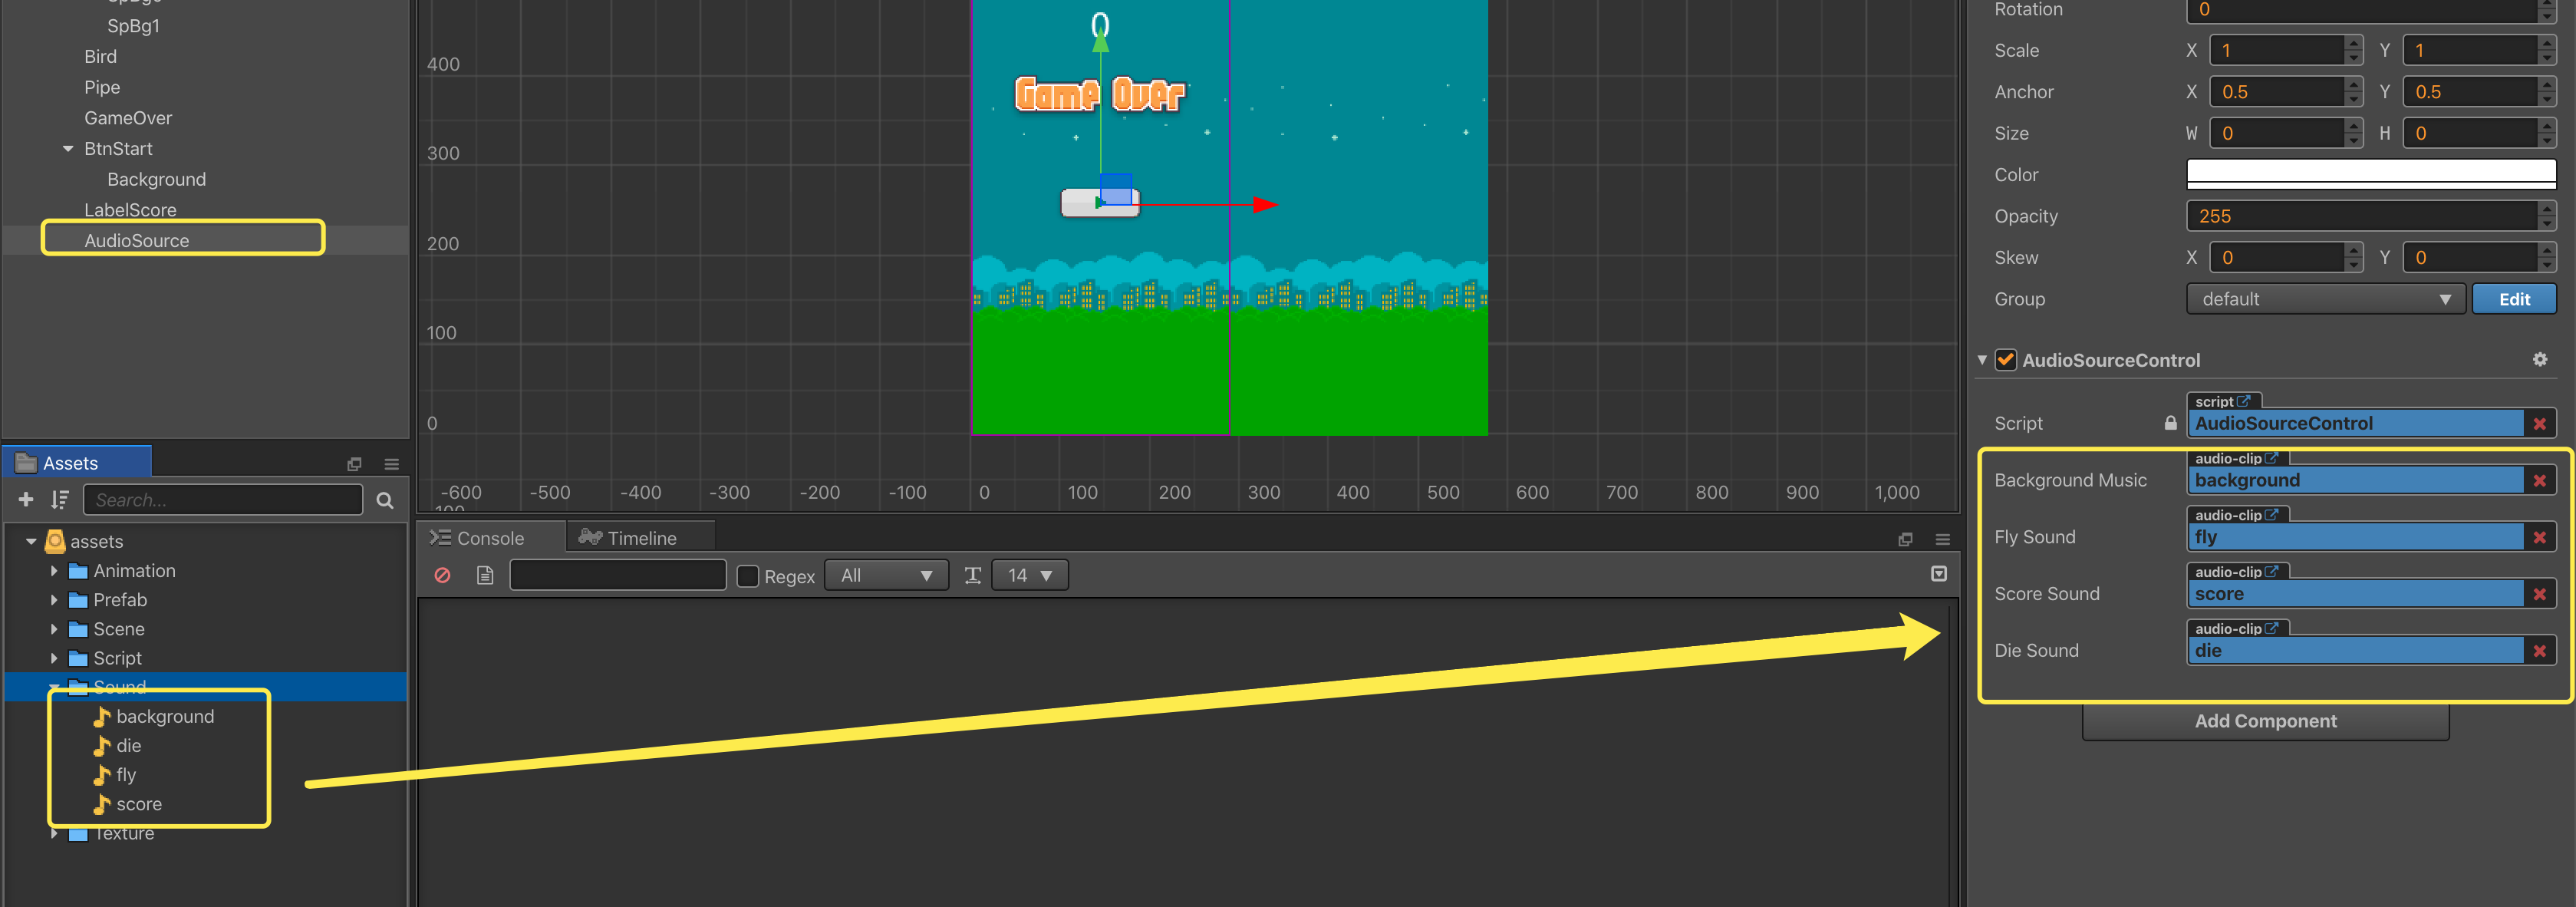
Fifth, bind the music sound effects resources to the script:
Save your progress
Save your changes in the text editor that you are using. Find the Save button in Cocos Creator and click Save once.
So where are we?
When you run the game you can hear background music!
Adding sound effects
We need to still trigger the corresponding sound effects at the corresponding time points.
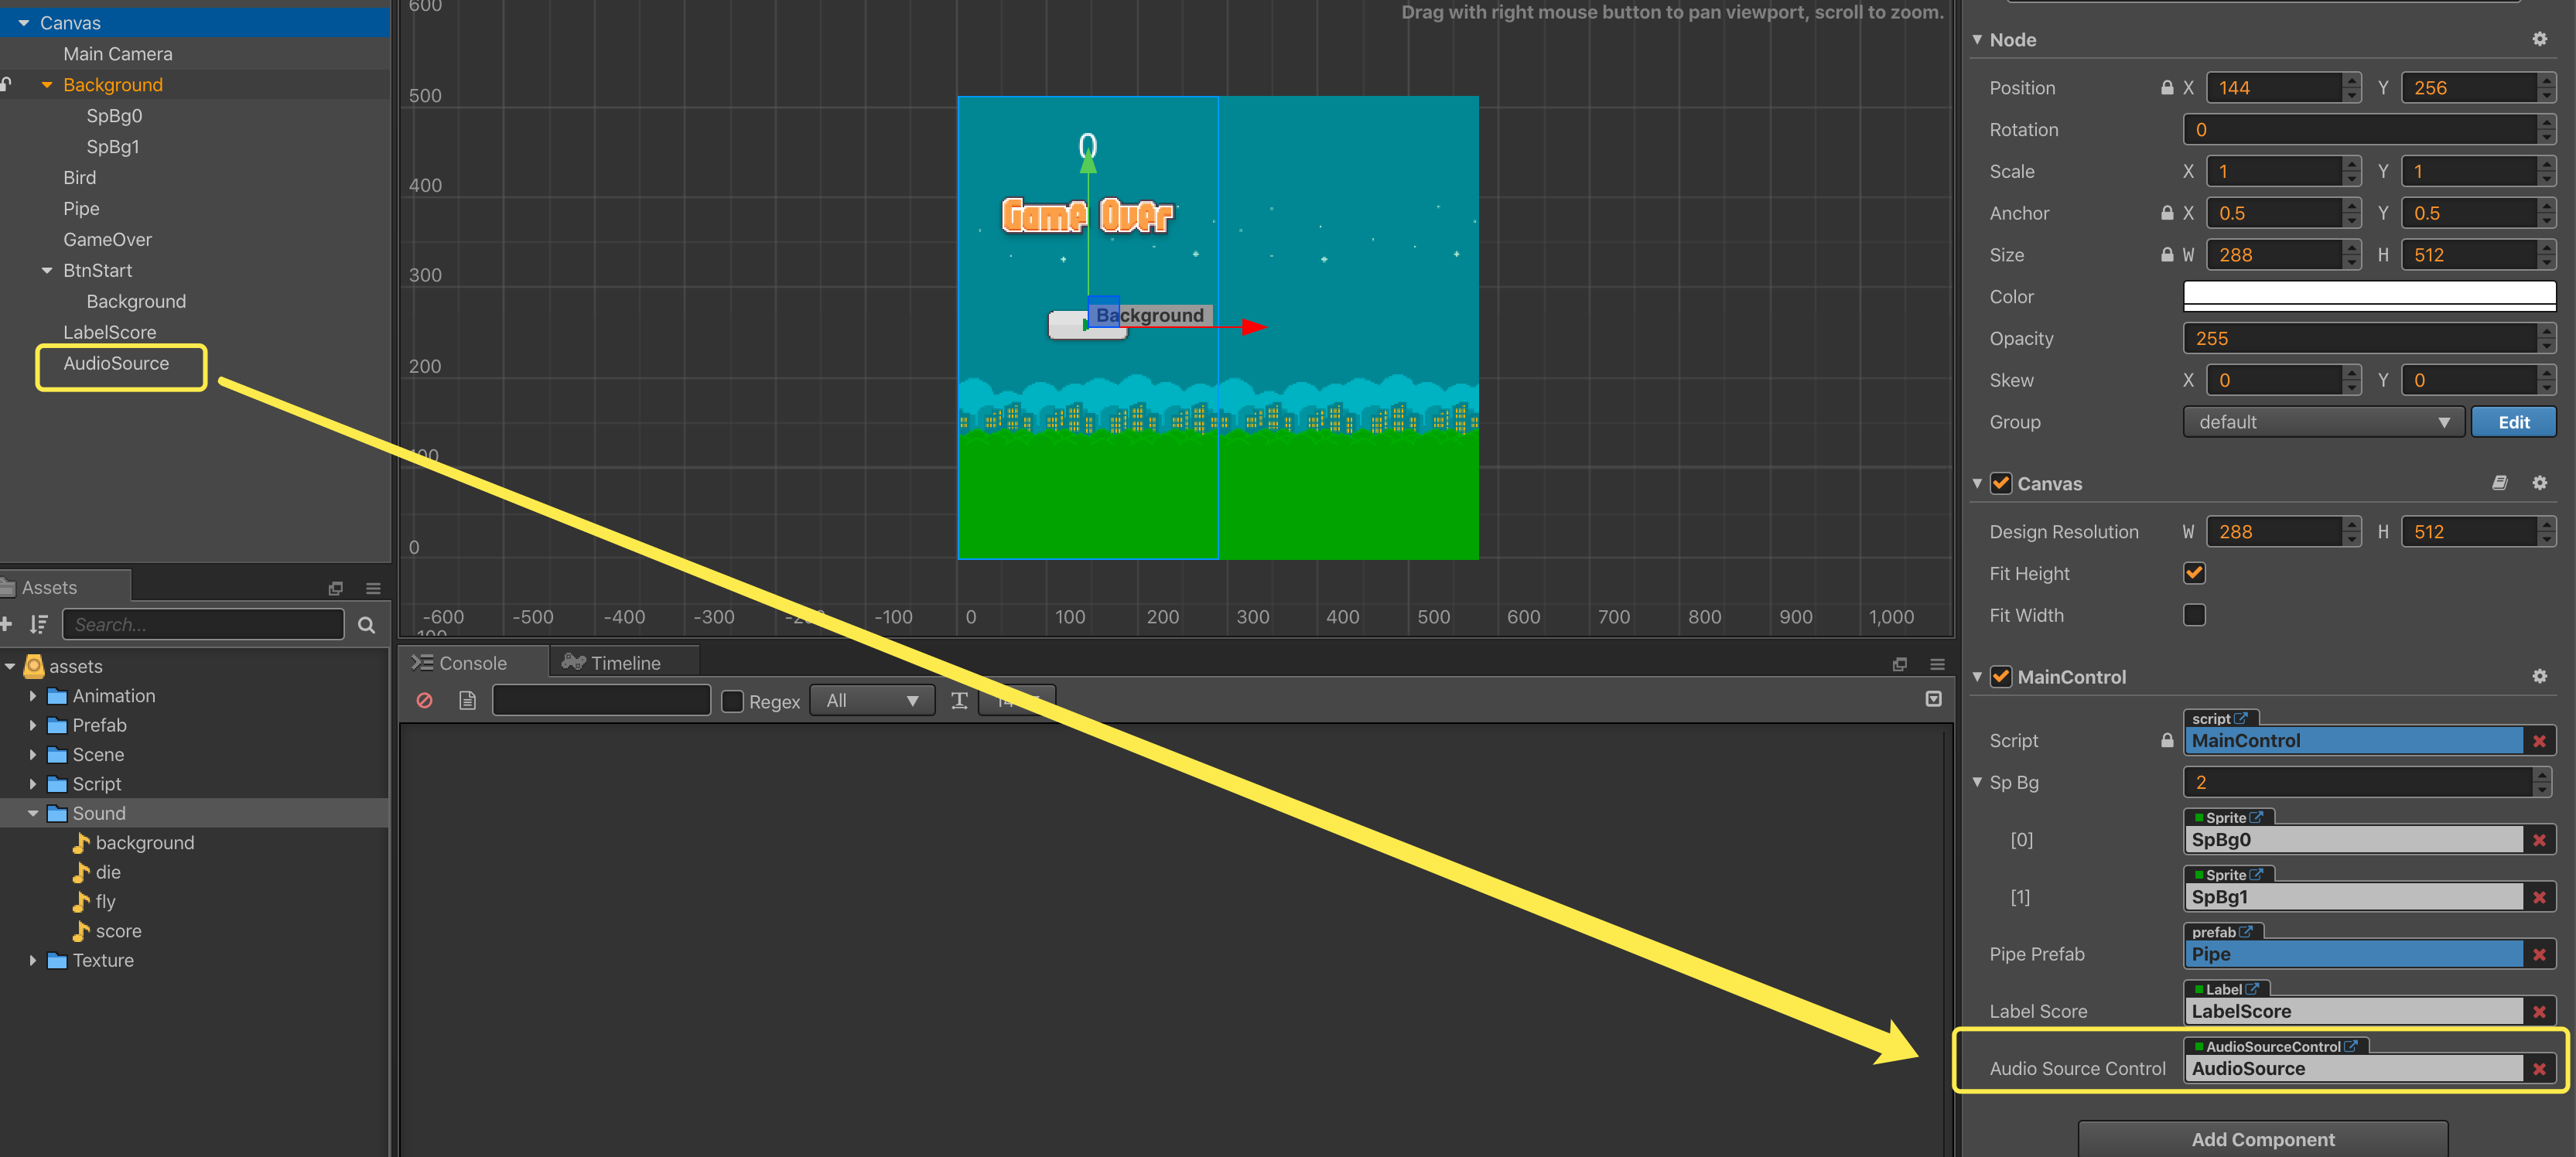
First, add the audioSourceControl property in the MainControl.ts script.

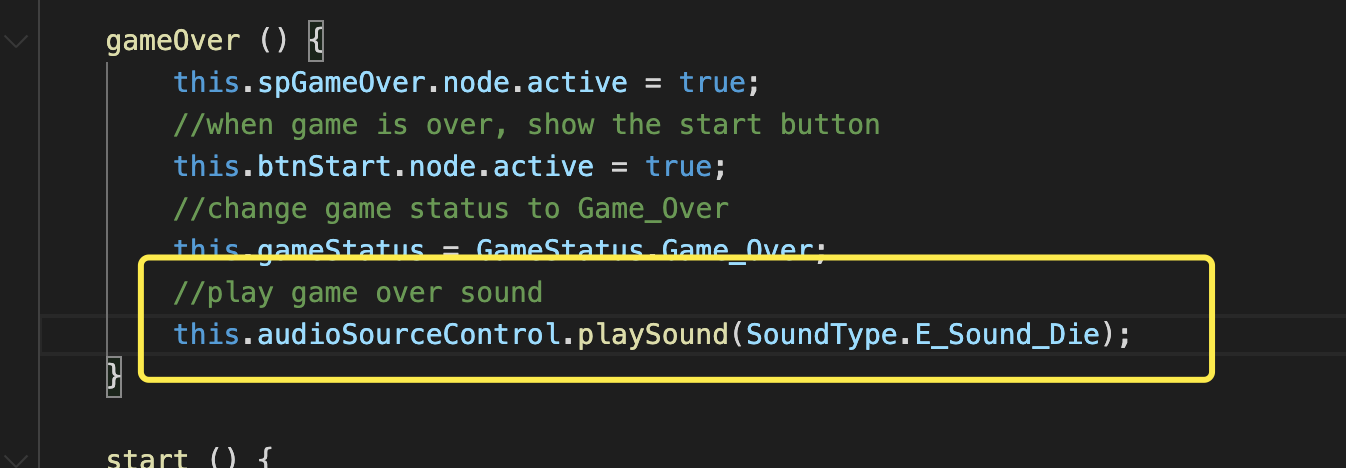
Second, add the following code to the MainControl.ts script:
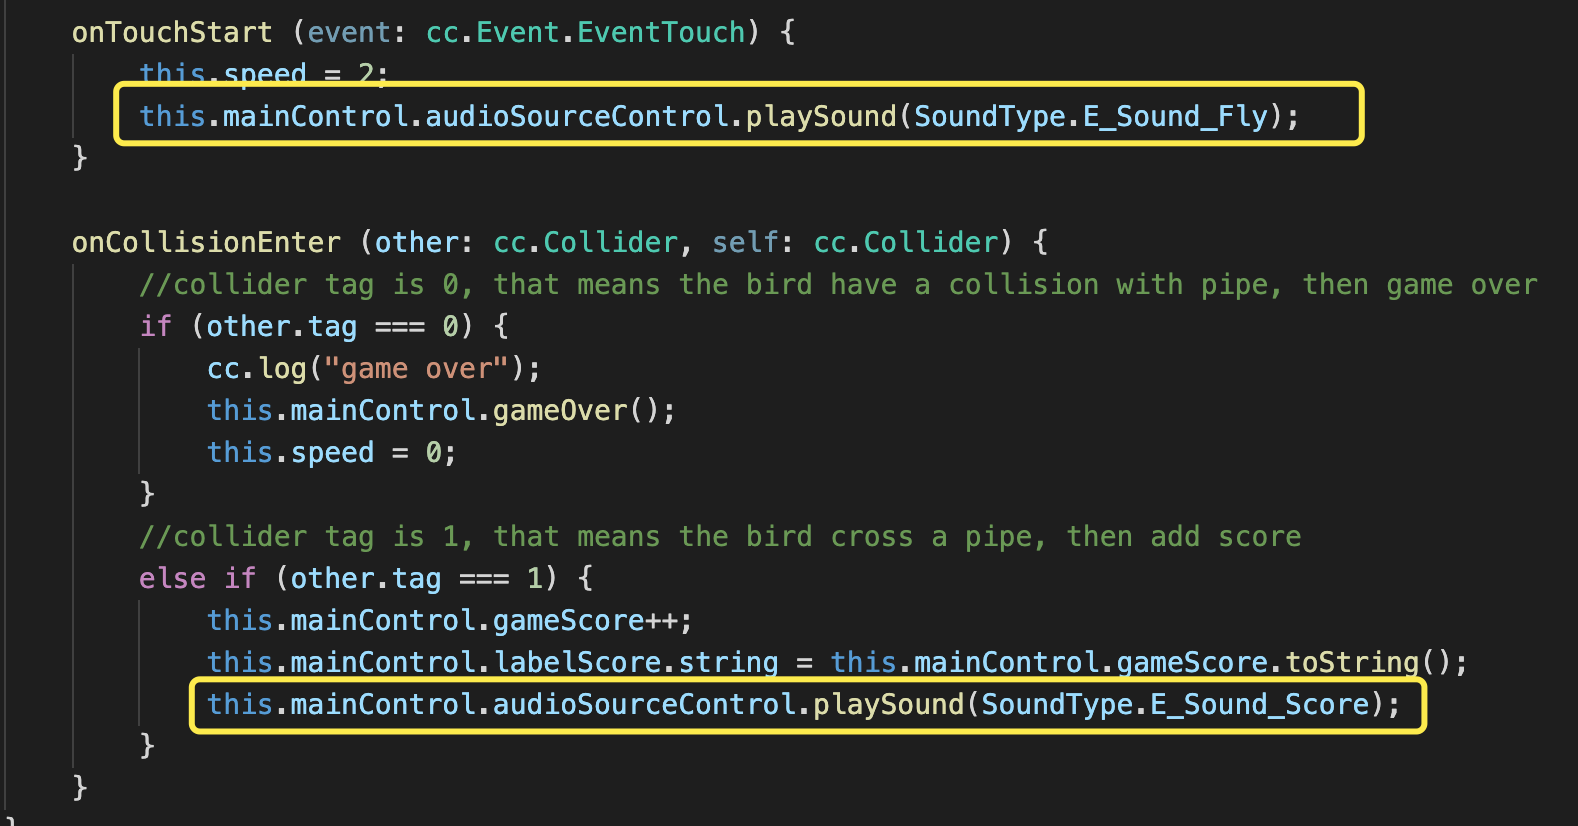
Third, add the following code to the BirdControl.ts script:
A few last steps!
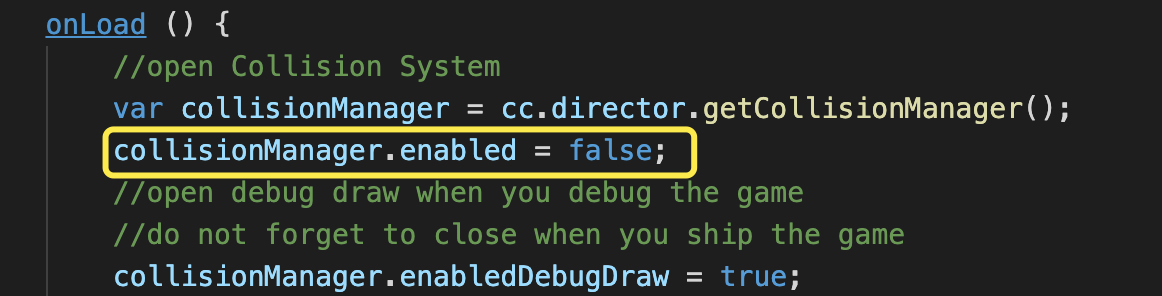
Don’t forget to turn off the drawing of the debug information of the collision bodies:
Save your progress
Save your changes in the text editor that you are using. Find the Save button in Cocos Creator and click Save once.
So where are we?
At this step, running our tutorial should look similar to this:
Play a demo!
You can play a working demo online!
Conclusion
WOW! You made it! All 11 parts. I hope you enjoyed this tutorial on creating a Flappy Bird clone from scratch with Cocos Creator.
Special Thank you!
To HuJun for creating this tutorial.