
Cocos Creator: learning “FlappyBird”
Part (1): the main character bird creation
Note: This is a multi-part tutorial!
Introduction and getting help
You are welcome to post to the Cocos Creator category on the Cocos forums to talk about any issues you encounter during the development process. This tutorial does not teach how to code.
Please prepare your development environment before starting this tutorial. If you are having trouble with our tutorial, please take a look at the following documentation:
Preparing the development environment:
Let’s get started
This tutorial focuses on using Cocos Creator to build a Flappy Bird clone. Remember Flappy Bird?

First, ensure that you have Cocos Creator installed and running. Please refer to the documentation above. Next, download the [game resources)(https://zzxgame.com.cn/FlappyBirdRes).
After the installation is completed, you will see the following interface:

Cocos Creator supports the development in two scripting languages, JavaScript and TypeScript. If you have experience with c++, perhaps using/learning TypeScript may be a good idea as it is a strongly typed language. You can learn about the advantages of TypeScript compared to JavaScript on your own.
Second, select Hello TypeScript, then browse and select the directory where the project will be placed, and last, click New Project.
This is the IDE interface. First of all, we need to close the module of the control library. This library does not need it to be displayed. It takes up too much space. Clicking the button in the upper right corner of the control library will pop up two options, one is pop-up and the other is close. Select close here and it will be OK.
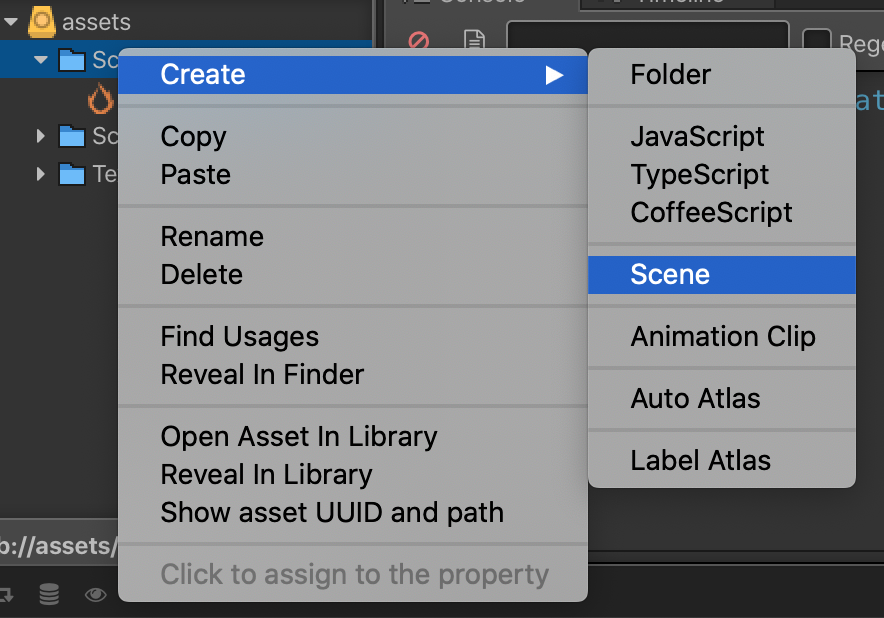
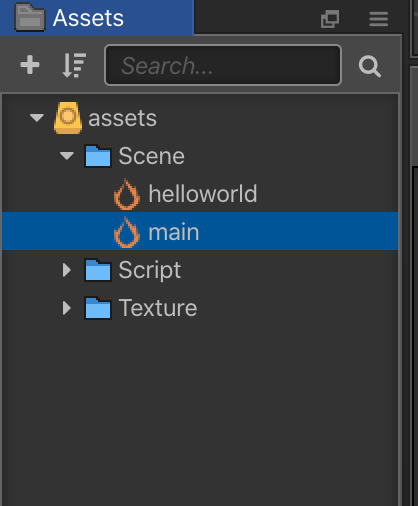
Third, find the Scene folder in the lower left corner of the Explorer. Select the Scene folder with the mouse, right-click to create a Scene, rename it to main. Double-click the main scene file. As shown:
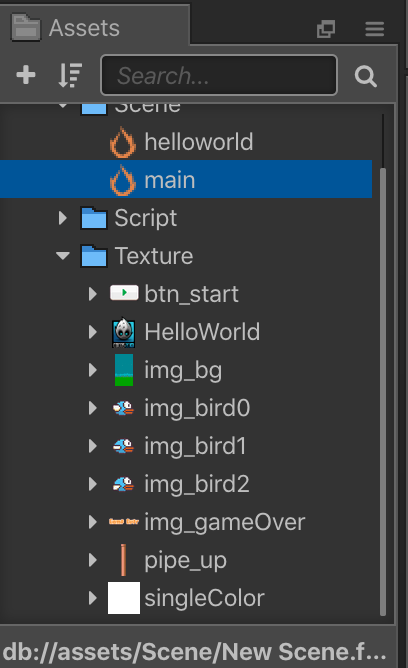
Last, put the resources needed for this game into the project folder \assets\Texture. Return to Cocos Creator and find all the resources listed in the Explorer:
The Bird
After the above preparations are done, let’s create the main character bird.
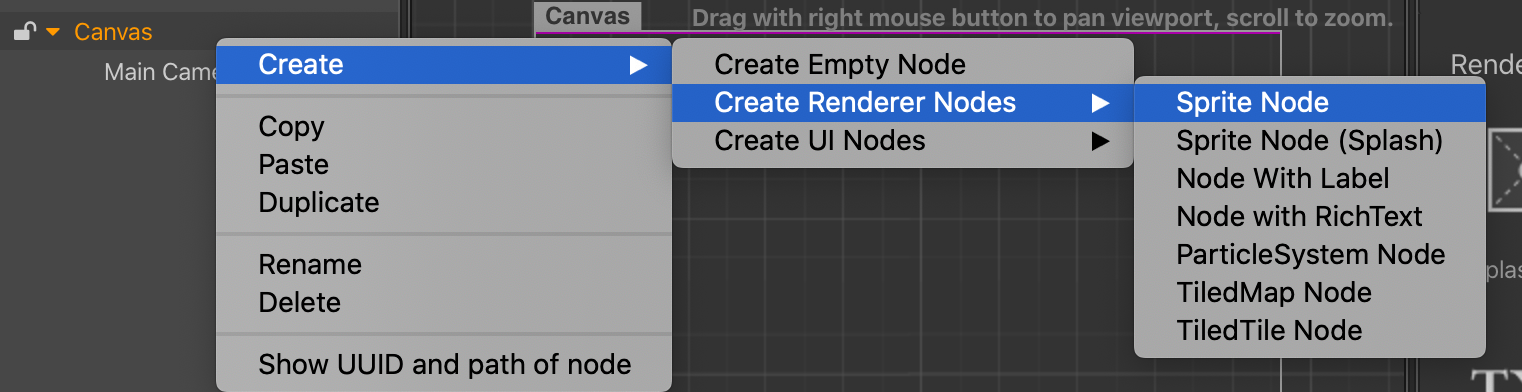
First, find the Canvas node in the hierarchy manager and create a new Sprite Node. Example:
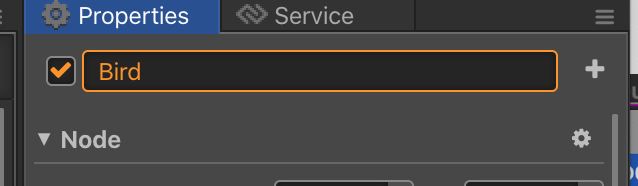
Second, select it and rename it Bird.
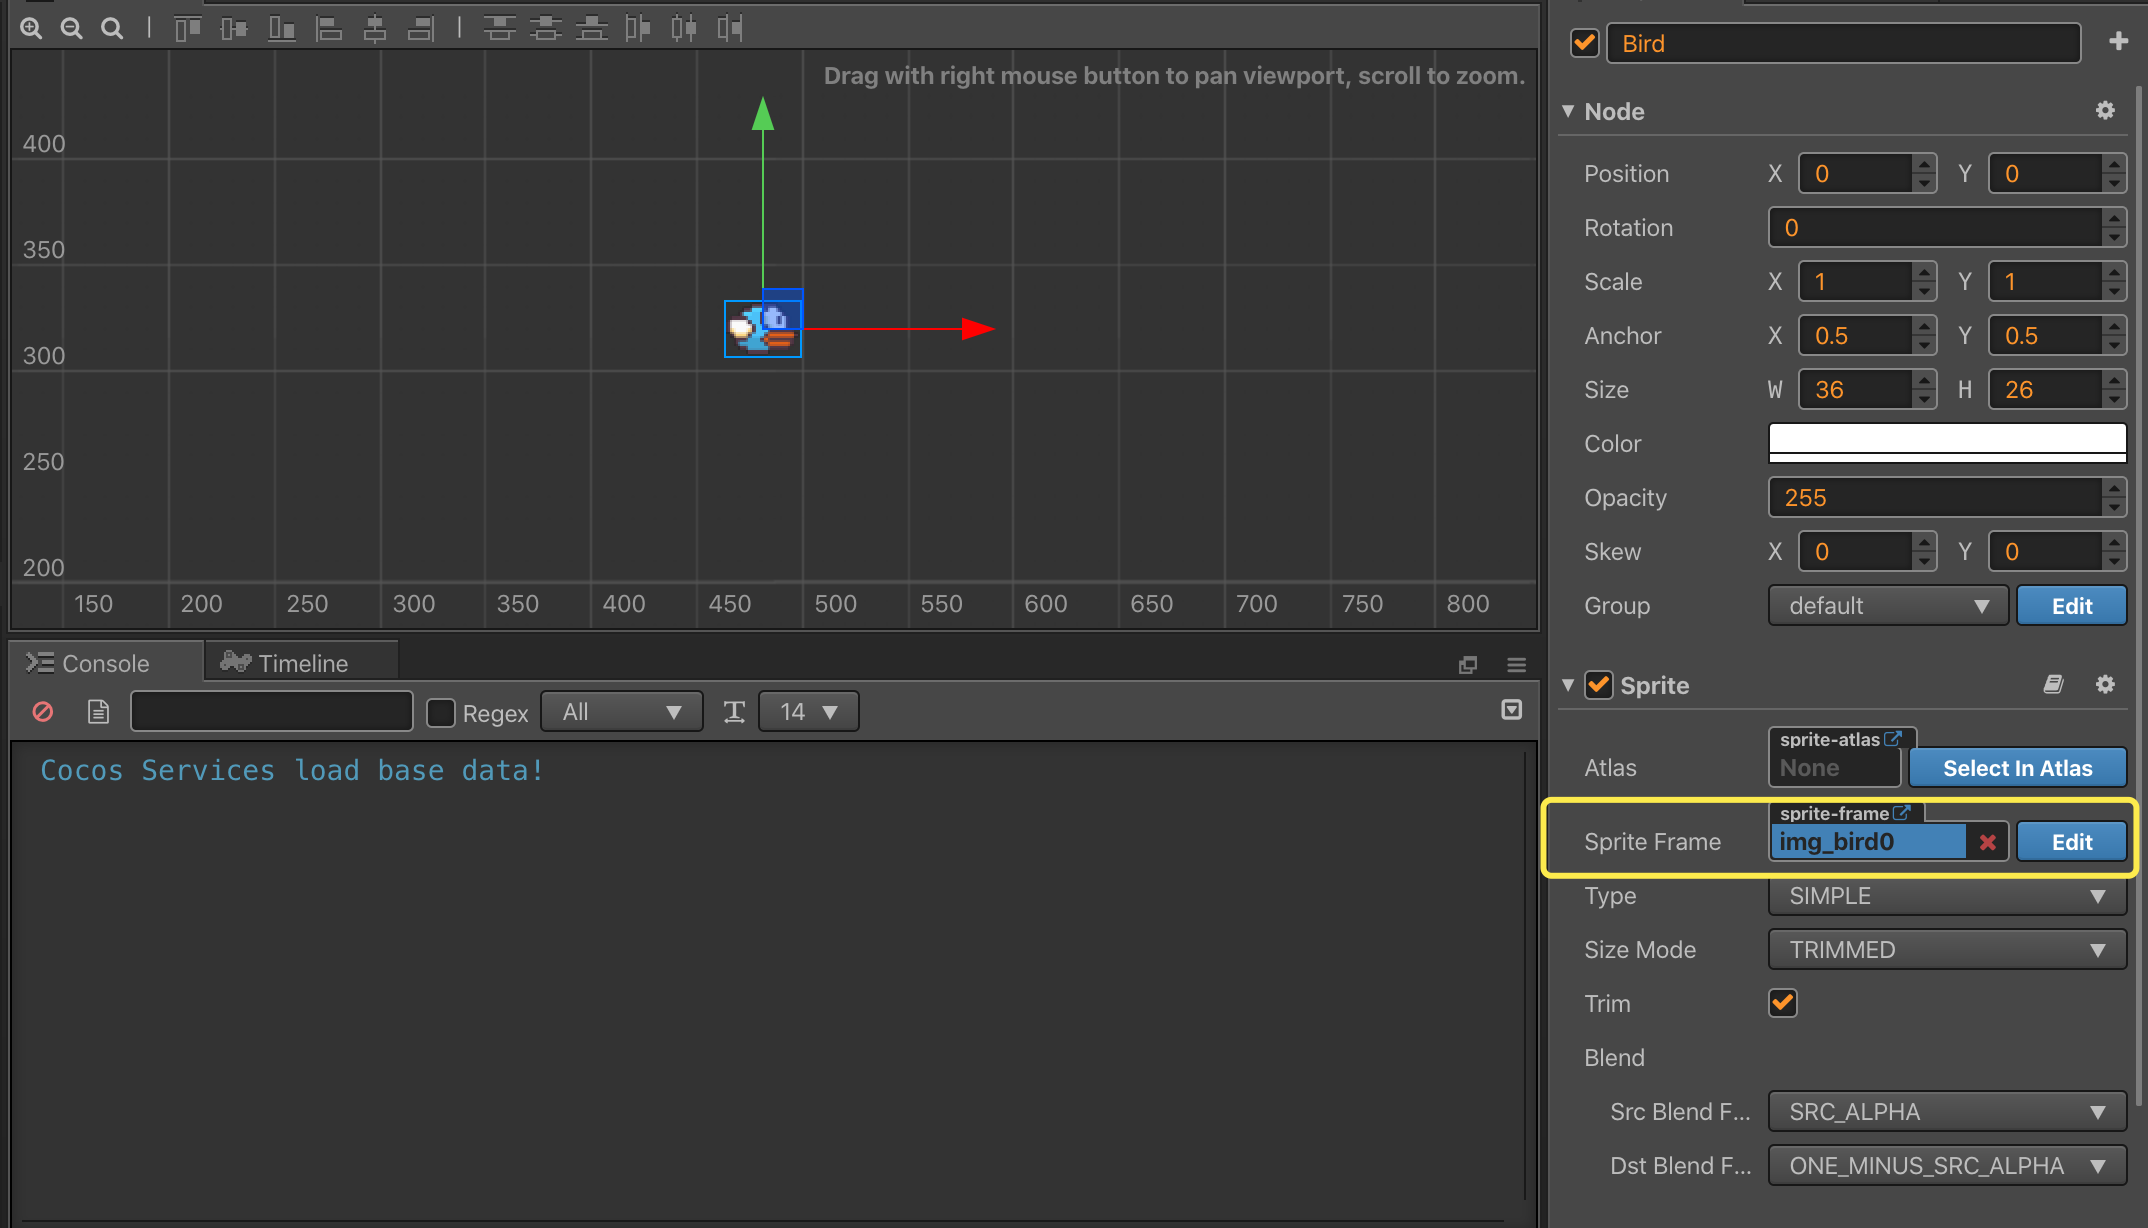
Third, select the Bird sprite to add image textures, and select img_bird0 under the Texture directory in the Explorer (do not click!), hold down the mouse and drag to the blue place on the right side of the Sprite Frame item in the lower right of the Property inspector and release the mouse. This way we can see the Bird in the scene editor:
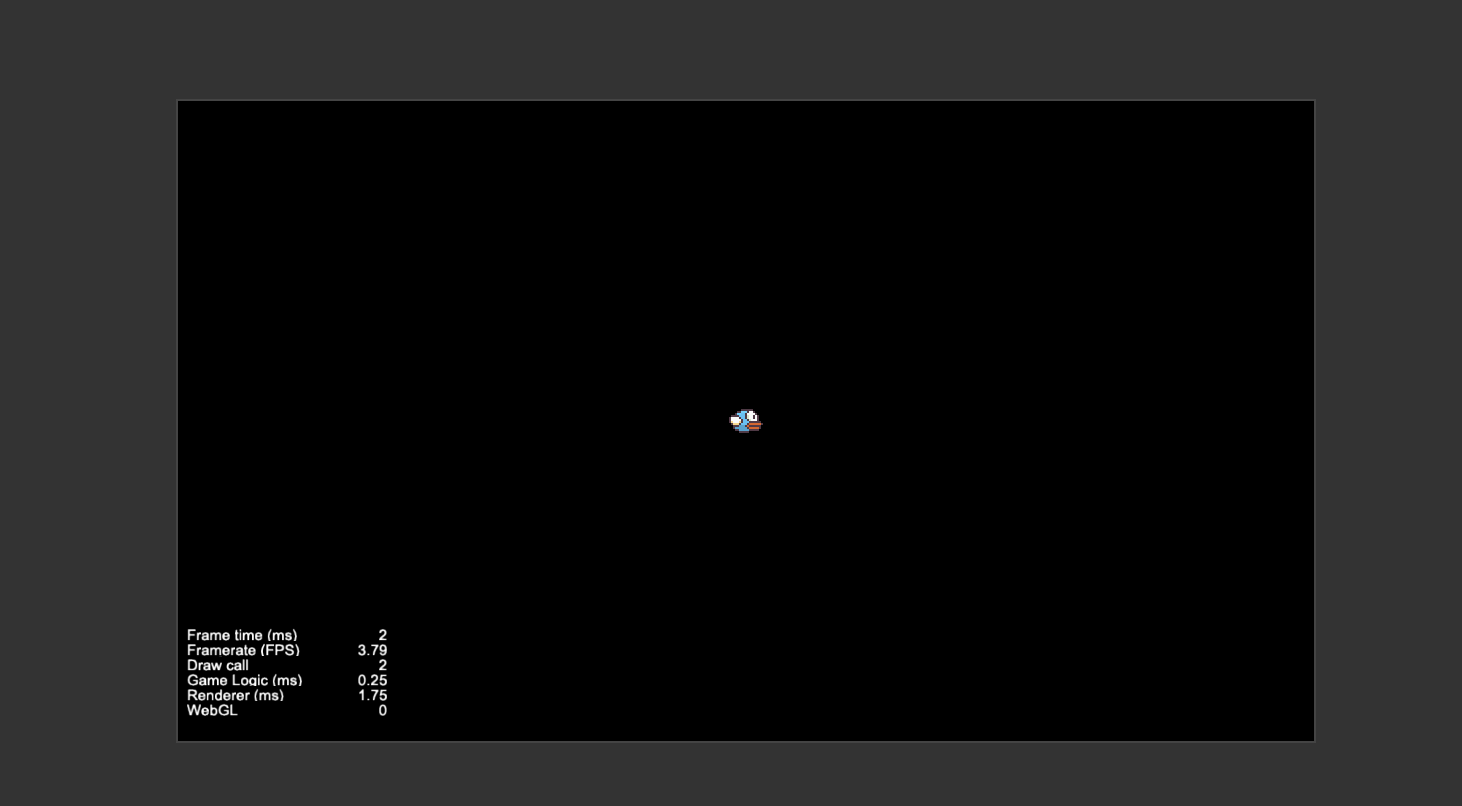
Last, press the Browser button, (directly above the middle of the IDE), and then click the triangle symbol button on the right, so we can see the Bird in the center:

A few tips
This first part of our Flappy Bird series is complete!
-
The mouse is within the scope of the scene editor, the scene can be zoomed in and out by the mouse wheel.
-
After zooming in or out, the node we want to see is often not in the middle of the scene editor. Select the node, and then use CTRL + F so that the IDE will automatically move the selected node to the middle of the scene editor.
-
Every modification changes the project. CTRL + S saves the current scene. It is always a good habit to save often.
Conclusion
Stay tuned for Part 2 of this tutorial!
Special Thank you!
To HuJun for creating this tutorial.