Camera Ghosting in Cocos Creator
Introduction and getting help
You are welcome to post to the Cocos Creator category on the Cocos forums to talk about any issues you encounter during the development process. This tutorial does not teach how to code.
Please prepare your development environment before starting this tutorial. If you are having trouble with our tutorial, please take a look at the following documentation:
Preparing the development environment:
Let’s get started
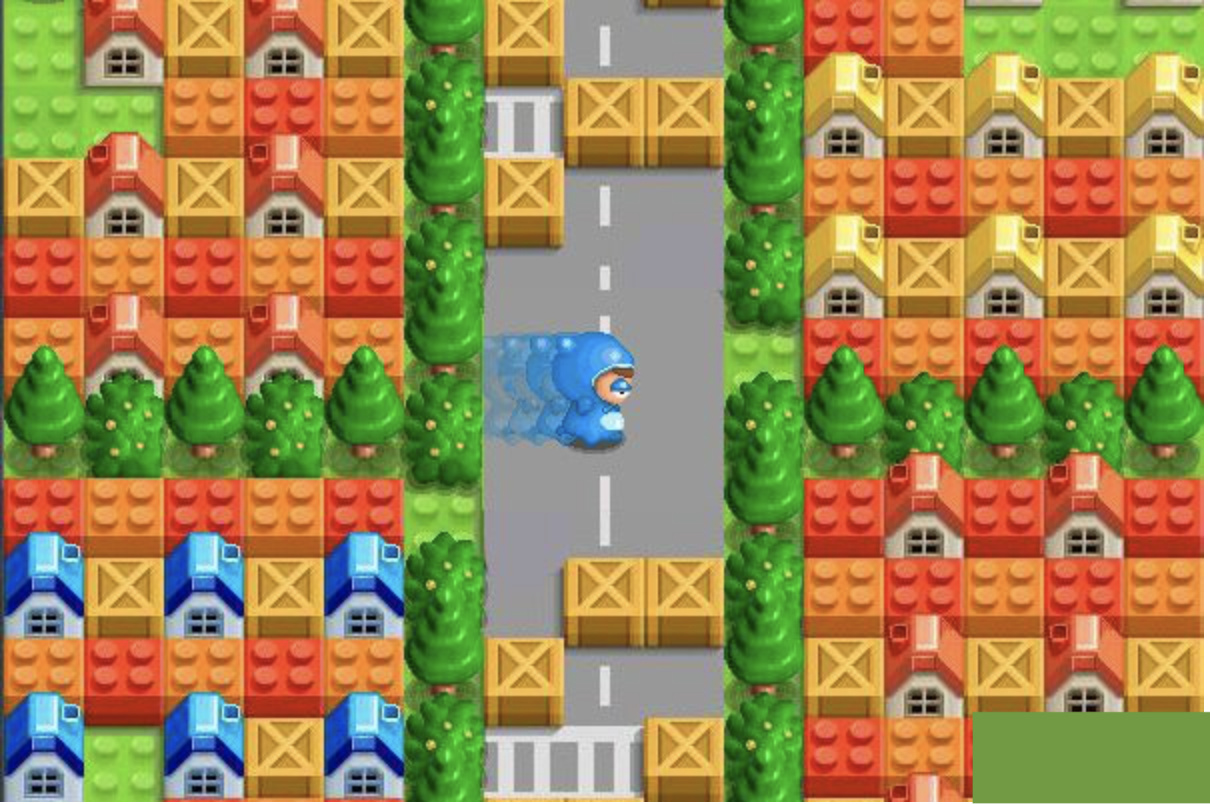
Have you seen the game Super Phantom?
Camera can be used for many purposes but not limited to: focusing on a particular object, displaying a node on multiple canvases, setting a different transparency to the canvas node and letting canvas nodes follow character movement.

Creating characters and cameras
First, create a new typescript project.
Second, create a node called role and add it to a group also called role.
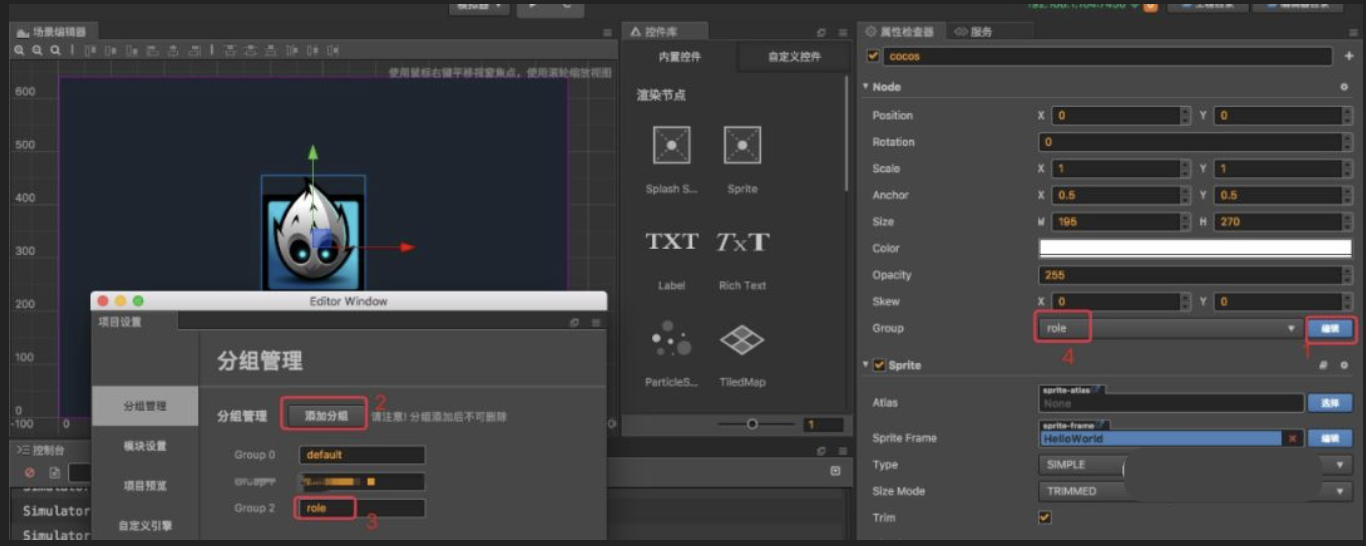
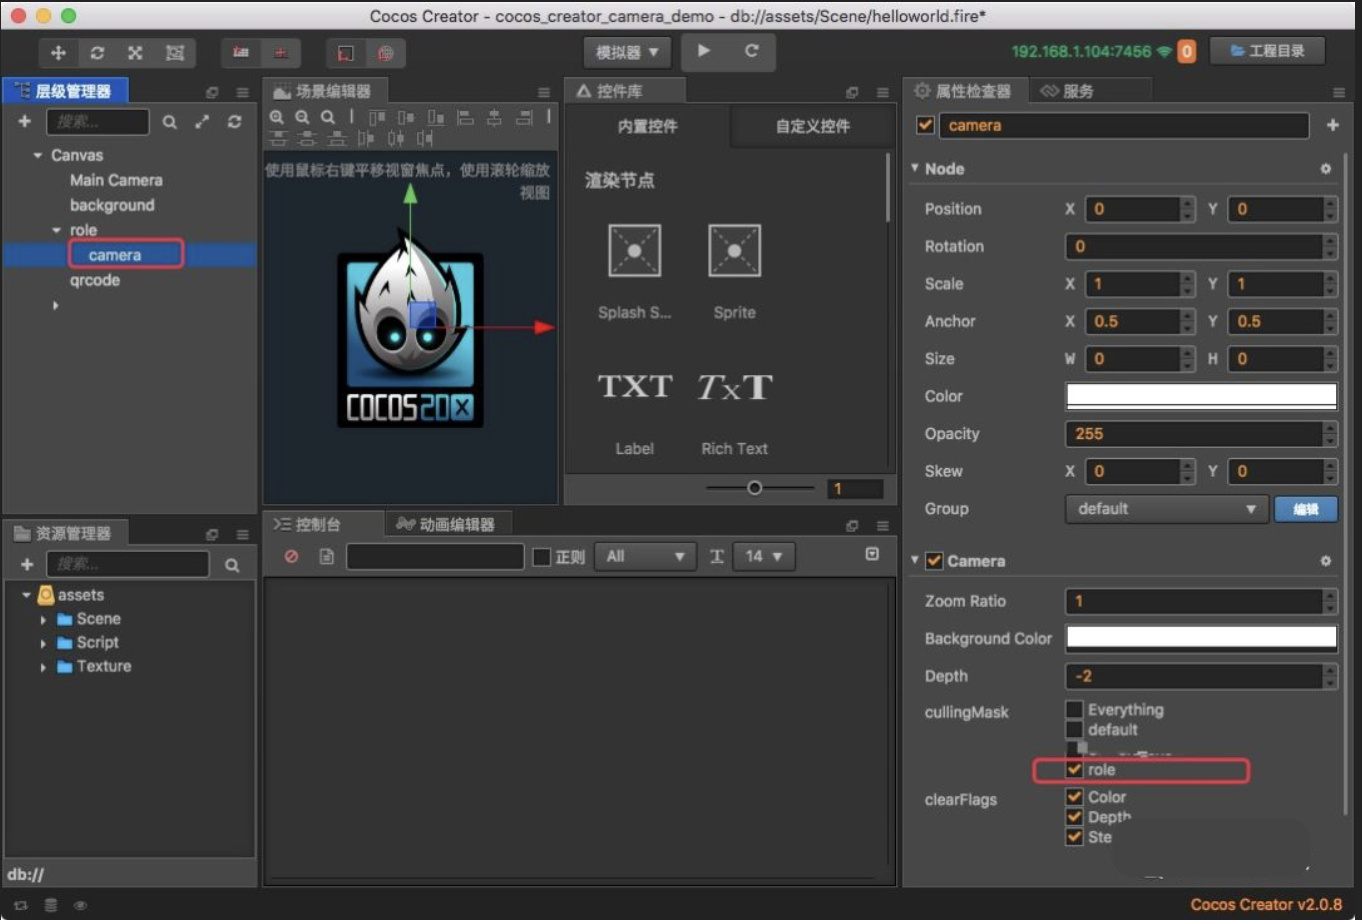
Third, add a camera to the character node and select the shooting group of the camera as role.
Creating a display canvas
First, add multiple sprites to the scene. Because the camera will reverse up and down, you need to modify scaleY to -1. Place it on the next level of the role node, adjust the size to the role node size, and the same position as the role node. Set the transparency of the canvas to a different value.

Bind the camera to the display canvas
Modify the code in Helloworld.ts to add the declaration of camera , character node and canvas array. Bind camera’s targetTexture to the display canvas spriteFrame. Reference code:
// Helloworld.ts
const { ccclass, property } = cc._decorator;
@ccclass
export default class Helloworld extends cc.Component {
    @property(cc.Camera)
    camera: cc.Camera = null;
    @property([cc.Sprite])
    sp_cameras: cc.Sprite[] = [];
    @property(cc.Node)
    node_icon: cc.Node = null;
    onLoad() {
        const texture = new cc.RenderTexture();
        texture.initWithSize(this.sp_cameras[0].node.width, this.sp_cameras[0].node.height);
        const spriteFrame = new cc.SpriteFrame();
        spriteFrame.setTexture(texture);
        this.camera.targetTexture = texture;
        this.sp_cameras.forEach((v) => {
            v.spriteFrame = spriteFrame
        })
    }
}
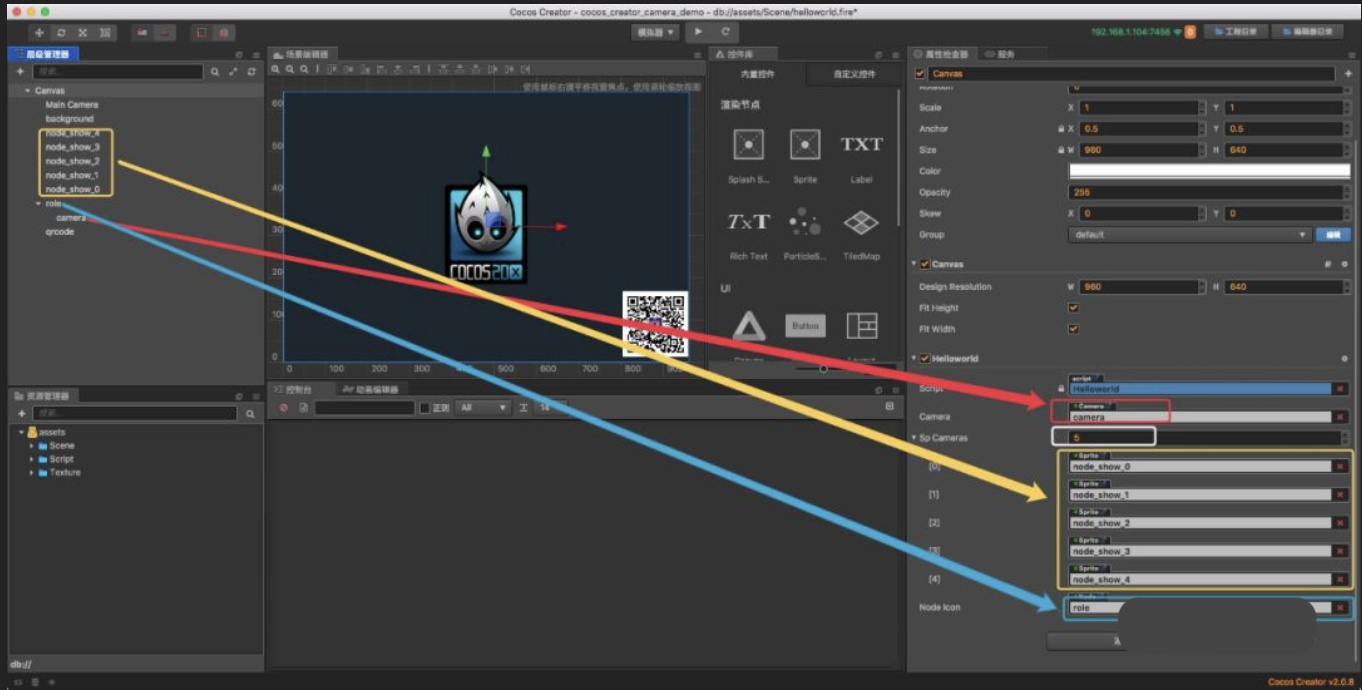
Bind the camera, character node and canvas to the script:
Showing the canvas
You can listen to the node cc.Node.EventType.TOUCH_MOVE event to control the node movement. Reference Code:
onLoad() {
        //...
        this.node.on(cc.Node.EventType.TOUCH_MOVE, this.onNodeIconTouchMove, this);
    }
    private onNodeIconTouchMove(evt: cc.Event.EventTouch) {
        this.node_icon.x += evt.getDeltaX();
        this.node_icon.y += evt.getDeltaY();
    }
Set a timer to let the canvas nodes follow the character nodes. Reference Code:
onLoad() {
        //...
        this.schedule(this.shadowFollow, 0.1, cc.macro.REPEAT_FOREVER);
    }
    private shadowFollow() {
        this.sp_cameras.forEach((v, i) => {
            const dis = this.node.position.sub(v.node.position).mag();
            if (dis > 0) {
                v.node.stopAllActions();
                v.node.runAction(cc.moveTo(i * 0.05 + 0.02, this.node_icon.x, this.node_icon.y));
            }
        })
    }
Previewing the result
When previewing you should get a result similar to: