
Tutorial: Building custom plug-ins for Cocos Creator 3.0 (Part 3)
Preface
If you missed part 1 and part 2, you missed out on a simple introduction to making an plug-in (or add-on) and adding UI elements to the plug-in window. Next, the final stage of building a plug-in, and we are going to share using the UI components already in Cocos Creator as well as how to debug the interface.
CSS re-optimization
As you add more and more interface elements, there will be many styles and CSS writing may become more and more troublesome. To help you out, we recommend using a lot of CSS preprocessing languages. Among them, less and webstorm are solutions. If you want to learn more, there are great classes on it, but we’ll assume you know about them already.
To use these two, install node.js. One possible way:
Npm install –g less
Next, setup real-time monitoring of flies in webstorm, and convert them to CSS. You can learn more about this subject with other tutorials.
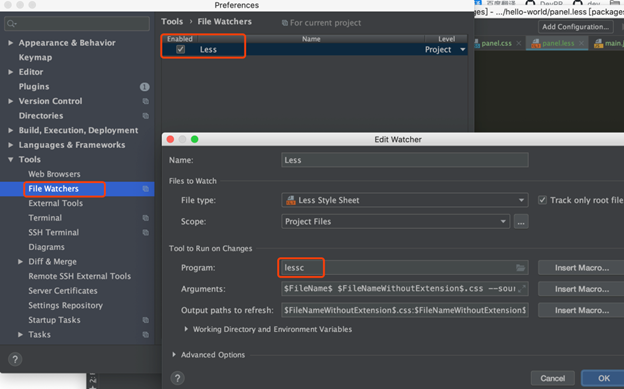
After the transformation, you should have the following project structure:
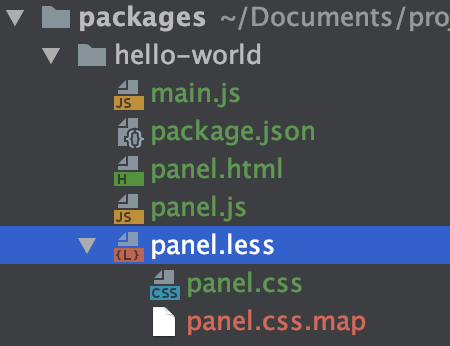
Now, add all of the css calls into panel.css and have it transfer into panel.js.
Using UI frameworks to quickly write code
Developers often find writing the UI interface is always a cumbersome task, but Cocos Creator has a large number of internal UI components built-in, which can facilitate us to write UI quickly.
Using a plug-ins built-in UI components
We can view existing UI components built for Cocos Creator by selecting Developer → UI Component.
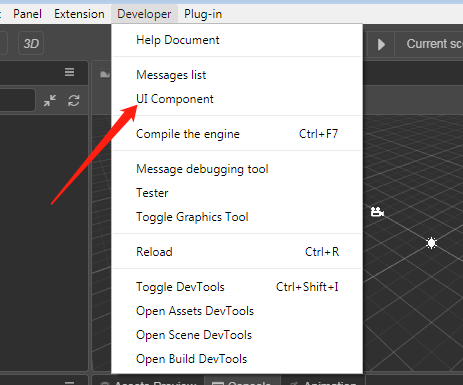
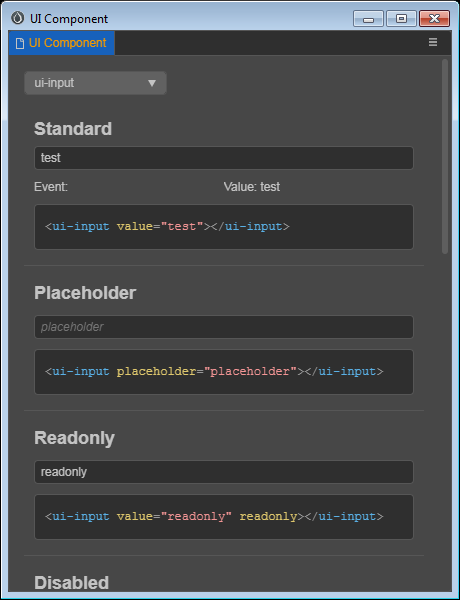
There are many existing UI components displayed in the panel. They can be used directly in the plug-in panel without introducing them. Sample code is also given in the example, which is very convenient. Please refer to the documentation for specific UI component details.
But with these, there are advantages and disadvantages.
Advantage:
-
The UI style is used with all parts of the editor
-
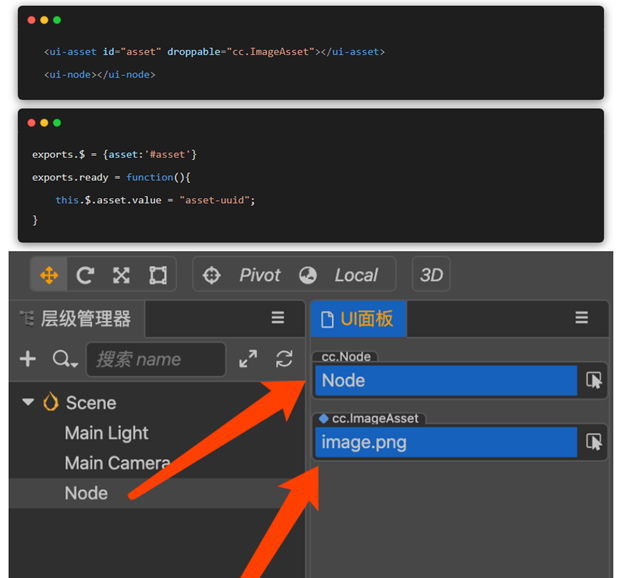
Ui-asset, UI-node, UI-component, and other components are linked to make it more look like the rest of the editor, for example by the author:
Disadvantages:
-
There are few related tutorials except in the documentation right now
-
If the editor changes the UI, the plug-in will change as well.
Of course, you can also add third-party web-ui frameworks like Vue. Just make sure to add them to your plug-in directory and bind it to the panel.js
Debugging your plug-in
How should you debug all our plug-ins to make sure they are working correctly? Luckily there is a system inside Cocos Creator to help you.
Universal console
The easiest way is always sending errors to the console.log() and have them printed out on the console. This might not be enough if you are doing some much harder and complex logic, so there is a second way.
How the main process works
Before learning breakpoint debugging, it is necessary to understand how the code for plug-ins run. If you look at the package.json, you’ll see that each part or section is given a “” with the two biggest being the “main”, that runs the main processes and “panels” which runs the rendering processes. This is due to Cocos Creator utilizing the Electron framework. You can learn more at the Electron website.
How to debug with breakpoint debugging
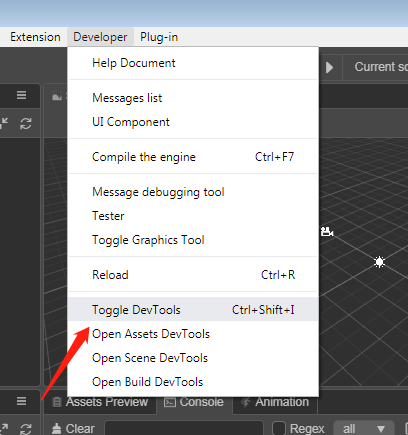
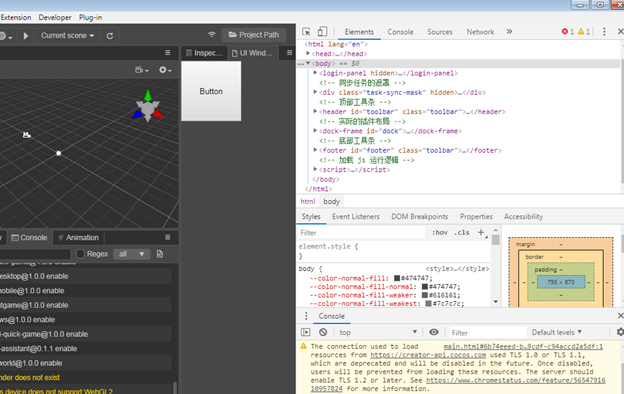
All of the plug-in panel logic runs through a rendering process that is very much like an ordinary web page. There is now a web debugging tool inside of Cocos Creator. It can be accessed by choosing Toggle Devtools from the Developer menu.
Discover more editor APIs
In Devtools, code can be directly written in the console and pressing the . button, to automatically prompt for the properties and methods of the object:
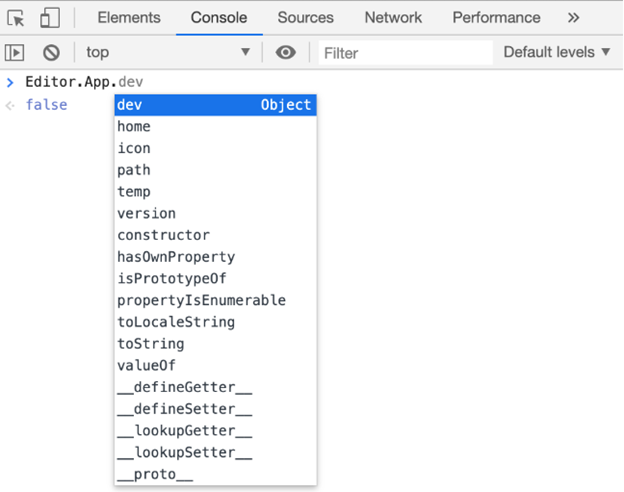
It is possible to Console explore more API interfaces of the editor. Some API calls are not shared here and could change in the final 3.0 version, so be cautious. But many are very common and won’t be changing in the near future.
Thanks to the original author Xu Yanfeng for teaching, sharing, and hoping that more developers will bring about some fun plug-in development to share to the rest of the team.