
Tutorial: Building custom plug-ins for Cocos Creator 3.0 (Part 2)
Preface
If you missed part 1, you missed out on a simple introduction to making a plug-in (or add-on) that only used the menu items and can be shown on the menu bar.
Now, that we made some simple menu options and shortcuts, let’s add a place for information to be viewed into one window that shares all of the developer requirements. Let’s build it!
Add panels
Sometimes plug-ins will need some type of GUI. This will not only make your plug-in look professional but help in the ease of how people use it. In the next steps, let’s code creating a simple UI panel using part 1 of this tutorial.
Configure the plug-in UI panel
In the package.js file, a panel can be added by calling on the panels key inside the package.json. It should be at the same level as name, version, etc. Example:
  "panels": {
    "default": {
      "title": "UI Window",
      "type": "dockable",
      "main": "./panel.js"
    }
  }
title is what the UI window’s name will be. type tells if the panel can only float or is dockable. You can omit this to make it only float. main is a filename, where the panel information and actions are defined.
Add an opening entry in the UI panel
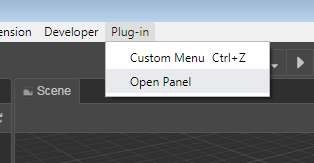
With the basic setup complete, let’s tell the code to open up a window when you click on a menu setting. Open package.json and add a menu item for opening the panel and the following to the messages subset to make the action happen. Example:
"menu": [
//...
    {
      "path": "Plug-in",
      "label": "Open Panel",
      "message": "openPanel"
     }
      ],
    "messages": {
    //...
      "openPanel": {
        "methods": [
          "openPanel"
        ]
      }
In the main.js file, add a call to open the panel. Example:
exports.methods = {
    //...
    openPanel () {
        Editor.Panel.open('hello-world')
    }
}
When calling Editor.Panel.open('hello-world'), the configured default panel will be opened by default. If you want to open other configured panels, such as the game panel, you substitute Editor.Panel.open("hello-world.game") to open the game panel instead.
Testing our progress
Now, let’s test if this works by saving everything, and restarting Cocos Creator. Go to the menu, select Plug-in, and click on the Open Panel option. It should make a window appear.
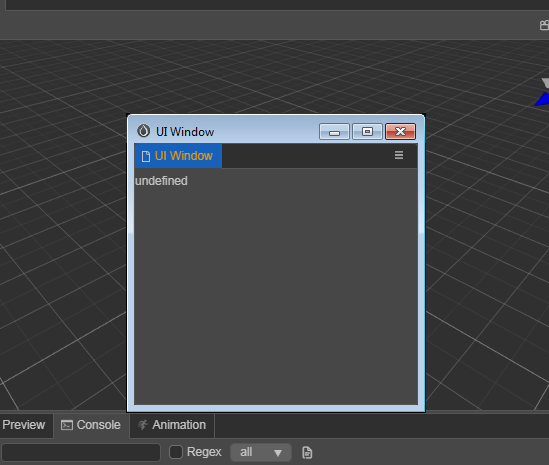
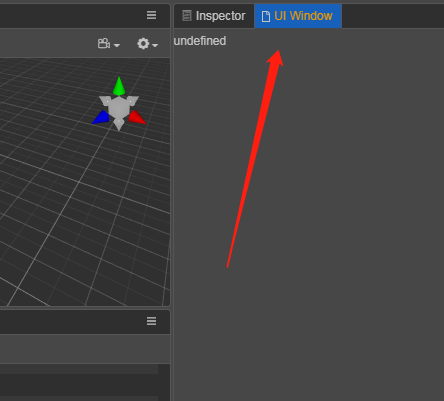
Great. We now have a UI window. We can also dock it into our engine for use with other items.
Next, let’s make the window fancier!
Adding UI
Now, that we have a window up, it’s time to add all the parts we want in it like buttons, labels, text boxes, and more.
Preparing the space
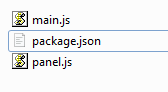
First, add some code to a newly created file, panel.js as it’s being called by the main to activate inside the window.
First, create the file.
Second, add some code into panel.js. For example, add a button. Example:
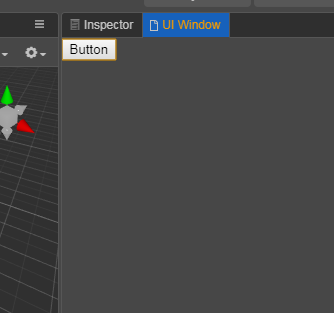
exports.template = `<button>Button</button>`;
Is this familiar? Of course, this is HTML. You can use HTML tags to build your window up. Restart Cocos Creator, and see that in the window, a button has appeared.
Refreshing the panel
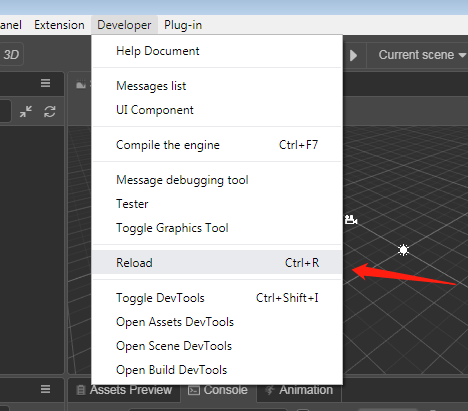
Are you tired, yet, of always restarting Cocos Creator to test your plug-in as it’s being developed? How about we refresh the panel whenever we want? We can do that by just going to the Developer option and clicking on Reload, or by the hotkey CTRL + R on windows or CMD + R on macOS.
Building a beautiful UI interface
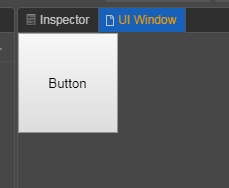
The added button is somewhat ugly. But since building a UI uses HTML, it also can use CSS! Now it is time to beautify panel.js with some style! Example:
exports.template = `<button class="btn">Button</button>`;
exports.style= `
.btn{
    width:100px;
    height:100px;
}`;
Or another possible way using more HTML style coding:
exports.template = `
<button style="width: 100px;height: 100px;">
    Button
</button>`;
Save this and refresh the interface. You’ll see it’s changed.
Now, we have a beautiful button but it doesn’t do anything! What should we do next?
Adding events in the panel
There are buttons in your window, but it won’t mean anything if it doesn’t have a way to act.
Obtaining the button element
Open up panel.js and add the following:
exports.$ = {
    btn: '.btn', // Get button element
}
Using the .$ item works with HTML and will pick up elements of the interface. You can pick up class elements using the . such as exports.$ = { btn: '.btn'} and id elements using the # such as exprots.$ = { btn: '#btn'}.
Binding events to the button
Continuing in panel.js:
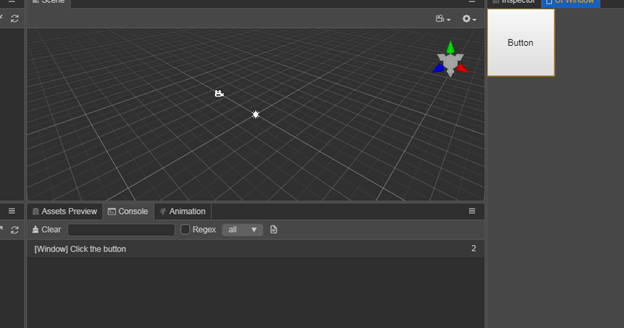
exports.ready = function () {
    this.$.btn.addEventListener('click', () => {
        console.log('Click the button')
    })
};
Here you get the HTML element and directly use the HTML native API to add the click event to the button element. Save this and refresh Cocos Creator to see if we get a console log by clicking on the button.
Awesome!! There is so much functionality done already. Stay tuned for Part 3, coming soon!