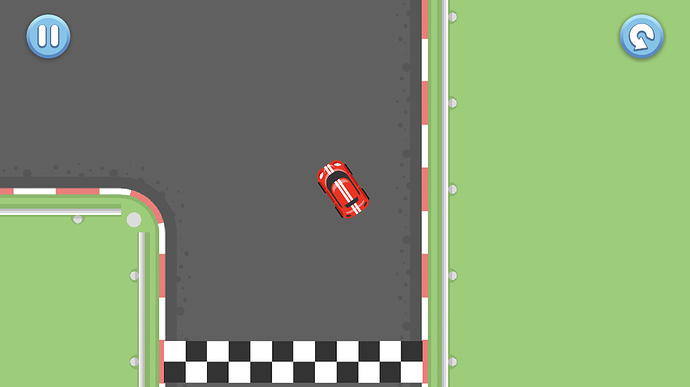
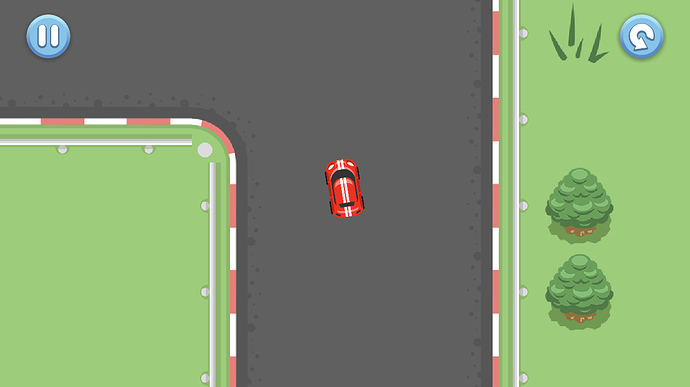
There is an easier solution, but I’m sure there are downsides to it. Basically place a transparent black filter over the screen and then remove the areas with light using the light sprite’s blending function. Here is some bad example code that should work:
auto size = Director::getInstance()->getWinSize();

// how light the scene is where no light is being shined
const float ambientLight = .1f;
// the alpha value to set the "darkness" layer
const float darkness = 1.f - ambientLight;

// add something for the light to illuminate
auto background = LayerColor::create(Color4B::BLUE);
this->addChild(background, 0);

// creates a transparent black that sits over the level to give the illusion
// of darkness
auto renderTexture = RenderTexture::create(size.width, size.height);
this->addChild(renderTexture, 10);
renderTexture->setPosition(size / 2.f);

// start with full darkness
renderTexture->clear(0, 0, 0, darkness);

// the light - the shape of the sprite determines the shape of the light and
// the alpha value of each pixel determines how strong the light
auto light = Sprite::create("res/Light.png");
// don't add the light to the scene or else the sprite will be shown, but retain
// so that it can be used later
light->retain();

// this method works by placing a transparent black filter over the screen and
// then cutting holes in that filter to give the illusion of light being shined.
// GL_ONE prevents the light sprite from being drawn on screen, while
// GL_ONE_MINUS_ALPHA_ZERO reduces the alpha value of the pixels the light is being
// drawn on top of by the alpha value of that light's pixel.
light->setBlendFunc({ GL_ZERO, GL_ONE_MINUS_SRC_ALPHA });

// add some interaction
auto mLstnr = EventListenerMouse::create();
_eventDispatcher->addEventListenerWithFixedPriority(mLstnr, 1);

mLstnr->onMouseMove = [=](EventMouse* event) {
	// reset the "darkness" layer to remove the effect
	renderTexture->beginWithClear(0, 0, 0, darkness);

	// position the light and draw it onto the render texture
	light->setPosition(event->getLocationInView());
	light->visit();

	renderTexture->end();
};
Note: This is quick, bad code intended to be copied into a test scene or something, just so you can see it in action. It is not intended to be put in an actual project. For example, light is retained but never released, which means it will never be removed from memory if you change to another scene.
Also, you will need you need to change Light.png to an image already in your project, or add an image with that filename.
The main limitation to this method is that because you can’t add the lights to your scene, so they don’t automatically move with your scene/camera does. That means that you need to update the position of your static lights, e.g. street lights, every time the camera/scene pans, and update your dynamic lights, e.g. headlights, every time the scene/camera pans or the light itself moves, e.g. the car moves forward. One way I was thinking of doing this was to store the node space position the light would be if it were added to the scene with a reference to the parent node and light, and then whenever you update the position of your lights, just convert the node space position to world space using the parent node.
I haven’t actually created a game with this method before, so I’m not sure if there are other issues, such as performance.
There are likely ways to improve this too. For example, if you can figure out how to get the lights to keep their proper positions, you can actually add a second camera to the scene, add your lights to the scene, render the lights to that camera by setting their camera mask, having that camera render to a texture, and then use that texture as your “light” with the RenderTexture method. (This second camera method might actually be preferable. You could add your static lights like the scene like you would any other node, and you would just need to manually move the dynamic lights, e.g. headlights, if you can’t figure out how to have them render properly.)


