I have been writing NDK since 2011, and I love MSVC as a debugger… I was excited when Nvidia just released Nsight 1.5 which has good support for Android on MSVC. I’m just NOW learning Cocos2d-x, so I decided to see if I could get them all working together this evening. And I had great success!
My goal was to create a standard cocos2d-x 3.0 project which supports Win32, and use that same MSVC sln to include an Android project that could be debugged through Visual Studio also.
I figured I’d write about it, since maybe others want to do the same thing, and the community could probably improve this process.
Ok, you need to realize that this depends on the Android tools that Nvidia has been releasing… They created the TADP, which includes ALL tools you’d need to set up an Android debug environment, Eclipse or Visual Studio, SDKs, NDK, Ant, etc… or if you already have a setup and VS2012, you just need to install Nsight 1.5 for NDK.
TADP here: https://developer.nvidia.com/content/all-new-tegra-android-development-pack-20r8-now-available-under-nvidia-gameworks
Nsight here: http://docs.nvidia.com/gameworks/index.html#developertools/mobile/nsight_tegra_v1_5.htm%3FTocPath%3DDeveloper%20Tools|Mobile%20Developer%20Tools|Nsight%20Tegra%2C%20Visual%20Studio%20Edition|Nsight%20Tegra%20Visual%20Studio%20Edition%201.5|_____0
Now, assuming that installs and you can debug their samples in Visual Studio 2012, let’s debug some cocos2d! The thing that took me the longest was reconciling PATHs because I had a bunch of different installations of python and android laying around, but the actual process is fairly straightforward.
Create a new project:
cocos new MyGame -p com.mygame -l cpp -d d:\test_app
inside d:\test_app\MyCppGame\proj.win32 is a sln file: MyCppGame.sln, Open that in VS2012.
Compile and build the win32 version to make sure that it runs and debugs. Then stop debugging.
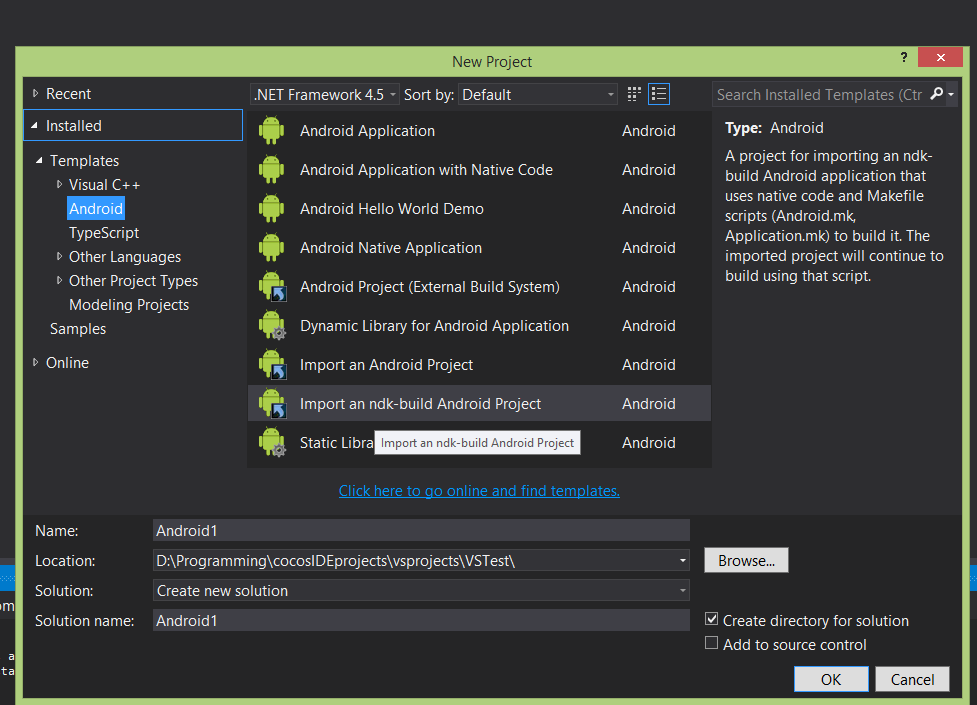
Now, click FILE->New->Project…
That opens a dialog with a bunch of options. On the left (assuming Nsight is installed), you should see Installed->Templates… select “Android”. You’ll see about 7 options of Android type projects… Select “Import a Makefile-based Android Project”
Now, choose a name for your project, MyAndroidProject… then select the directory “D:\test_app” and instead of “create new solution”, choose “Add to solution”. Visual Studio should find the path to the solution. Click Ok.
Visual Studio will then ask what files you want to import into the project. I’ve found the defaults to work ok, but you need to “Browse” to “d:\test_app\MyCppGame\proj.android” (or whatever directory your AndroidManifest.xml lives).
Visual Studio will then ask you to select a project number. Be careful not to select an SDK version that your device doesn’t support (4.4 is Android 19, 4.3 is Android 18, etc). Click Finish.
Now… the way Cocos2d-x normally operates: you call:
cocos run -s “d:\test_app\MyCppGame” -p android
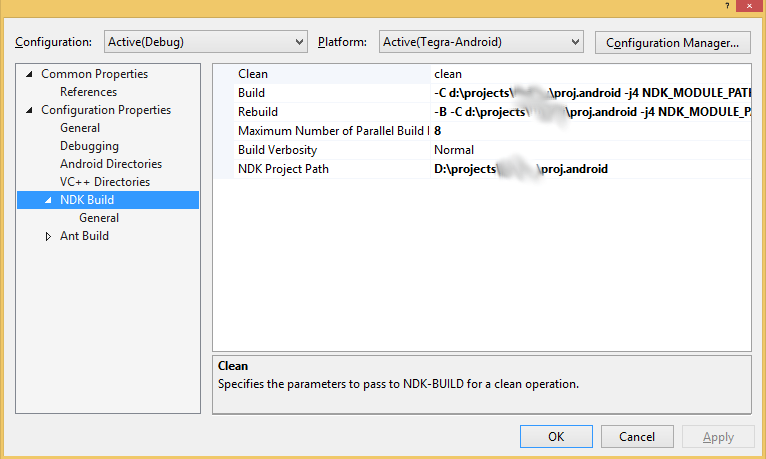
it eventually calls android-build.py, which does some platform-specific stuff and eventually sets your NDK_MODULE_PATH. You need to capture the results of this evaluation to pass the same arguments to Visual Studio. so if you run the above command line, cocos2d-x will output its ndk-build command line which look like (for me):
-C d:\test_app\MyCppGame\proj.android -j4 NDK_MODULE_PATH=d:\test_app\MyCppGame\cocos2d;d:\test_app\MyCppGame\cocos2d/cocos;d:\test_app\MyCppGame/cocos2d/external NDK_DEBUG=1
with a few “proj.android/…/” in there that I edited out for clarity.
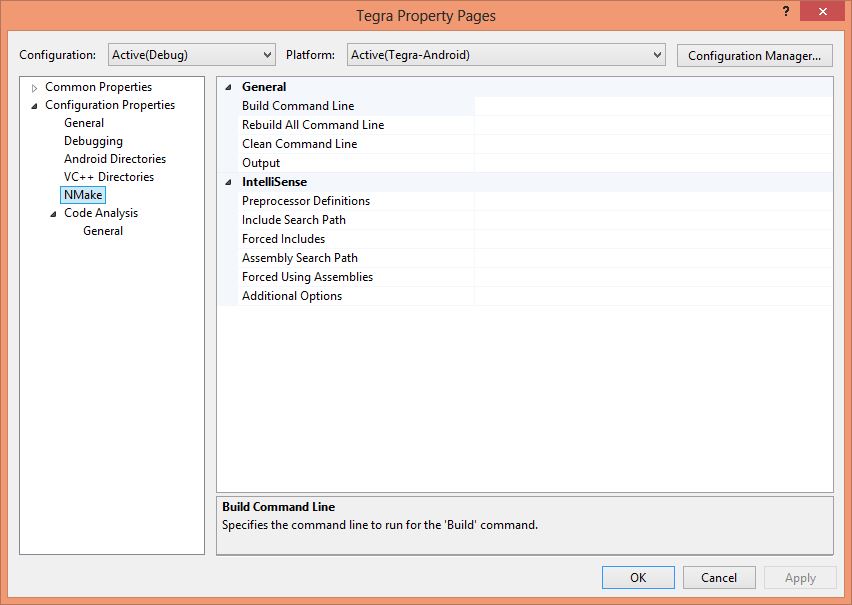
Copy that output to clipboard and, in Visual Studio, right click on your Android project properties. In Configuration Properties->NDK Build, there is a menu “Build” command that is set to “NDK_DEBUG=1”… highlight that and paste in the command line from above (excluding “ndk-build”). If you have a multicore machine, make sure there is -j4, as on my machine it used -j1, which makes builds really slow.
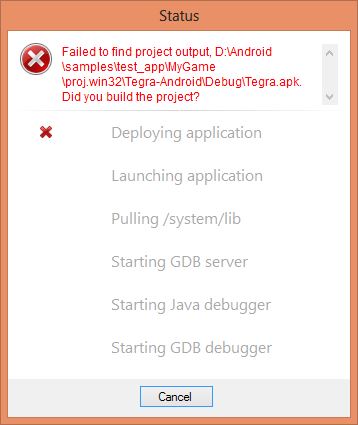
Now, if everything worked correctly, you can right-click your new Android project in the Solution Explorer, select Debug->Start New Instance… The project will build, deploy and debug (you’ll need to set a breakpoint in your AppDelegate or somewhere). The initial “Deploying Application” step will take a couple minutes the first time, but afterwards happen in seconds.
Anyway, I typed this up in a frenzy once I got it to work… I’m sorry for any errors or omissions! If you have any questions or problems, I’m happy to help. Android debugging can be a … difficult … undertaking.