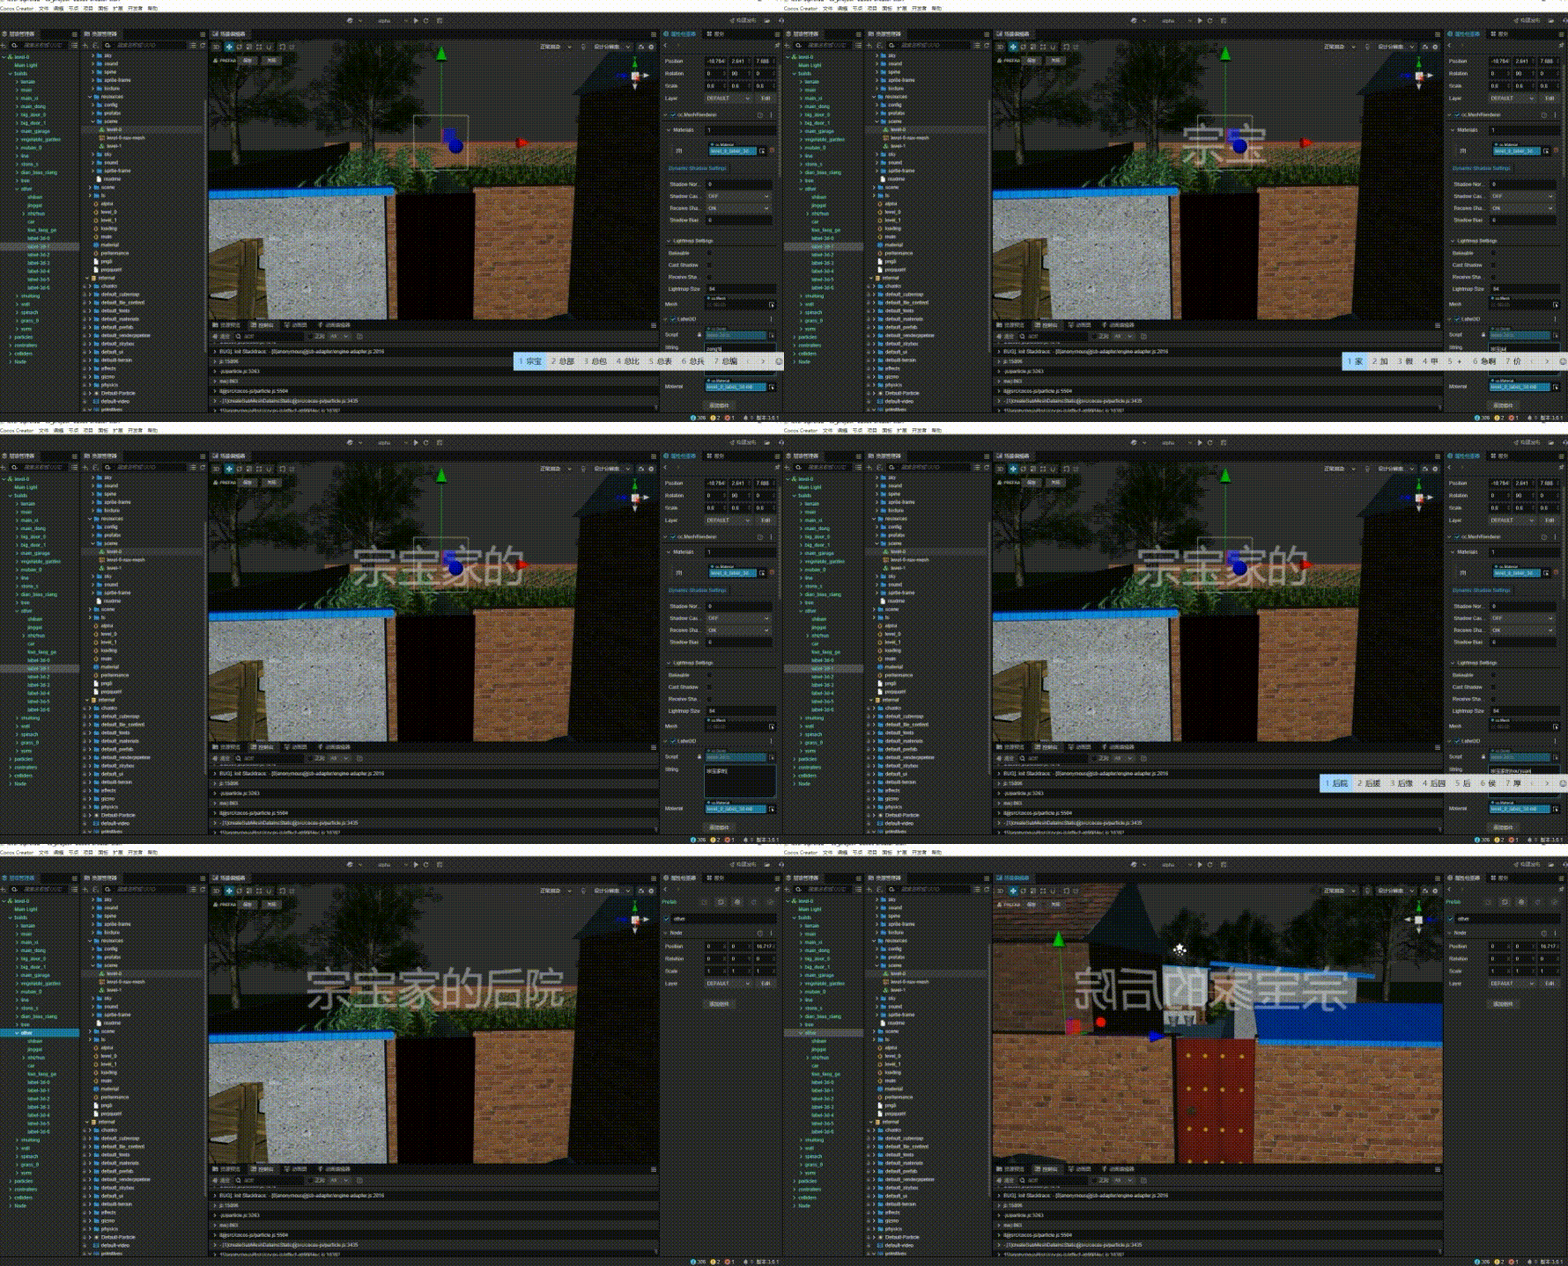
Today Cocos MVP developer Zongbao shares with you a 3D text [Lable3D] implementation, which is one of the more commonly used features in 3D game development.
Example
Let’s see the final result:

Implementation
1. Starting point
First of all, our goal is to find a way to achieve the 3D text display function. We need to consider the following problems first:
- What is the implementation principle of our common Label component, 2D label
- After we enter the text, go through those operations and render the display on the screen
- What is the final structure after these operations, and can we use it directly?
2. Understanding Label Implementation
With the above questions, our first task is to understand the source code implementation of Label, With Cocos Creator being the largest open-source engine, you can view the source code anytime, anywhere.
Then we will start to look at the source code. In looking at the source code, we will see the following function:
protected _applyFontTexture () {
        this.markForUpdateRenderData();
        const font = this._font;
        if (font instanceof BitmapFont) {
            const spriteFrame = font.spriteFrame;
            if (spriteFrame && spriteFrame.texture) {
                this._texture = spriteFrame;
                if (this.renderData) {
                    this.renderData.textureDirty = true;
                }
                this.changeMaterialForDefine();
                if (this._assembler) {
                    this._assembler.updateRenderData(this);
                }
            }
        } else {
            if (this.cacheMode === CacheMode.CHAR) {
                this._letterTexture = this._assembler!.getAssemblerData();
                this._texture = this._letterTexture;
            } else if (!this._ttfSpriteFrame) {
                this._ttfSpriteFrame = new SpriteFrame();
                this._assemblerData = this._assembler!.getAssemblerData();
                const image = new ImageAsset(this._assemblerData!.canvas);
                const texture = new Texture2D();
                texture.image = image;
                this._ttfSpriteFrame.texture = texture;
            }

            if (this.cacheMode !== CacheMode.CHAR) {
                // this._frame._refreshTexture(this._texture);
                this._texture = this._ttfSpriteFrame;
            }
            this.changeMaterialForDefine();
        }
    }
We will find that the final output of this function will get a SpriteFrame (_texture). Normally, we understand that SpriteFrame is just a picture. With pictures, we can manipulate them easily.
3. Augmentation
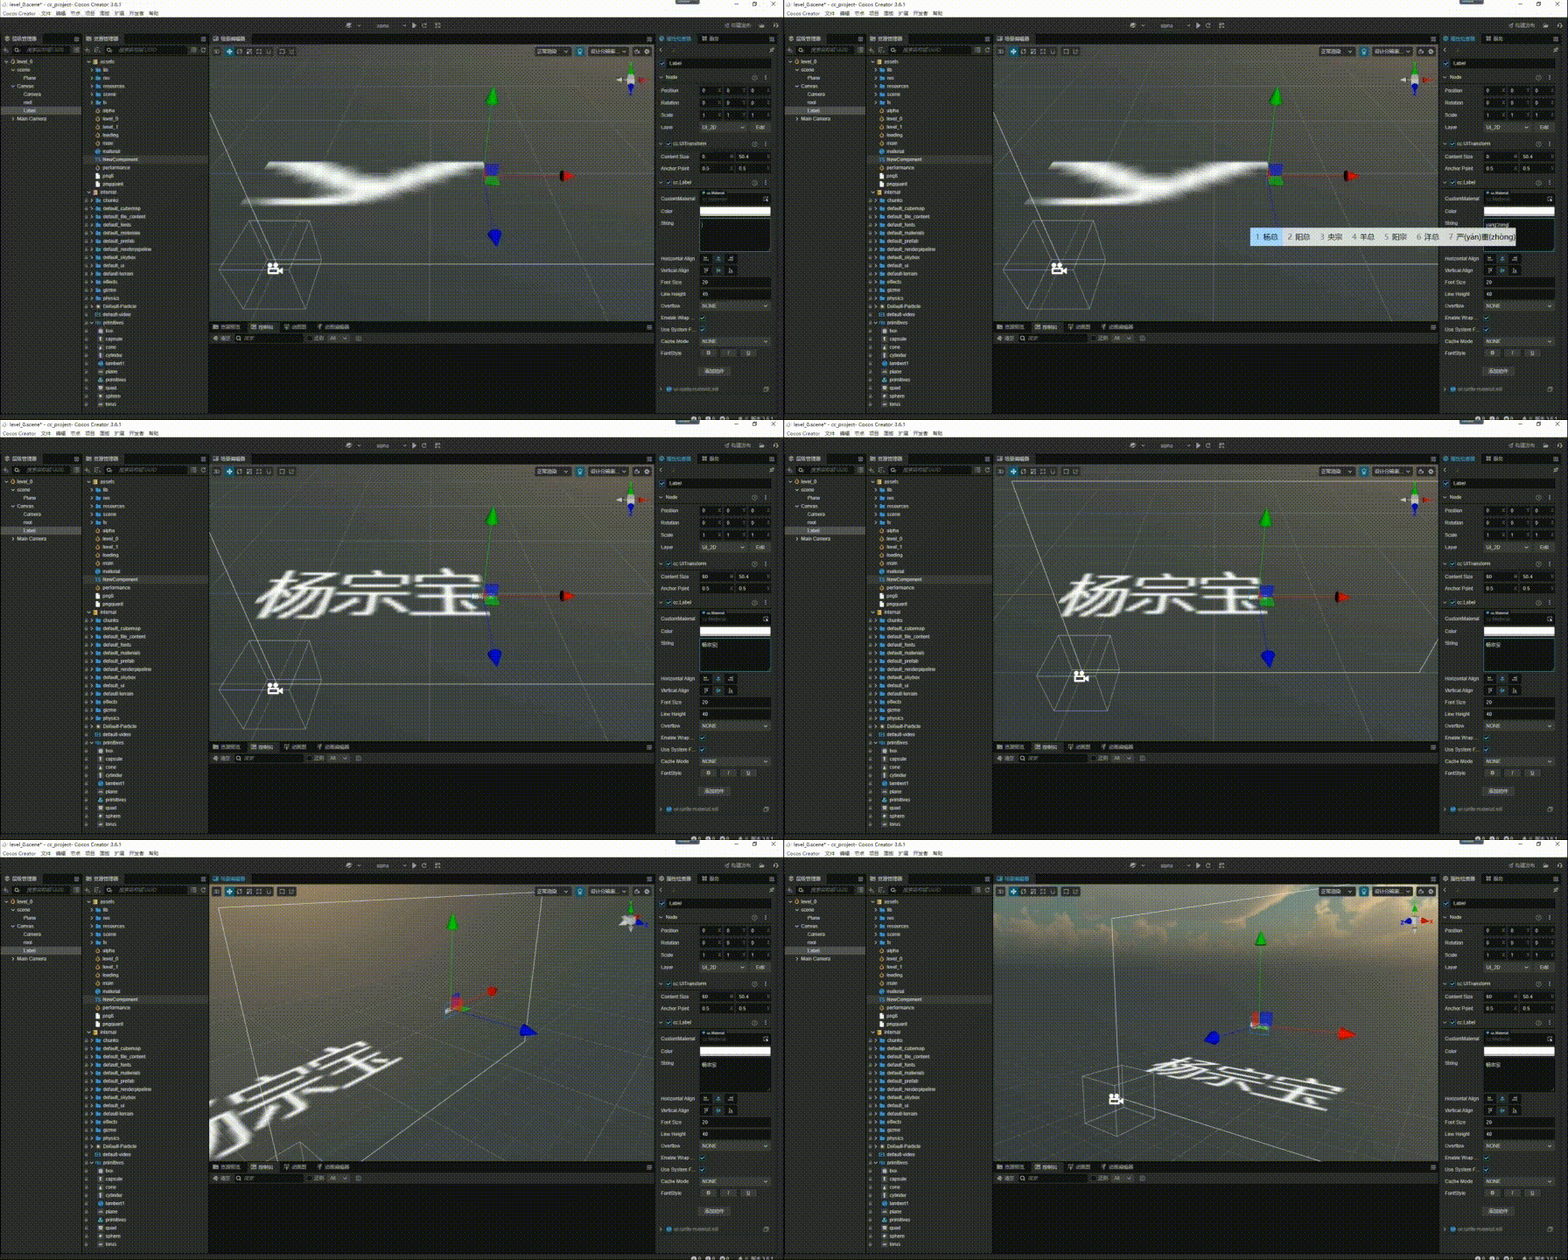
With the above idea in mind, let’s start with the most basic operation,
- Create a Label component
- Create a 3d panel node
- Assign the texture in the Label component to the texture in the panel material
- Simply write a piece of test code
import { _decorator, Component, Label, MeshRenderer, Texture2D } from 'cc';
const { ccclass, property, executeInEditMode } = _decorator;
@ccclass('NewComponent')
@executeInEditMode
export class NewComponent extends Component {
    @property({ type: Label })
    label: Label = null!;

    @property({ type: MeshRenderer })
    meshRender: MeshRenderer = null!;
    start() {

    }
    update(deltaTime: number) {
        let spriteFrame: any = this.label.spriteFrame!;
        let texture: Texture2D = spriteFrame.texture;
        this.meshRender.material?.setProperty("mainTexture", texture);
    }
}

Now that the effect is visible, it means that its feasible to build. After changing the font in the label, we can get the texture generated by itself and render it to any 3D object.
Note: The material of the 3d object should use a transparent material, and at the same time open the macro definition corresponding to mainTexture
4. Advanced
Do you think it’s over when you get the result? The answer is definitely not, because there will be an obvious problem when using this method. My 3D text must correspond to a 2D Label component. It isn’t it very troublesome, but at the same time, we also have a question that hasn’t been answered: What is the implementation principle of Label, and what are the specific operations?
With this question, we continue to delve into the source code, and we will find the answer in the ttfUtils.ts and bmfont.ts scripts. The following is mainly based on ttfUtils. , we will find that the display of system fonts mainly uses CanvasRenderingContext2D to render text to the canvas through CanvasRenderingContext2D and then generate a texture map through the canvas, which is finally rendered to the screen.
Now that we understand the general principle, our Label3D will come out easily with adjustments to the code:
 /**
 * Refresh rendering
 */
private updateRenderData(): void {
    if (!this._assemblerData) return;
    this._context = this._assemblerData.context;
    this._canvas = this._assemblerData.canvas;

    this.initTexture2D();
    this.updateFontFormatting();
    this.updateFontCanvasSize();
    this.updateRenderMesh();
    this.updateFontRenderingStyle();
    this.updateTexture();
    this.updateMaterial();
    this.resetRenderData();
}
Roughly a few steps are required:
1.0 updateFontFormatting text formatting
  private updateFontFormatting(): void {
        if (!this._context) return;
        let strs: string[] = this._string.split("\\n");
        this._splitStrings = strs;
        for (let i = 0; i < strs.length; i++) {
            // Get the width of the text
            let len: number = this._context.measureText(strs[i]).width;
            if (len > this._canvasSize.width) {
                this._canvasSize.width = len;
            }
        }
        this._canvasSize.height = strs.length * this.getLineHeight() + BASELINE_RATIO * this.getLineHeight();
    }
Use ‘\n’ as a newline character, format the text, and calculate the size of the text display.
Update the size of the canvas by displaying the required width and height through text.
2.0 updateFontCanvasSize set canvas
private updateFontCanvasSize(): void {
    this._canvasSize.width = Math.min(this._canvasSize.width, MAX_SIZE);
    this._canvasSize.height = Math.min(this._canvasSize.height, MAX_SIZE);
    if (this._canvas.width != this._canvasSize.width) {
        this._canvas.width = this._canvasSize.width;
    }
    if (this._canvas.height != this._canvasSize.height) {
        this._canvas.height = this._canvasSize.height;
    }
    this._context.font = this.getFontDesc();
}
Update the size of the canvas by displaying the required width and height through the text
3.updateRenderMesh
private updateRenderMesh(): void {
    let rate: number = this._canvas.width / this._canvas.height;
    this._positions = [];
    this._positions.push(-0.5 * rate, -0.5, 0);
    this._positions.push(0.5 * rate, -0.5, 0);
    this._positions.push(-0.5 * rate, 0.5, 0);
    this._positions.push(-0.5 * rate, 0.5, 0);
    this._positions.push(0.5 * rate, -0.5, 0);
    this._positions.push(0.5 * rate, 0.5, 0);
    // this._meshRender.mesh?.updateSubMesh(0, {
    //     positions: new Float32Array(this._positions),
    //     minPos: { x: -0.5 * rate, y: -0.5, z: 0 },
    //     maxPos: { x: 0.5 * rate, y: 0.5, z: 0 }
    // });
    this._meshRender.mesh = utils.MeshUtils.createMesh({
        positions: this._positions,
        uvs: this._uvs,
        minPos: { x: -0.5, y: -0.5, z: 0 },
        maxPos: { x: 0.5, y: 0.5, z: 0 }
    });
    this._meshRender.model?.updateWorldBound();
    this.updateMeshRenderMaterial();
}
Update and display the vertex data of the required grid according to the width and height ratio of the canvas. This step is mainly to ensure that the width and height of the text will not be compressed when the generated texture is displayed on the grid.
- updateTexture generates textures
private updateTexture(): void {
    if (!this._context || !this._canvas) return;
    this._context.clearRect(0, 0, this._canvas.width, this._canvas.height);
    let textPosX: number = 0;
    let textPosY: number = 0;
    for (let i = 0; i < this._splitStrings.length; i++) {
        textPosY = this._startPosition.y + (i + 1) * this.getLineHeight();
        let len: number = this._context.measureText(this._splitStrings[i]).width;
        textPosX = (this._canvas.width - len) / 2;

        this._context.fillText(this._splitStrings[i], textPosX, textPosY);
    }
    let uploadAgain: boolean = this._canvas.width !== 0 && this._canvas.height !== 0;
    if (uploadAgain) {
        this._texture.reset({
            width: this._canvas.width,
            height: this._canvas.height,
            mipmapLevel: 1,
        });
        this._texture.uploadData(this._canvas);
        this._texture.setWrapMode(RenderTexture.WrapMode.CLAMP_TO_EDGE, RenderTexture.WrapMode.CLAMP_TO_EDGE);
    }
}
Here comes the main code, rendering the text to canvas and then generating the mapping through canvas.
5. updateMaterial update material map
private updateMaterial(): void {
    if (!this._texture) return;
    if (!this._meshRender) return;
    if (!this._material) return;
    let material: Material = this._meshRender.getMaterialInstance(0)!;
    material.setProperty("mainTexture", this._texture);
}
Display the generated mapping on our grid
Summary
The above is a reference from the engine code, the general idea of achieving Label3D, and part of the code. I hope it can bring you help. The implementation still has many shortcomings, such as alignment mode, tilt, acceleration, and so on, due to my free time.
For more questions answered in building this. Check out the full discussion in our Chinese forums.
